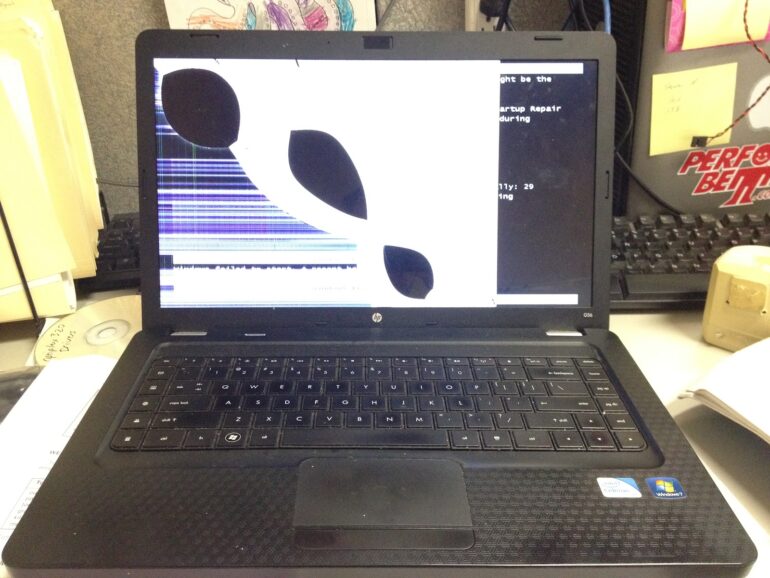
My friend’s laptop somehow ended up with a broken LCD. For $63 (at the time of this original post) on Amazon.com it seemed worth replacing.
How to Replace the LCD display on a HP Pavilion G56-129WM Laptop
Hardware:
- HP Pavilion G56-129WM Laptop
- Original LCD: LG LP156WH2 CT:CBKRC817CZA4GZ
- Replacement LCD: HP Pavilion G56-129WM US Laptop Screen 15.6″ LED BL WXGA HD 1366X768

Once you remove both the right and left screws at the bottom of the bezel, pry the inside edge of the bezel away from the screen with your fingertips:

The bezel will snap loose. You’ll have to work your way all the way around:

Working my way around the top:

One thing to note is that you’ll want to open the screen all the way up to get the bezel to come off.
Now that the bezel is off we need to remove the LCD from the frame. First, remove the top two screws that hold the LCD to the frame and then, second, loosen, note: only loosen them, the eight screws marked at the bottom of the LCD:
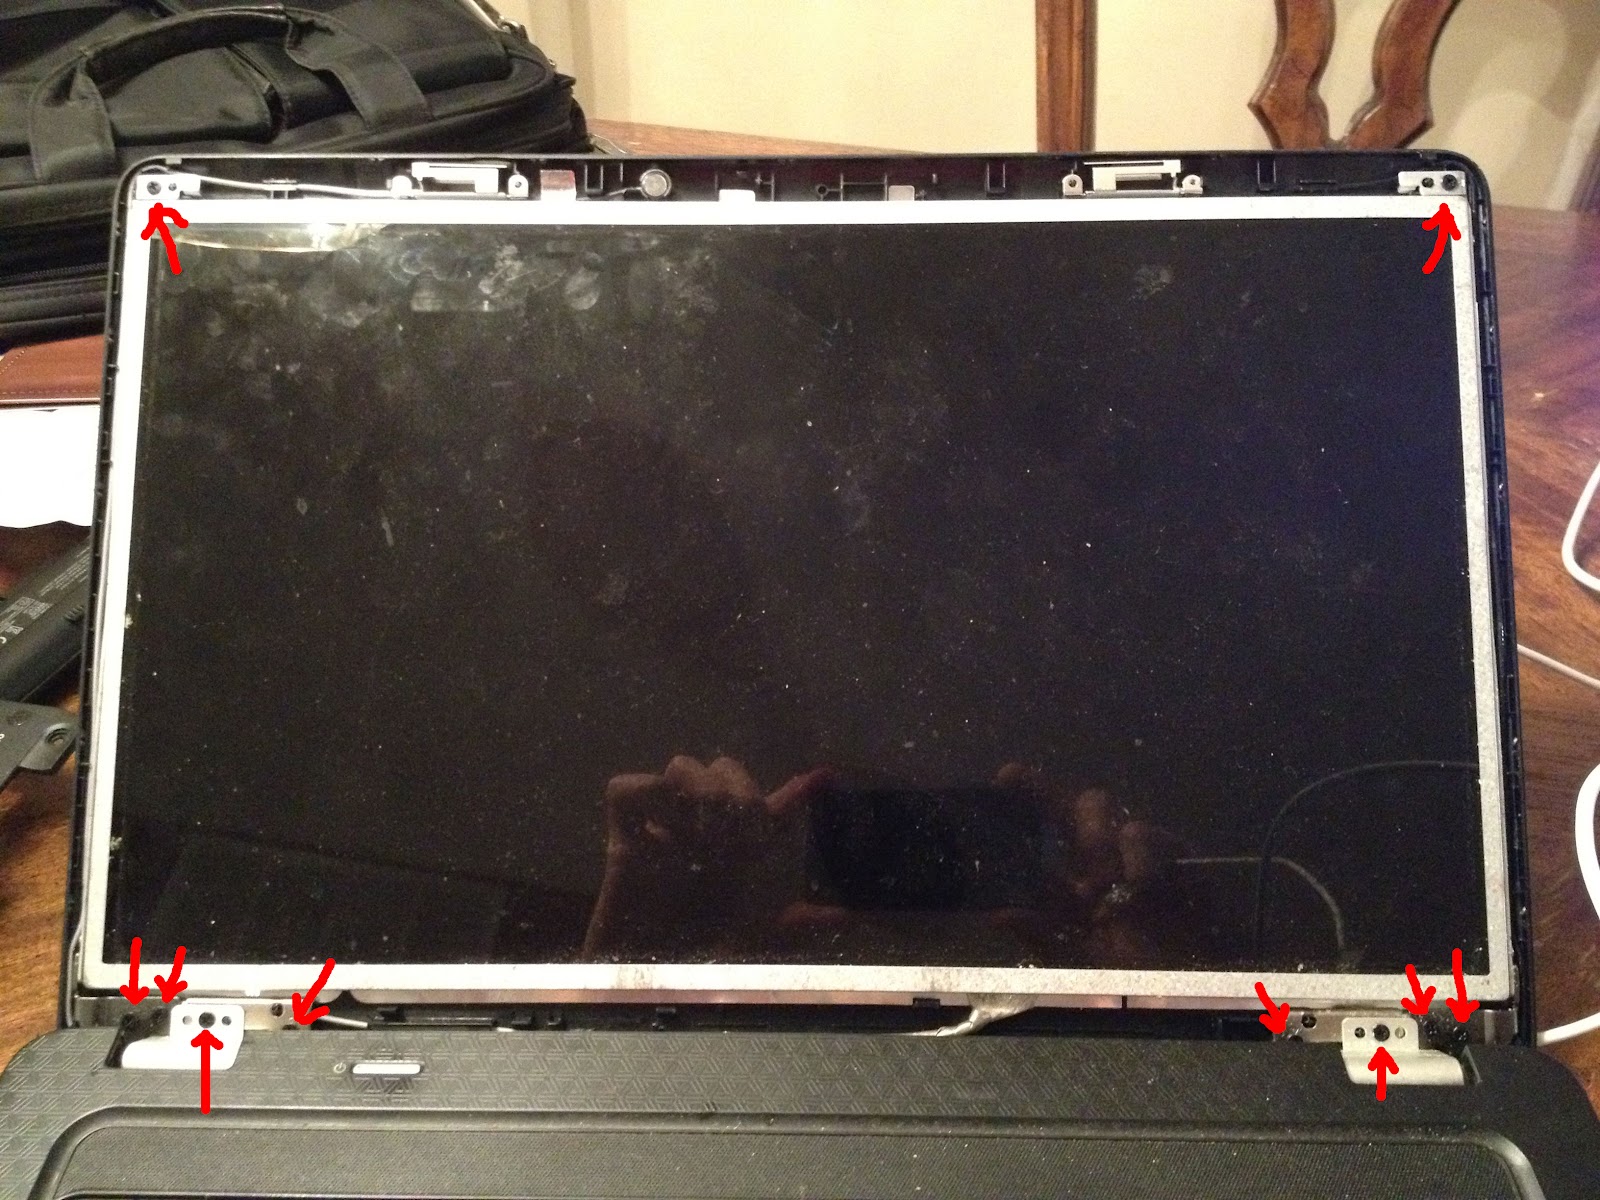
By loosening those screws you can remove the LCD without removing the whole frame as well. Now you can lean out the top of the display and remove the 4 screws that hold the LCD in the frame. I forgot to take a picture before I removed the screws but here are where they are located:

Rotate the LCD down (as if you were closing the display), being aware of the LCD ribbon cable that is attached to the back of the LCD towards the bottom. The cable is held into place by clear tape. Be careful not to put too much pressure on the connector. You do not need to remove the tape completely. Simply peel up the part that is on the LCD but leave it on the actual ribbon. The cable slides straight out (there are no switches or anything that need to be flipped before you can take it out). Slide the ribbon straight out (parallel with the back of the display).
 |
| Lifting up the clear tape that holds the LCD ribbon in place |
Now put the display back in the frame. Install the 4 screws that hold the LCD into the frame. At this point you may want to fire up the computer just to make sure the ribbon is connected ok before you put it all back together:
 |
| Back in business! |
Now, tighten the 8 screws on the bottom by the hinges and then snap the bezel back together. Be careful not to put too much pressure on the LCD itself but you will probably need to use a bit of pressure to snap it back together. Listen for the thing to pop so you know it is snapped together all the way around. Finally reinstall the 2 screws in the bottom of the bezel. They were a bit tricky to get started so you’ll have to play around with them.
Amazon Associate Disclosure: As an Amazon Associate I earn from qualifying purchases. This means if you click on an affiliate link and purchase the item, I will receive an affiliate commission. The price of the item is the same whether it is an affiliate link or not. Regardless, I only recommend products or services I believe will add value to Share Your Repair readers. By using the affiliate links, you are helping support Share Your Repair, and I genuinely appreciate your support.