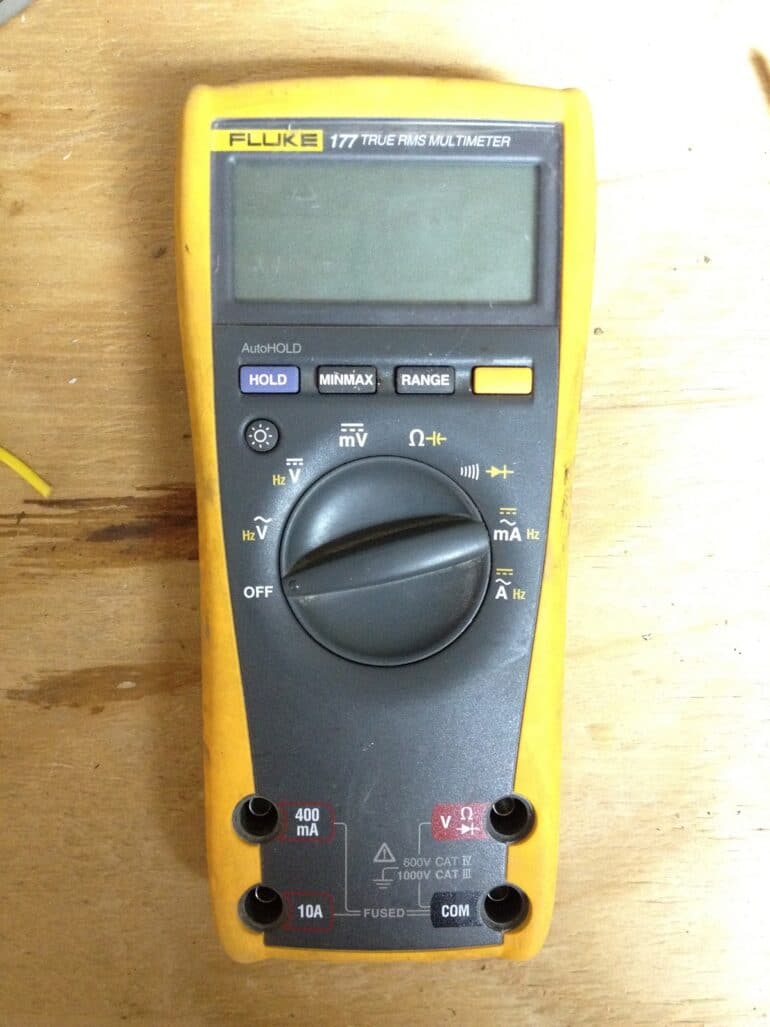
The other day I wanted to measure the current being drawn from a DC to AC converter and so I hooked up my trusty Fluke 177 and nothing happened, open circuit through the voltmeter. BTW: you must know that you have to place the leads in the correct terminals on the multimeter to measure current. Improperly connecting the terminals will blow the fuses. Somehow I did that some time ago. After talking to a Fluke Tech on the phone I learned that the Multimeter will not notify you that the fuse has been blown, it just won’t work and that’s right where I was at yesterday.
How to Replace the Fuses in a Fluke 177 Multimeter
Hardware
Update 4/2/13: After writing a review on these replacement fuses on amazon.com someone recently commented on my review and shared some insightful information:
You should be able to test the fuses without opening the case. On my Fluke 23-III, I plug the red lead into the standard Resistance-Voltage-Continuity port, and touch the lead tip into one of the fused Amperage ports. Set the Fluke to measure resistance. No need to use the black lead since the common port is already connected to the other side of the internal fuse.
I haven’t tried that yet, but that makes sense. So if you are just trying to figure out if your fuse is blown or not you can try that.
Step 1: Remove the 4 phillips screws on the back of the multimeter.
Note: if there is a stand on the back you’ll have to lift it up to expose the two bottom screws that hold the battery compartment door AND hold the bottom half of the case together.
Step 2: Remove the screws and turn over the multimeter and take the top of the case off.
You don’t have to take the battery door off but you can. You may need to use your fingernails in the seam to get the face to separate but it came apart pretty easy for me.
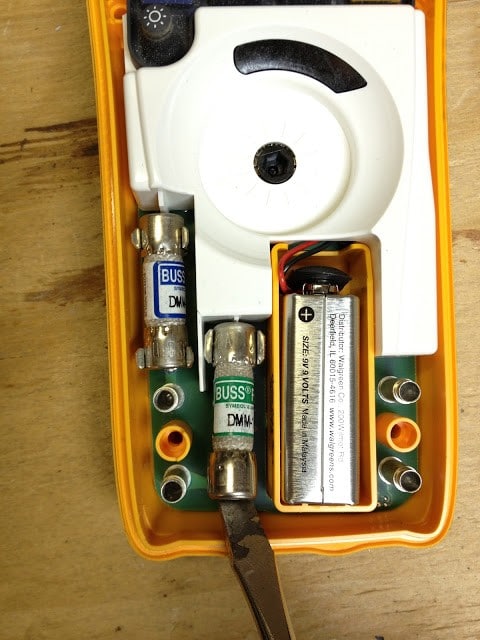
Step 3: Locate the 2 fuses.
They are both in the lower left corner.
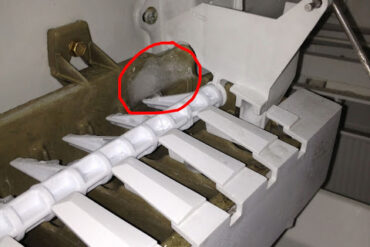
Step 4: Pry out the fuses.
Take note of which one goes where–this is important if you don’t want to immediately have to replace the 400mA fuse again.
 |
| Removing the 11 A fuse |
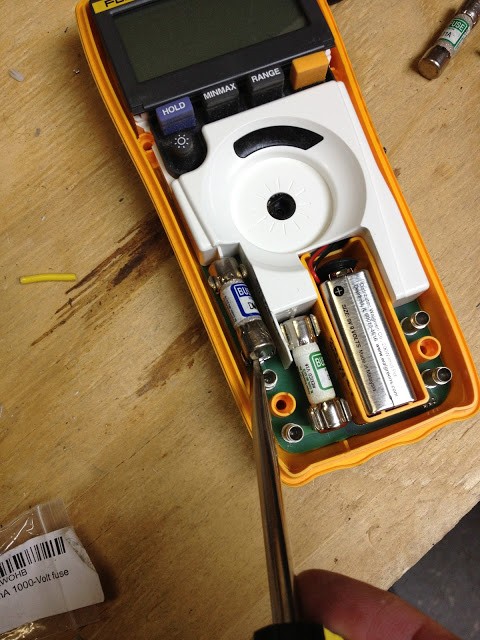 |
| Removing the 440 mA fuse |
Step 5: Test the fuses.
You can test the fuses with a different multimeter (although this multimeter will still work to test resistance even with the fuses out, because essentially they are out now). The “blown” fuses should measure an open circuit (or infinite resistance):
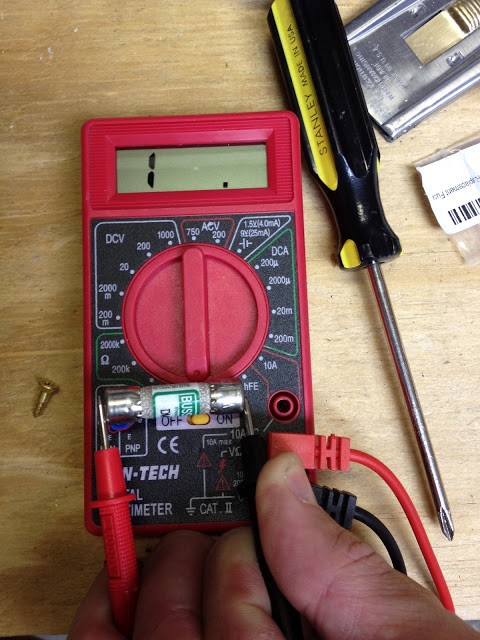 |
| The blown fuse measures an open circuit |
Note how dark in color the bad fuse is versus the bright white new one:
 |
| The new fuse is on the left and the darker one is on the right. |
The good fuse will measure like this (here on the 200 ohm setting):
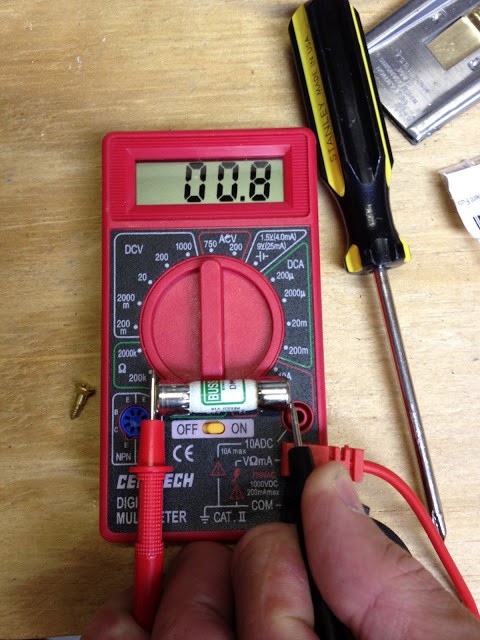 |
| The good fuse measures .8 ohms |
Step 6: Reinstall the fuses.
They will snap in there easily. Make sure the fuse with blue writing (440 mA) is in the top left and the green (11 A) fuse is in the bottom right. One thing you should watch out for is that the fuse does not touch the terminal. It is possible to have the fuse too low and it will touch the top terminal in the picture below. I don’t know what it would do if that was the case.
 |
| Don’t let the fuse touch the terminal. |
Step 7: Put the front case back on and reinstall the 4 screws on the back.
Piece of cake.
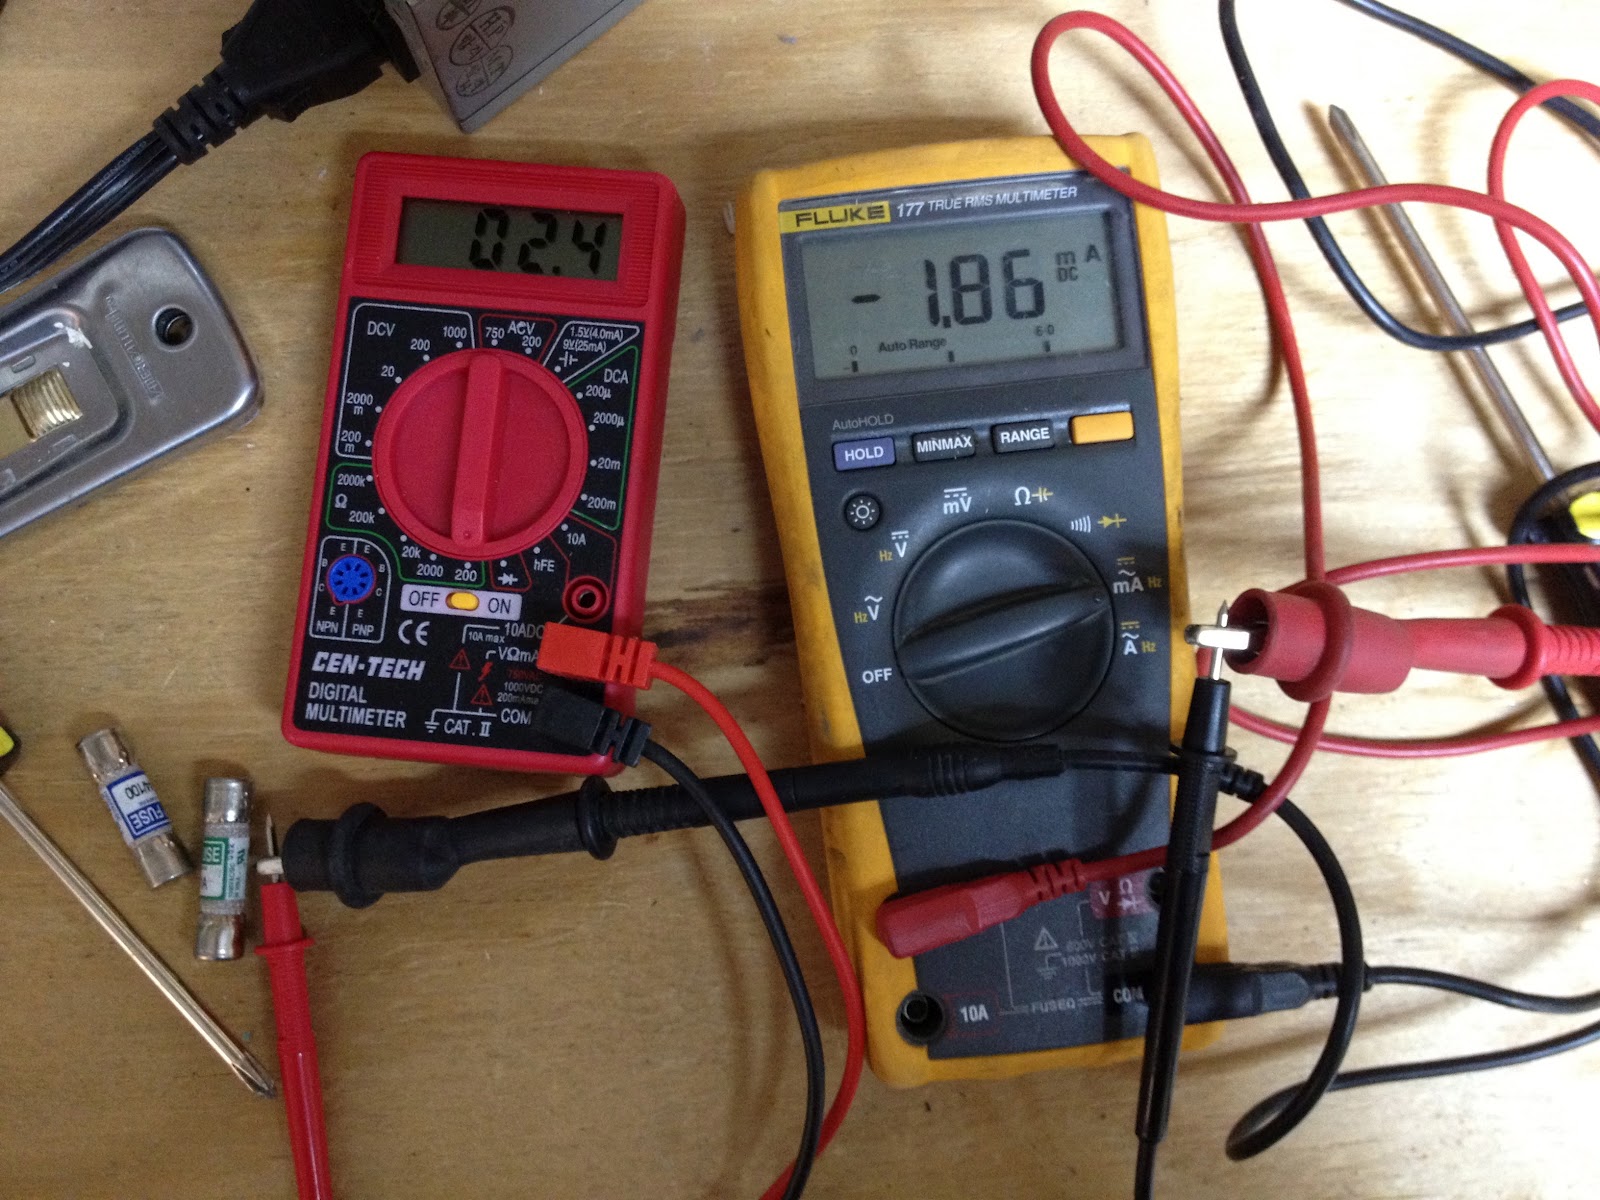
Just for fun I decided to test my new fuses by measuring the current that my cheap multimeter uses to test resistance. 1.86 mA flows through whatever circuit you are testing for resistance and the resistance of the input of the Fluke 177 is 2.4 ohms when it’s in the 400 mA terminal and on the DC Amp setting:
 |
| Measuring the current used in testing resistance. |
Other Useful Information:
Amazon Associate Disclosure: As an Amazon Associate I earn from qualifying purchases. This means if you click on an affiliate link and purchase the item, I will receive an affiliate commission. The price of the item is the same whether it is an affiliate link or not. Regardless, I only recommend products or services I believe will add value to Share Your Repair readers. By using the affiliate links, you are helping support Share Your Repair, and I genuinely appreciate your support.
Related