We’ve had the fan on the power supply of these computers go out four times now (out of the 24 GX520’s we own). Here is how to replace it. One thing to note. Dell “color coded” the features of the inside of their computer so you can look for the baby blue parts as to clues for what you should use to disassemble it.
How to Replace the Power Supply in a Dell Optiplex GX520
Hardware:
Parts Needed:
Tools Needed:
- Phillips Screwdriver (get a good set here
 )
)
 |
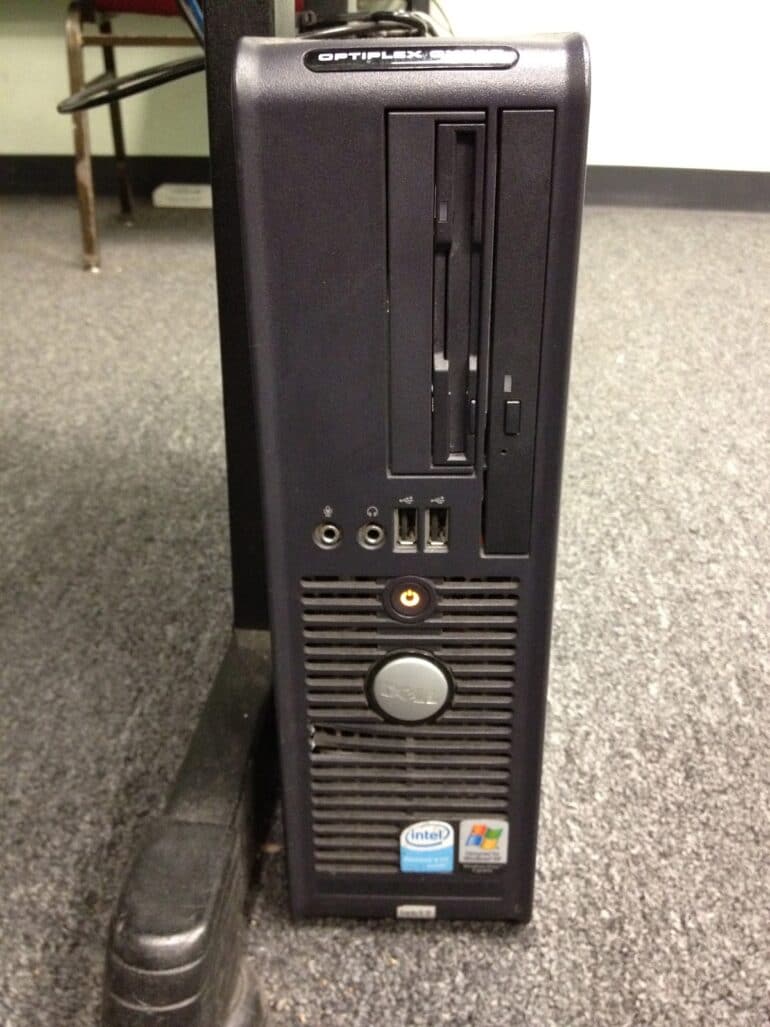
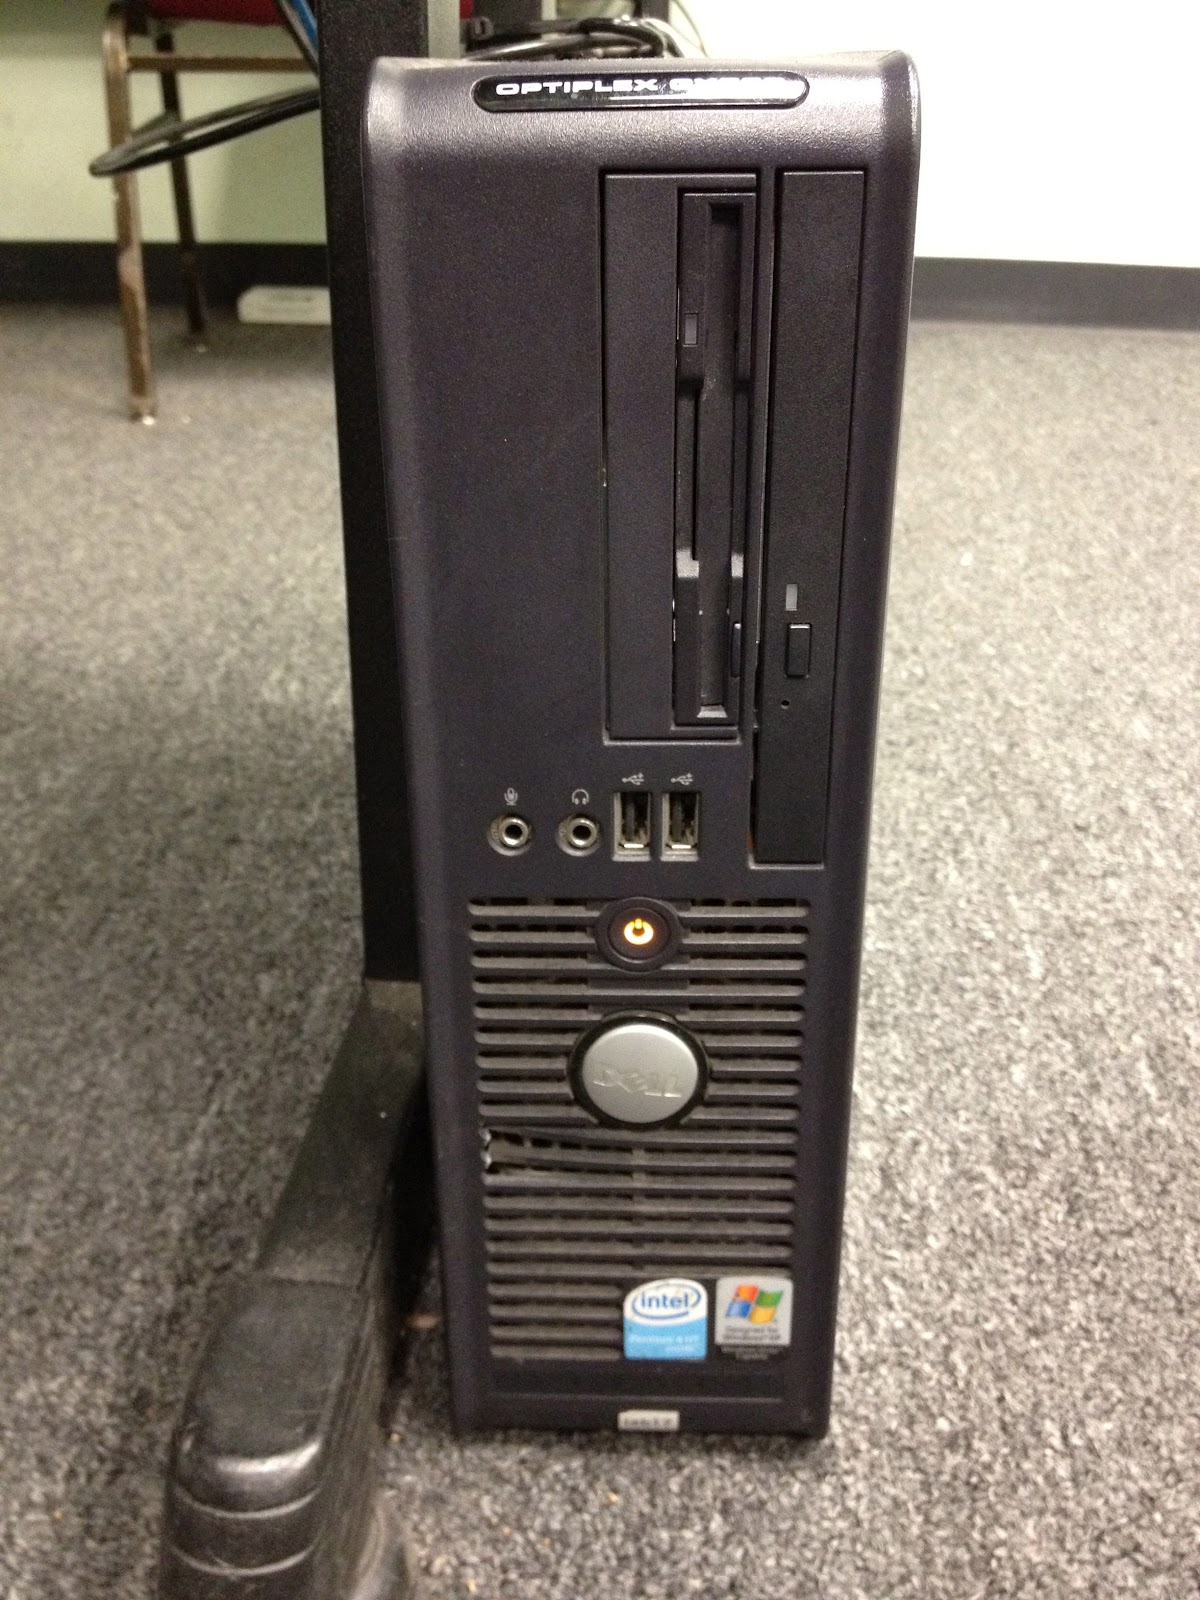
| Dell Optiplex GX520 with a flashing amber power button indicating a power issue |
Step 1: Remove the cover off the side/top of the CPU.
Lay the CPU flat on its side with the side up that is indicated by the arrow on the latch:
When you pull the latch to the direction that would be left in this picture, one edge of the case’s side will lift up:
The case sits down into a slot on the other end so open up the case (like it is on hinges on the other side) and then lift out.
Step 2: Remove the hard drive.
Dell has made it (rather) easy to remove the hard drive in that they install it in a bracket that clips into the chassis. To remove it, squeeze the two blue tabs on either side of the one end (circled in red below) and then lift up. It is tucked into a tab on the other end.
Lift up the drive on that end and the remove the other end from the notch it’s tucked into.
Unplug the power supply cable (black connector with orange, red, yellow, and 2 black wires) and the SATA cable (blue cable with black connector with baby blue tab on the end) and then release the cable tie that connects the power cable from the drive chassis:
You do not have to cut this cable tie! Simply slide the tie towards the inside of the loop and slip out. Now you can remove the hard drive from the case. Set it somewhere were you won’t knock it off the table 🙂
Step 3: Remove the main power supply connector from the motherboard.
Follow the largest bundle of wires from the power supply to the motherboard. There is a white connector with a squeeze release tab on one side. Squeeze the tab at the top and then wiggle back and forth as you pull it out.
Step 4: Remove the CD drive (if applicable).
If your CPU has a CD drive it will be on top and you remove it by first pulling up the blue tab and then sliding it in (as if you press on the exterior face of the CD drive, which you can do to aid its removal).
You do not need to disconnect the ribbon from the CD drive or from the motherboard, simply just set it aside. Be careful not to damage the motherboard though by setting something on it or bending any of the components on it.
Step 5: Remove the diskette drive (if applicable).
This definitely dates these computers–diskette drives. The diskette drive is below the CD drive. You lift the same tab marked in blue that you lifted to remove the CD drive. The diskette drive will slide in (press on the exterior face of it to push it in) and then it will come straight up following some slots that the screws on each side slide in to install.
Step 6: Disconnect and pull out the extra motherboard power connector.
This computer has a smaller power cable running from the power supply to the motherboard (circled in red below).
Squeeze the tab (on the left side in the picture) and pull out.
You’ll then need to feed the cable back out from where it is fed through part of the CPU’s chassis. Be careful not to bend down the capacitors that are sitting up on the motherboard there–they bend easily and you could break one of their leads off.
Step 7: Unscrew the screws holding the power supply to the chassis.
On the outside of the case there are 3 black screws you will need to remove:
Step 8: Remove the power supply.
Push the power supply in about a quarter inch till it stops (from the power cord connector in). It is hooked under a tab on the chassis. Now you can lift it straight up and out of the case.
Power supply out:
Now follow the steps in reverse to reinstall the new power supply. The power supply is pretty heavy for its size so be careful that you don’t drop it into the open case because there are parts on the motherboard that can be damaged.
Here are all my other Dell Computer Repair Postings:
Amazon Associate Disclosure: As an Amazon Associate I earn from qualifying purchases. This means if you click on an affiliate link and purchase the item, I will receive an affiliate commission. The price of the item is the same whether it is an affiliate link or not. Regardless, I only recommend products or services I believe will add value to Share Your Repair readers. By using the affiliate links, you are helping support Share Your Repair, and I genuinely appreciate your support.
Related


This website is a google blogpsot template, I didn't design it. You usually can simply press the space bar to go down on a web page in any modern web browser–try that (press shift and then space to go up). Let me know if that doesn't work.
Your site is unusable because of the black strip on the right side that has "About Me" and "Archive" etc. I CANNOT GET TO MY SCROLL BAR SO I CAN READ YOUR SITE!!