I was running into a problem where whenever I went to a specific show I had recorded the DVR would reboot. I couldn’t even delete the offending show. I tried restoring to factory settings but that doesn’t delete any recordings and didn’t solve the problem. I then decided that I needed to reformat the hard drive. I had the hardest time finding where you go in the menus to reformat the hard drive and could not find it anywhere in the pdf manual (which oddly you cannot do a text search in because of the way the text is encoded) so once I found it I wanted to document it for myself and anyone else who needed to do it.
How to Reformat the Hard Drive on a Channel Master CM-7000PAL DVR
Hardware:
Step 1: Press the “pal” button on the Channel Master remote.
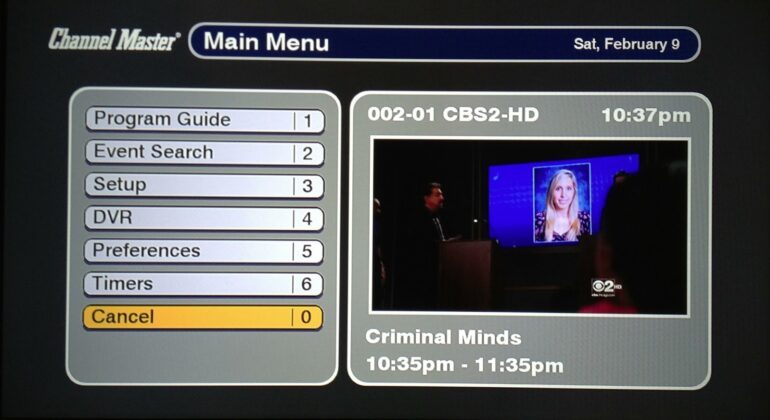
Step 2: Press menu on the Channel Master remote.
Step 3: Select “Setup” from the on-screen menu and press the SELECT button (or press 3 on the numerical keypad).

Step 4: Select “System Setup” from the on-screen menu and press the SELECT button (or press 2 on the numerical keypad).

Step 5: Select “Diagnostics” from the on-screen menu and press the SELECT button (or press 6 on the numerical keypad).

Step 6: Select “HDD” from the on-screen menu and press the SELECT button.

Step 7: Select “Reformat” from the on-screen menu and press the SELECT button.

Step 8: Select “Yes” from the on-screen menu and press the SELECT button.


All my DVR Posts:
- Cutting the Cord–How to Use a DVR Without Cable and With No Monthly Fees
- How to Upgrade Your TiVo Series 3 Hard Drive
- How to Reformat the Hard Drive on a Channel Master CM-7000PAL DVR (this post)
- Program a Channel Master CM-7000PAL DVR Remote to run a Vizio TV
- Upgrade the Hard Drive on a Channel Master CM-7000PAL DVR
Amazon Associate Disclosure: As an Amazon Associate I earn from qualifying purchases. This means if you click on an affiliate link and purchase the item, I will receive an affiliate commission. The price of the item is the same whether it is an affiliate link or not. Regardless, I only recommend products or services I believe will add value to Share Your Repair readers. By using the affiliate links, you are helping support Share Your Repair, and I genuinely appreciate your support.
Thanks for posting this. I’m not sure I would have ever found how to do this in the menu system.