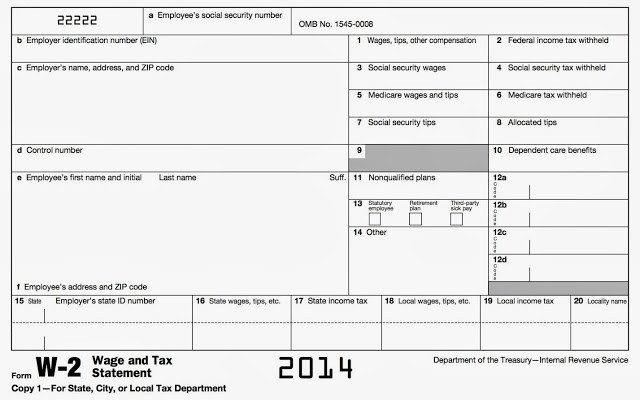
W2’s are coming out right about now so you are probably (hopefully) beginning to think about doing your taxes and at least storing the files (many in pdf form) on your computer. Many of those files have social security numbers on them so it is a good time to think about securing those files on your computer. If you have a Mac running OS X you have a built-in option available to you… an encrypted password protected disk image. A few years ago I went on a campaign to eliminate any social security numbers from my hard drive so that it it was stolen there would be less likely a chance of someone stealing my family’s identity. On this post I’ll show you how to create password protected, encrypted, folders on your Mac running OS X.
How to Create a Secure Encrypted Password Protected Folder on a Mac
Step 1: Run Disk Utility.
It is located in the utilities folder in your applications folder.
 |
| Standard location: Macintosh HD > Applications > Utilities > Disk Utility.app |
You can optionally easily launch it by simply typing “Disk Utility” in the spotlight search (top right corner of your Mac’s screen)…
 |
| Launch Disk Utility from the Spotlight Search |
Step 2: Create a new disk image.
There are two different ways you can create a new disk image: 1. A blank disk image, and 2. from a folder. We are going to cover creating a new blank disk image. To do so from the menus: File > New > Blank Disk Image…
| Create a New Blank Disk Image: File > New > Blank Disk Image… |
Or use the keyboard shortcut: option-Command-N. This will bring up the New Blank Image window:
| New Blank Image window of Disk Utility |
Step 3: Pick the location on your hard drive.
This can be wherever you choose.
Step 4: Set the Name, Size, Format, Encryption, Partition, and Image Format.
Name
For the name there really are two different fields, the file name, which ends in .dmg (located at the top in the Save As: box) and the name of the disk image (the Name: field) that will show up in the Finder when you open it–I always name them both the same.
Size
For disk images the size is set and will always occupy that much space on your hard drive regardless of how many files are inside it. You want to make it big enough but not too big. You can always create a new disk image at a larger size later and copy the files to the larger one later if you need the space.
Format
I don’t know why you’d pick anything but the default, Mac OS Extended (Journaled).
Encryption
There are two choices: 128-bit and 256-bit AES encryption. Anything is better than nothing but just for pdf’s you can pick 256-bit and it’s not going to take a lot of time to open them. Pick one of the two encryption choices.
 |
| Disk Image encryption types: 128-bit AES and 256-bit AES encryption |
Partitions
Just pick: Single partition for this use.
Image Format
Choose the default, “read/write disk image.” Here’s about what it should look like now:
 |
| Encrypted, password-protected blank disk image |
Step 5: Click “Create” and then enter a strong password.
 |
| Enter the password for your blank disk image |
Disk image tells you whether it is a strong password or not. There are very little restrictions on which characters you can use in your password. Important note: UNCHECK the box next to “Remember password in my keychain.”
 |
| Password Strength: Excellent |
Step 6: Mount your disk image for use.
Find the file in the finder (or on the desktop in my case) and double-click on it to open it. A window will open up to ask you for your password:
 |
| Enter password to access encrypted disk image |
Step 7: Locate the mounted disk image in the finder.
Once you have successfully entered your password and after OS X has decrypted the folder you will find it located in the finder as a mounted drive in the left column of the finder window:
 |
| The mounted disk image shown in the Finder |
Step 8: Place files in the disk image.
You can place files in the disk image in many ways. You can: drag and drop files into the image or even save files into the image. Important note: if you drag a file into the disk image it adds a copy of the file to the disk image because the disk image is a separate drive (and that’s the protocol the OS follows when dragging and dropping from one drive to another). You’ll need to delete (securely) the original after you have copied it to the disk image. This is important if you are trying to rid your HD of unprotected files containing your social security number.
Step 9: Unmount the disk image when you are done.
Make sure to unmount the disk image by clicking the “eject” icon next to the folder or by clicking on the drive and using the keyboard shortcut for ejecting a drive: Command-E.
Amazon Associate Disclosure: As an Amazon Associate I earn from qualifying purchases. This means if you click on an affiliate link and purchase the item, I will receive an affiliate commission. The price of the item is the same whether it is an affiliate link or not. Regardless, I only recommend products or services I believe will add value to Share Your Repair readers. By using the affiliate links, you are helping support Share Your Repair, and I genuinely appreciate your support.