It ought to be obvious how to set the time on your Brother MFC-8950DWT but it’s a bit tricky. I’ll walk you through it though…
How to Set the Time on a Brother MFC-8950DW Multi-Function Printer
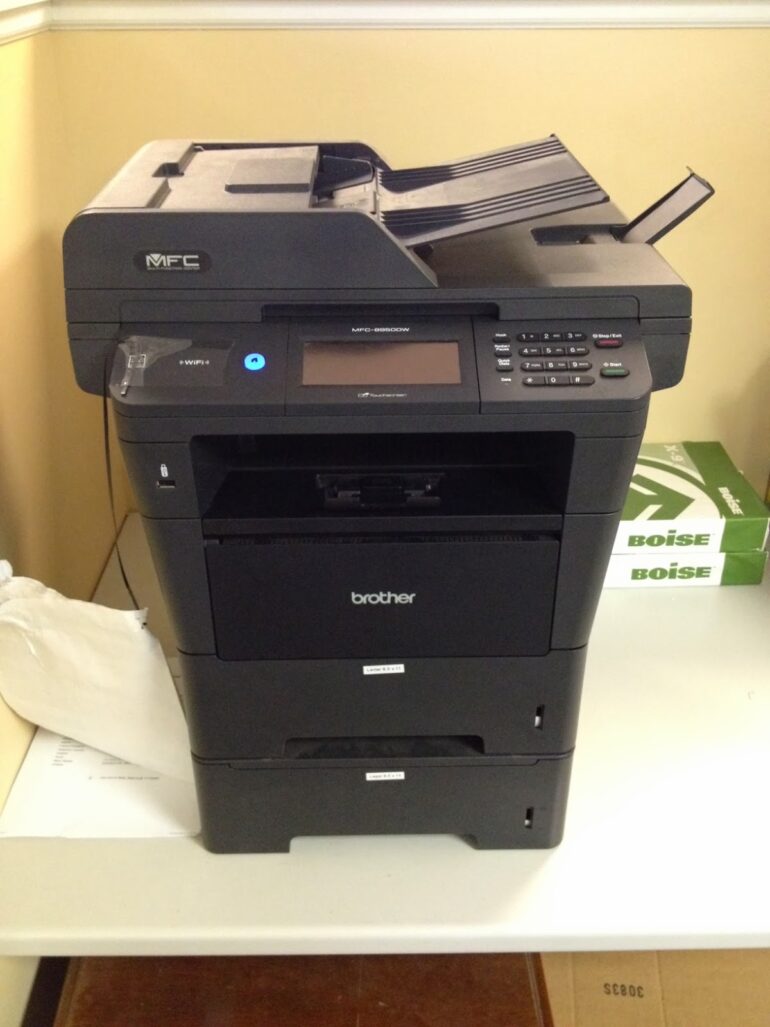
Hardware:
Relevant Supplies:
Step 1: In your browser enter the IP address of your printer in the address field and hit return.
You’ll get a page like this:
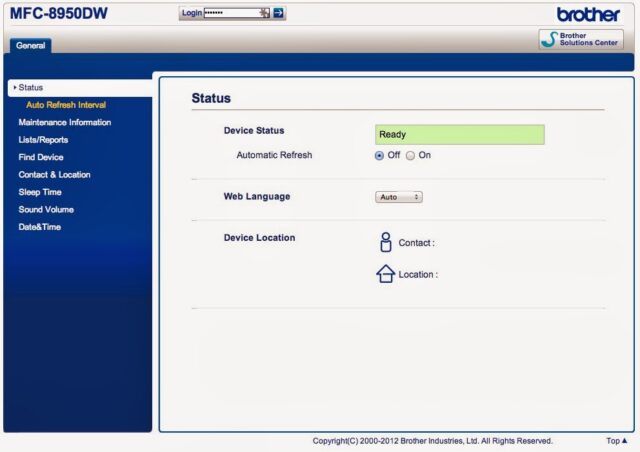 |
| Brother MFC-9850DW Main Page |
If you don’t know the IP address and you have a Mac you can open up “System Preferences,” click on “Printers & Scanners,” double-click on the printer in the left column, click on the “Options & Supplies” button, then click on “Show Printer Webpage…” According to this Brother support document here, the default password is “access.” I don’t remember what it was on mine when I started but I always change them from the defaults. You shouldn’t need to log in to change the time though.
Step 2: In the left Blue column, click on “Date&Time.”
This is what you will see:
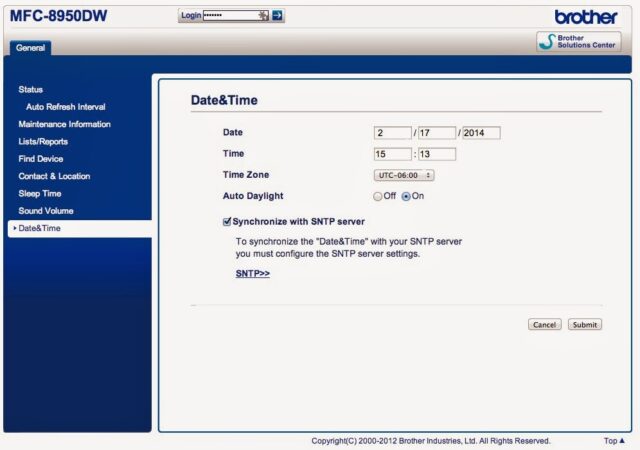 |
| Date & Time settings page for Brother MFC-9850DW |
Step 3: Enter the correct date and time and click the Submit button.
If you don’t know what UTC setting to use, take a look at this pdf table I ran across that allows you to easily convert time zones to UTC. The most common ones in the USA are Pacific (UTC-08:00), Mountain (UTC-07:00), Central (UTC-06:00), and Eastern (UTC-05:00). Note: if someone is using the printer at the time you may not be able to change the settings. Click the “Submit” button to save the settings. You should then see the words “Submit OK” in green at the top:
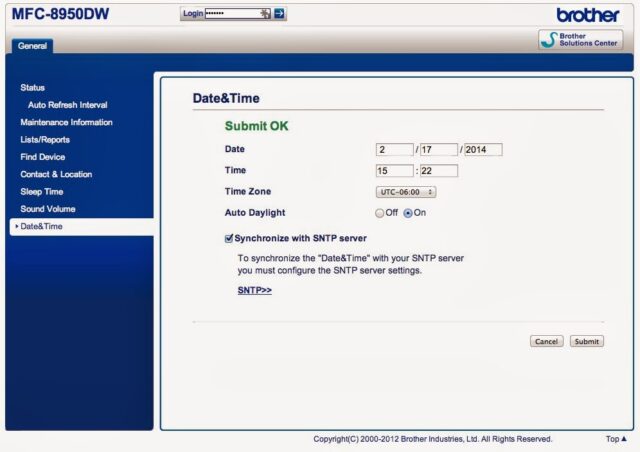 |
| Submit OK |
Step 4: Set up a SNTP server so you don’t need to set the time again.
This is not necessary but it is easy to set up the SNTP (Simple Network Time Protocol), which is a server that will tell the printer, or any enabled networked appliance for that matter, the current date and time. BTW: To set up this you must log in as administrator. Click on the SNTP>> link on the Date&Time page.
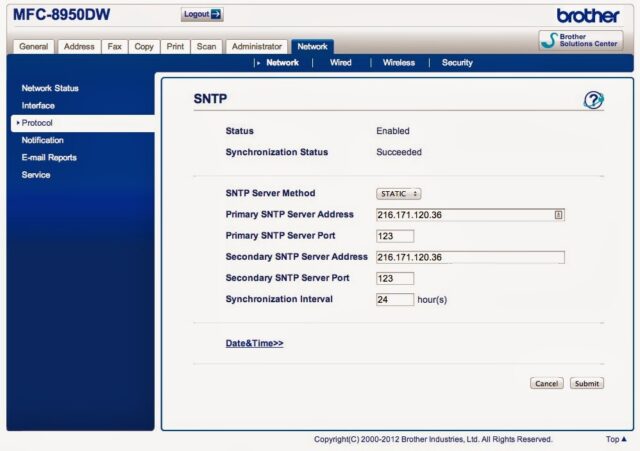 |
| SNTP Settings Page for Brother Printer |
You can find a list of time servers here. Pick one close to you in your time zone. I used the default SNTP Server port of 123 and entered the same info in both the primary and secondary but you can feel free to enter a different one from that list. Once you have entered the settings click the “Submit” button. You will see the following page:
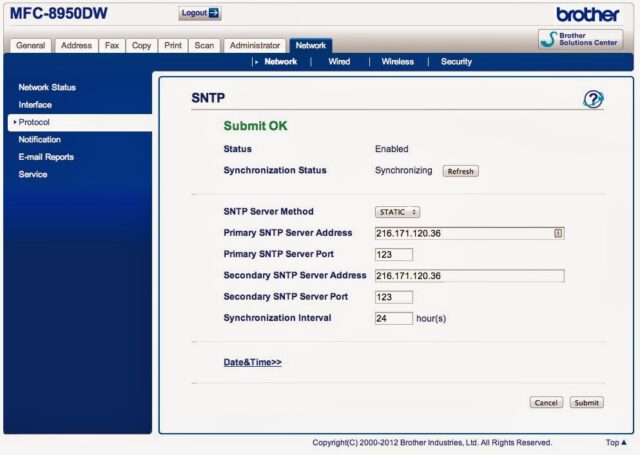 |
| SNTP Settings Saved |
You should see the “Synchronization Status” now say “Synchronizing.” Click on the “Refresh” button until you see it say “Succeeded” as follows:
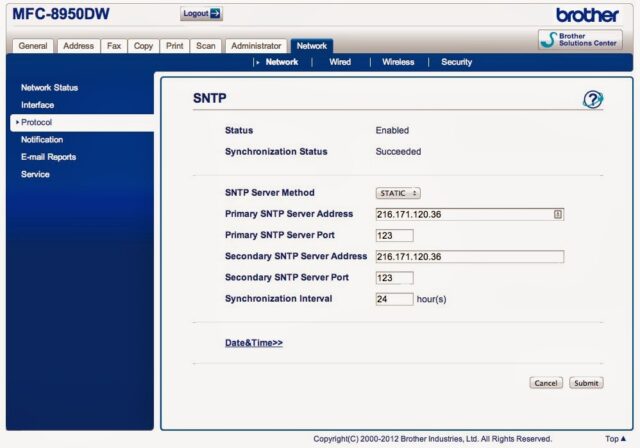 |
| Brother SNTP Synchronization Status: Succeeded |
My Brother MFC-8950DWT Scanner Blog Posts:
- How to Set Up the POP3/SMTP Mail Server Settings for Gmail on your Brother HL-3170CDW Printer
- How to Set the Time on a Brother MFC-8950DW Multi-Function Printer (this post)
- How to Scan Files to Dropbox
- How to Set the Time on a Brother MFC-8950DW Multi-Function Printer
- How to Set Up the POP3/SMTP Mail Server Settings for Gmail on your Brother HL-3170CDW Printer
- How to Connect a Brother HL-3170CDW to Your Wireless Network
- How to Fix Error: Replace Parts Drum Unit Reset the DR720 Drum Counter on a Brother MFC-8950
Amazon Associate Disclosure: As an Amazon Associate I earn from qualifying purchases. This means if you click on an affiliate link and purchase the item, I will receive an affiliate commission. The price of the item is the same whether it is an affiliate link or not. Regardless, I only recommend products or services I believe will add value to Share Your Repair readers. By using the affiliate links, you are helping support Share Your Repair, and I genuinely appreciate your support.