I just purchased a Brother HL-3170CDW, which we keep in our basement. I don’t walk by it every day and my wife uses it so I want to know when it needs toner. The HL-3170CDW is capable of sending out emails to notify you of different things so I wanted to enable those features. I’m a big Google Apps/Gmail user so I just created an email account for my Brother Printer and wanted to set up the features. Here’s how you can do it:
How to Set Up the POP3/SMTP Mail Server Settings for Gmail on your Brother HL-3170CDW Printer
Hardware:
Relevant supplies:
- Brother HL-3170CDW Toner Cartridges Set (OEM) Black. Cyan. Magenta. Yellow
- RPLMNT DRUM SET 4PC-MFC9130CW MFC9330CDW HL3140CW HL3170CDW (DR221CL)
Step 1: Browse to the printer in your web browser.
Step 1a: Open “System Preferences”
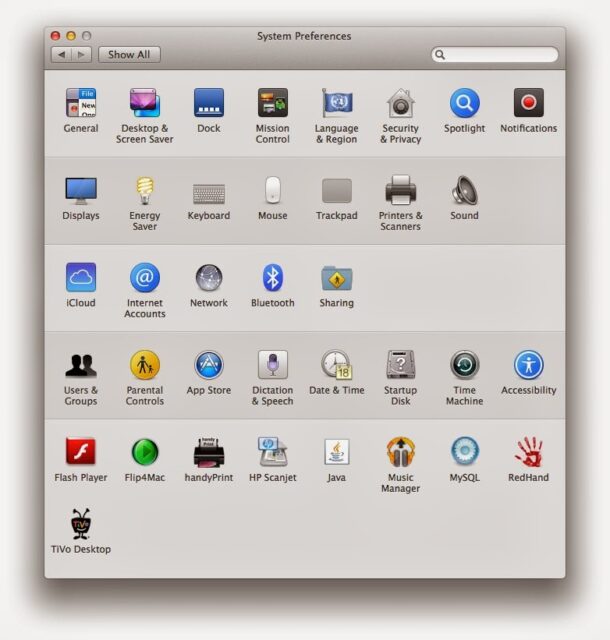 |
| System Preferences on you Mac |
Step 1b: Click on “Printers & Scanners.”
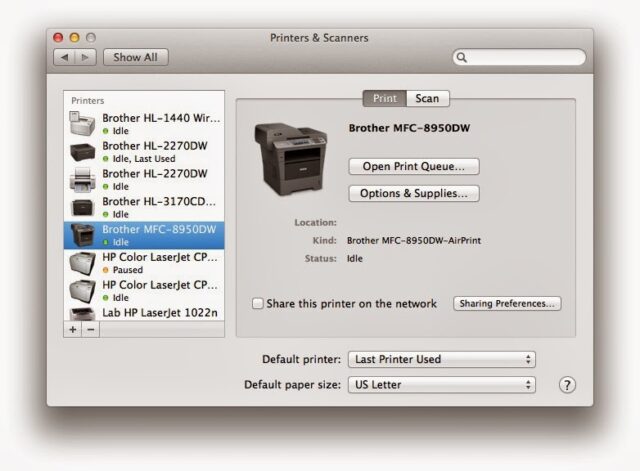 |
| Printers & Scanners Preferences Window |
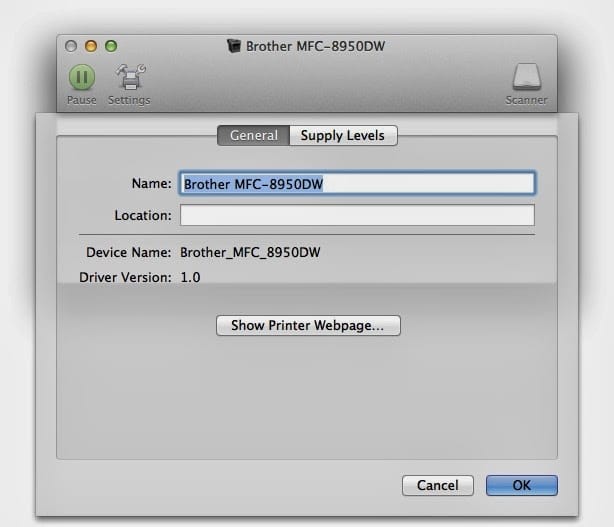
Step 1c: Double click on the printer you want to browse to and that will open up this window:
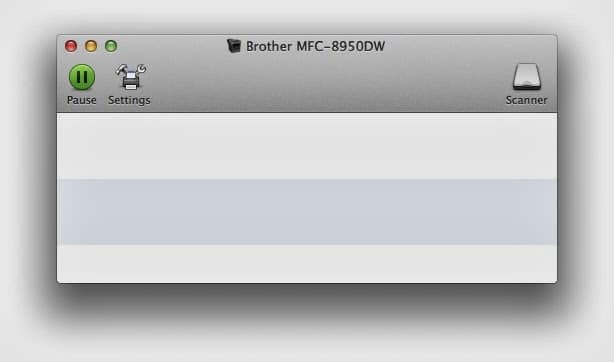 |
| Brother printer window |
Step 1d: Click on the “Settings” icon at the top.
 |
| Brother Settings window |
 |
| Logged in to the main screen of your Brother printer |
Step 1e: Finally, click on the “Show Printer Webpage” button.
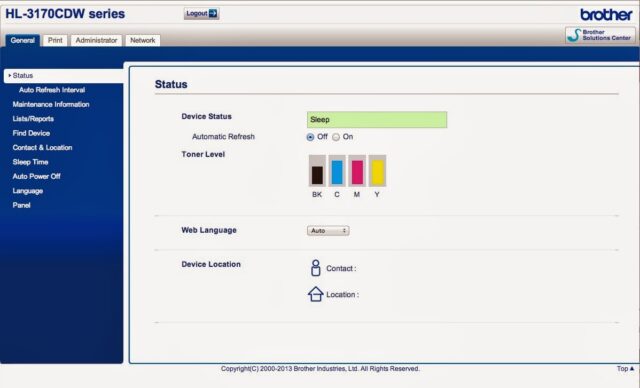
This will not tell you the IP but it will get you to where you want to go (and now I’m switching back to the printer example I started with):
 |
| The main screen when you first browse to your Brother printer |
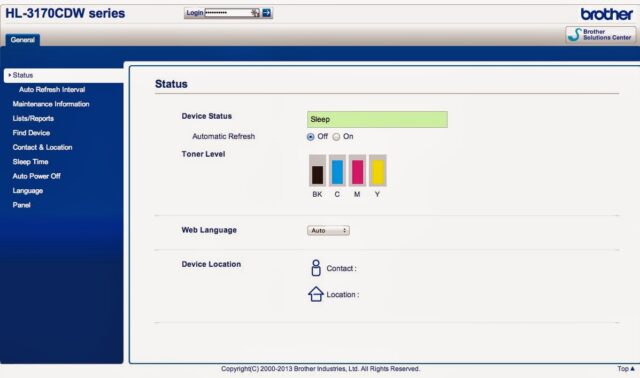
Step 2: Log into your printer.
You will now be able to change the settings you want to change since you are logged in. Note that there are now 3 additional tabs at the top of the screen: Print, Administrator, and Network.
Step 3: Click on the “Network” tab at the top.
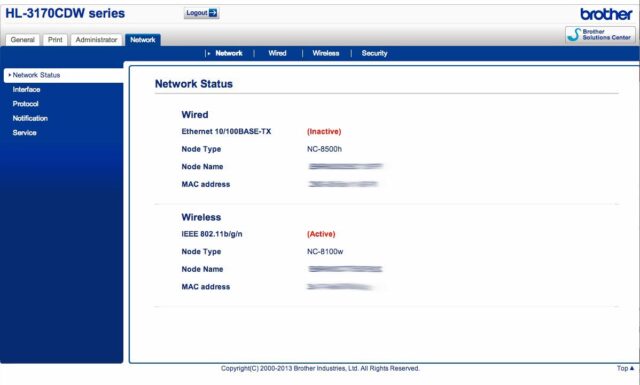 |
| Network tab of the settings |
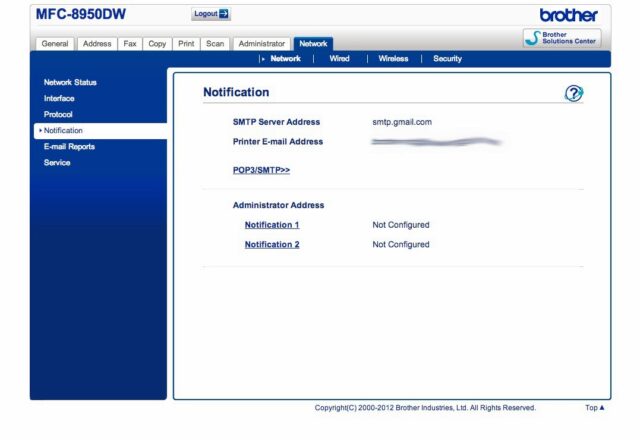
Step 4: Click on “Notification” in the blue left column.
This is what you’ll see:
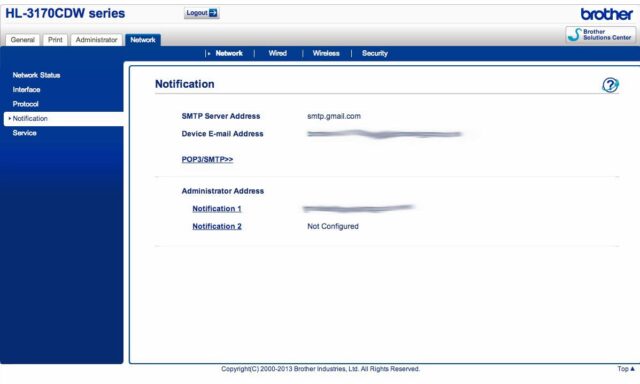 |
| Notification settings in the Network Section |
Step 5: Click on the “POP3/SMTP>>” link in the main window.
This is the screen you’ll be taken to:
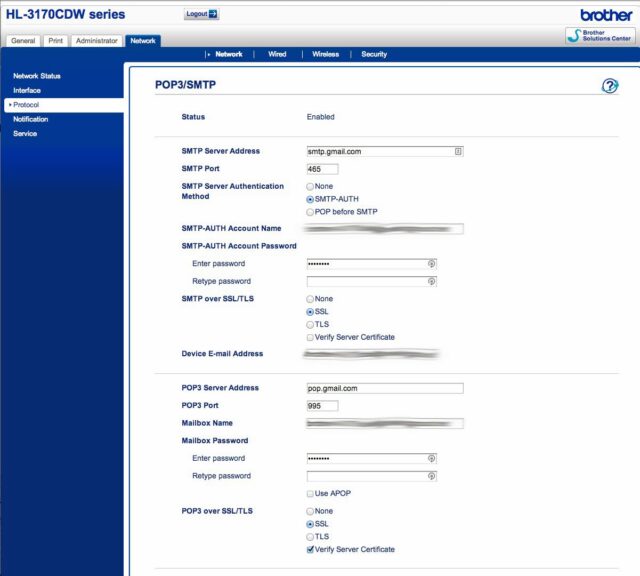 |
| Setting up POP3/SMTP for gmail or google apps |
Step 6: Enter the gmail/google apps information as follows:
SMTP Server Address: smtp.gmail.com
SMTP Port: 465
SMTP Server Authentication Method: SMTP-AUTH
SMTP-AUTH Account Name: <your full gmail/google apps email address>
SMTP-AUTH Account Password: <your password of course>
SMTP over SSL/TLS: SSL
Device E-mail Address: <this is the email account I created specifically for this printer, but you could use your own email address>
POP3 Server Address: pop.gmail.com
POP3 Port: 995
Mailbox Name: <printer’s full email address>
Mailbox Password: <printer’s email account password>
Note: if you’ve already saved your preferences the second password (Retype password) field will be empty but you don’t need to re-enter it if you are not changing it.
POP3 over SSL/TLS: SSL
Note: you can uncheck the “Verify Server Certificate” if these settings don’t work at first.
Step 7: Test the E-mail send configuration.
Enter your email address and check the box next to “Send Test E-mail” and click the “Submit” button.
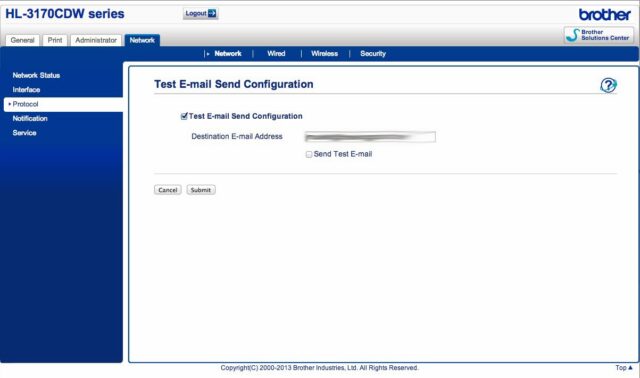 |
| Test E-mail send configuration screen |
If your settings are correct then you will see the following:
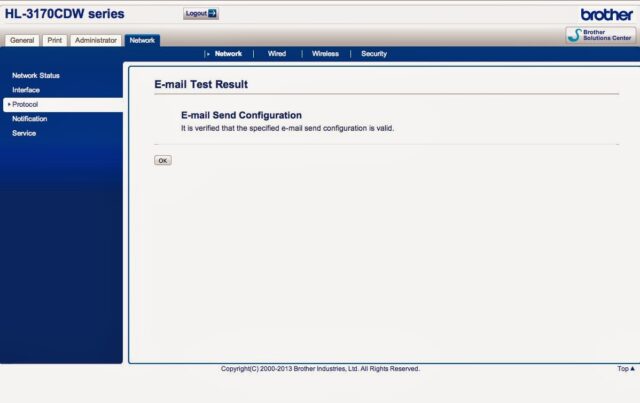 |
| Successful E-mail test result screen |
Step 8: Set up your notifications.
Click on the “Network” tab at the top and then on the “Notification” link on the blue column on the left. Click on the “Notification 1” link in the main window:
 |
| Notification general settings window |
Step 9: Enter your personal email and pick the events you want notified.
The “Administrator Address” is the email address where you want to receive the email notifications from your printer.
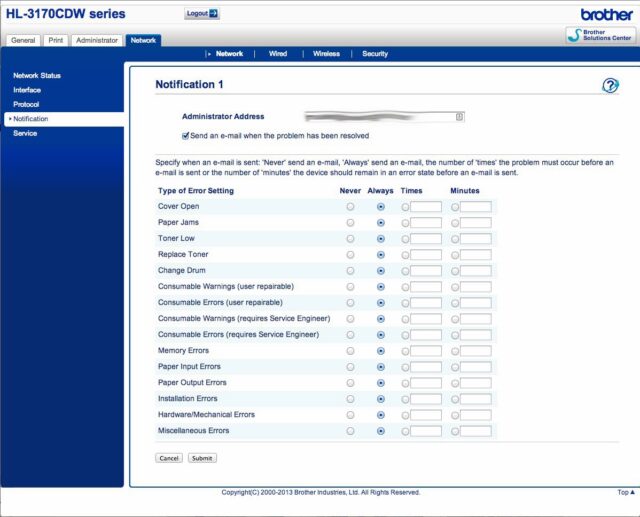 |
| Notification 1 settings |
Click the “Submit” button and you are ready to be notified when issues arise on your Brother printer.
Helpful links:
My Brother MFC-8950DWT Scanner Blog Posts:
- How to Set Up the POP3/SMTP Mail Server Settings for Gmail on your Brother HL-3170CDW Printer (this post)
- How to Set the Time on a Brother MFC-8950DW Multi-Function Printer
- How to Scan Files to Dropbox
- How to Set the Time on a Brother MFC-8950DW Multi-Function Printer
- How to Set Up the POP3/SMTP Mail Server Settings for Gmail on your Brother HL-3170CDW Printer
- How to Connect a Brother HL-3170CDW to Your Wireless Network
- How to Fix Error: Replace Parts Drum Unit Reset the DR720 Drum Counter on a Brother MFC-8950
Amazon Associate Disclosure: As an Amazon Associate I earn from qualifying purchases. This means if you click on an affiliate link and purchase the item, I will receive an affiliate commission. The price of the item is the same whether it is an affiliate link or not. Regardless, I only recommend products or services I believe will add value to Share Your Repair readers. By using the affiliate links, you are helping support Share Your Repair, and I genuinely appreciate your support.
John, excellent write up and very helpful. Quick question – do I need to create two email addresses here? One for the outbound SMTP and one for the Inbound Pop3? I.e. I would like the scanner to send from its own email address (call it workscanner@gmail.com) under the SMTP section but it wasn’t clear from the above if it is okay to use that same email address under the Device Email Address / POP3 section. Could you clarify?
There is only one email address and it is your return email and the credentials you’ll use from Google when you enter that account in the SMTP and POP3 sections.
Thank you so much for the help! 😀
Also need to do this
https://support.google.com/accounts/answer/6010255
https://www.google.com/settings/security/lesssecureapps
I would suggest creating a separate email account purely for the use of your scanner and then it doesn’t matter as much.