I recently installed a larger SSD in my MacBook Pro, taking me 100% SSD now. I have a Samsung 750 Gig SSD (not made anymore, get a 1T SSD here) in the main HD bay and my old 256 Gig SSD now in the Optical Drive HD Bracket
 in place of my Superdrive. I was using my SATA drive adapter to power up and use the 750 Gig HD when I needed to get something off of it but it’s a pain to hook it up and it requires one cord to plug into the wall. Here’s what it looked like when I was using it to install OS X on the new SSD I installed (not that handy):
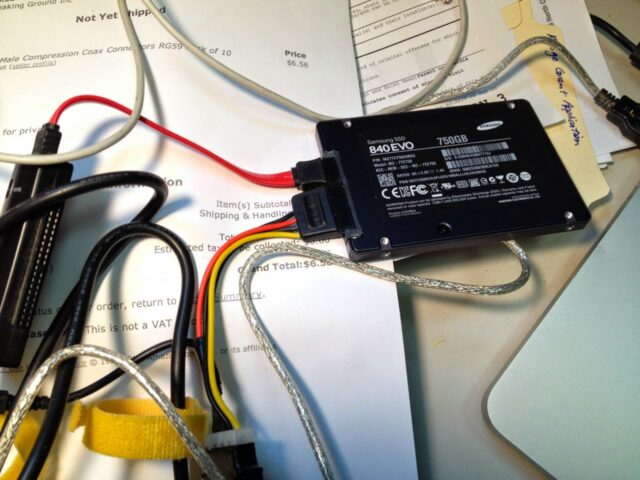 |
| My SATA HD rig for temporarily connecting bare drives up to my computer via USB |
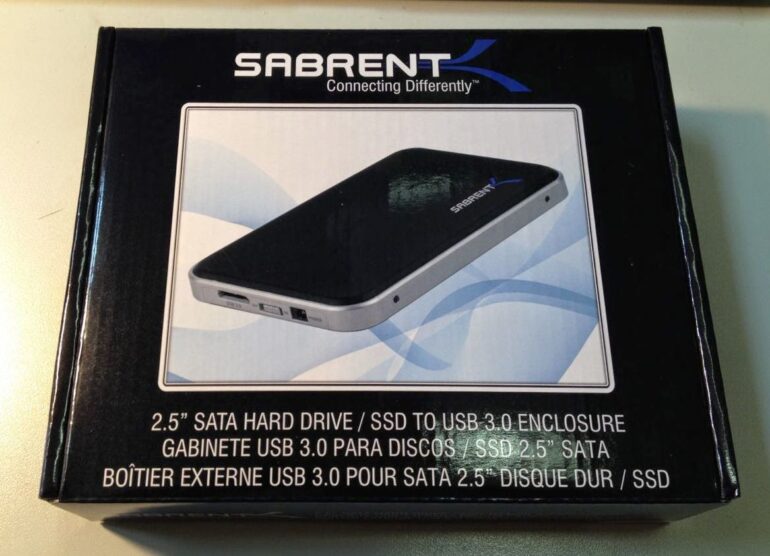
So I searched Amazon.com and found this case that had good ratings and decided to use it as the new home for my old
Samsung 750 Gig SSD. There’s no instructions inside the case so I figured I’d throw something together. Here’s what it takes to install a drive in it….
Sabrent USB 3.0 To 2.5-Inch Sata Aluminum Hard Drive Enclosure Case Installation Instructions and Review
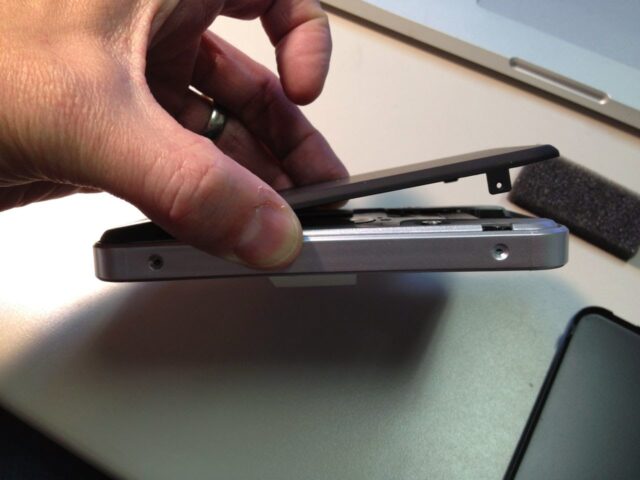
Step 1: Remove the top and the bottom from the case.
They are just set on the frame but can be a bit difficult to get off. Use your fingernail to pry them up. One pries up from the front (narrow) edge and the other pries up from the back (narrow) edge.
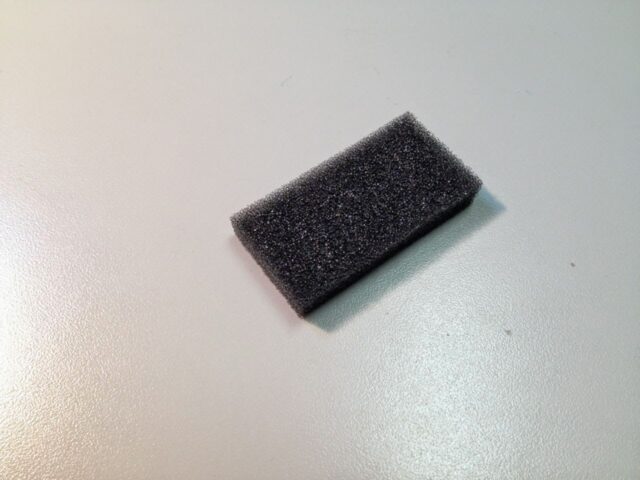
Step 2: Discard the styrofoam that you find inside.
I think some people might be tempted to put that inside the case after they install the drive but you don’t want that pushing on the drive cover.
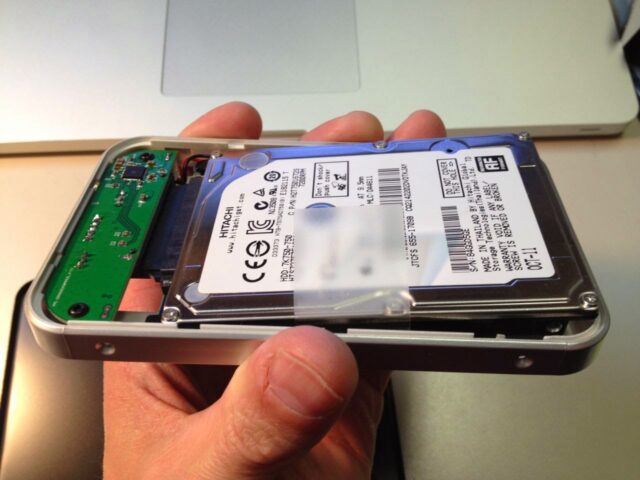
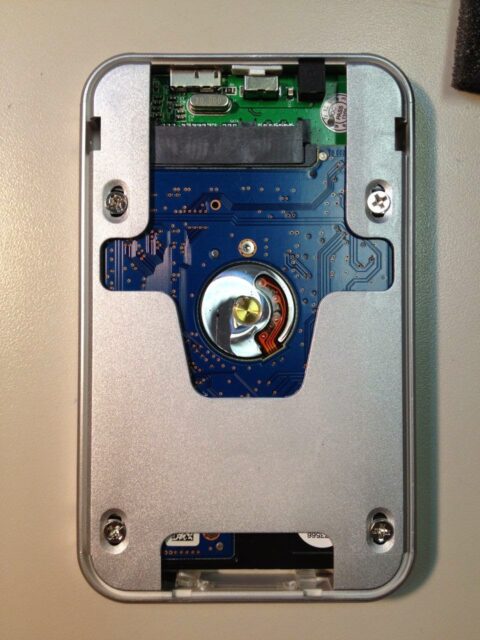
Step 3: Insert the HD into the plastic frame.
Put the connector end towards the black connectors with the circuit board side down.
Gently slide it onto the connector at an angle and then down into the frame.
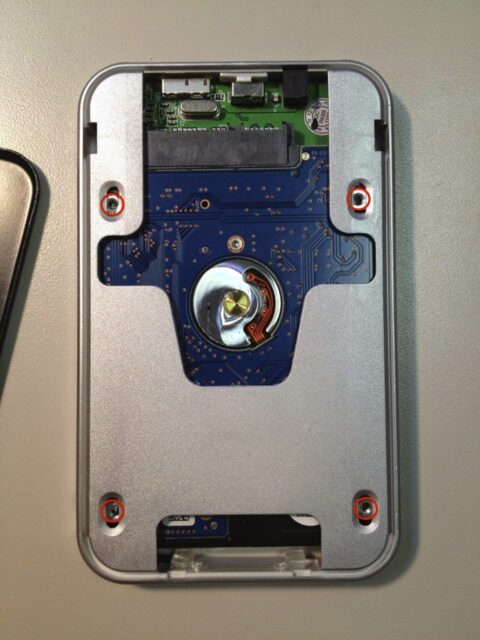
Step 4: Install the screws.
Install the 4 countersunk phillips screws into the 4 holes in the bottom face of the hard drive:
I had to squeeze the sides of the case to get the holes to line up with a couple of the screws. Here they are installed:
Step 5: Install the black aluminum top and bottom of the case.
There are tabs that hook into the end on one end of the top and bottom and tabs with screw holes on the other end. They hook into the frame like this:
 |
| Hook the one end into the frame and lower down the other end of each of the top and bottom panels |
The trick to getting them installed correctly is that the tab with the hole in it has to align with the slot that will allow it to enter the frame. Either side will fit on both sides.
Step 6: Install the 4 side screws.
This was a bit tricky and I needed to switch covers to get the screws to actually go in.
 |
| Installing the side screws that hold the top and bottom panels |
Here is the final product:
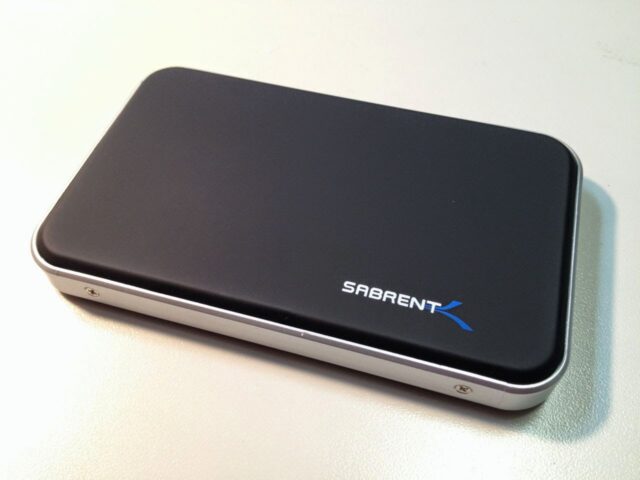 |
| Sabrent 2.5″ SATA HD/SSD Enclosure |
And connected to my MacBook Pro:
 |
| Sabrent 2.5″ SATA HD/SSD Enclosure in action–note the blue LED on the front |
Comparison to Western Digital My Passport:
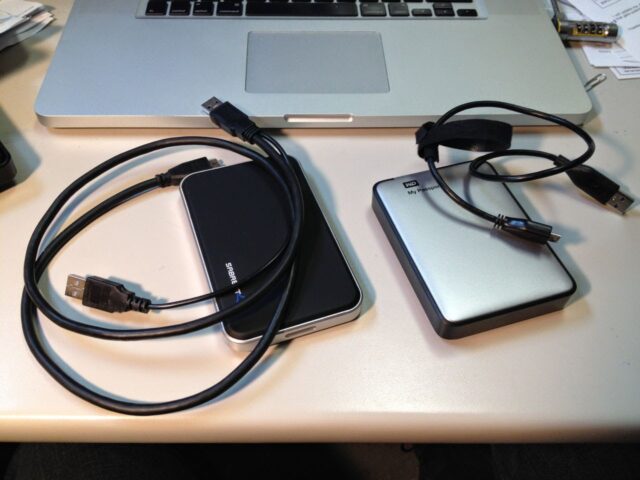 |
| Comparison to Western Digital WD My Passport |
 |
| Size Comparison Sabrent vs My Passport |
My Review:
Pros:
- The rubberized surface of the aluminum top and bottom feels nice.
- Heavy, maybe a bit too heavy
- Slip on case included (albeit very light)
- Looks nice
- Screwdriver included
- Plugs into 2 USB ports so that even the largest drive you install in it will be able to be bus powered
Cons:
- No installation instructions at all
- USB cord seems overly heavy duty and stiff (I tried to use the WD My Passport cord on the Sabrent but it would not power up with the WD cord)
- I had to mess around with the black top and bottom cover for a while to get the screws to go in
Other:
- It has a power port on the back as well for optionally powering it with a wall adapter or a USB cord that has a male power input on it as well but nothing in the box talks about that port.
Amazon Associate Disclosure: As an Amazon Associate I earn from qualifying purchases. This means if you click on an affiliate link and purchase the item, I will receive an affiliate commission. The price of the item is the same whether it is an affiliate link or not. Regardless, I only recommend products or services I believe will add value to Share Your Repair readers. By using the affiliate links, you are helping support Share Your Repair, and I genuinely appreciate your support.
Related