How to Add a Two Way Talking Touch-Screen Sensor to a GE Simon XT Alarm
Hardware:
 |
| GE Simon XT Alarm Panel |
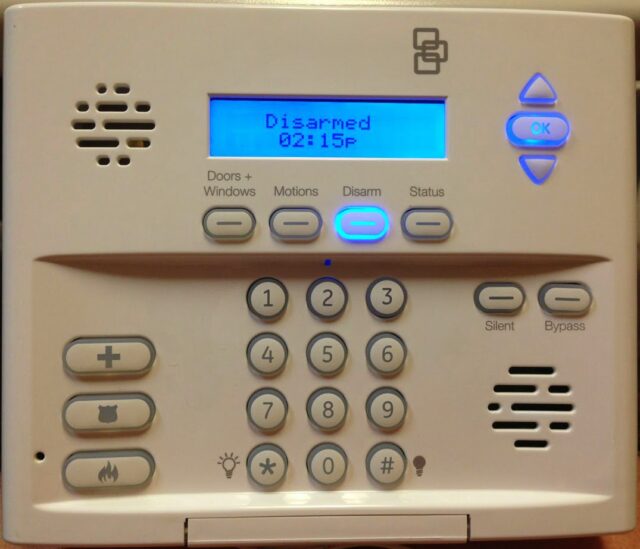
Step 1: Use the up/down arrows (above and below the OK button) to scroll to “System Programming” and press the “OK” button.
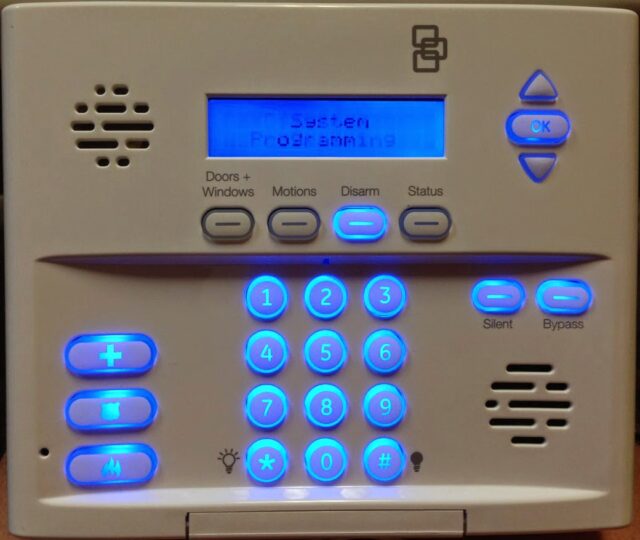 |
| Simon XT System Programming Menu Option |
Step 2: Enter the installer code.
You will need to ask for this code from your alarm company or the place you purchased the GE Simon XT alarm panel. It is four digits.
 |
| Simon XT Installer Code Prompt |
Step 3: Use the up/down arrows to scroll to “Sensors” and press the “OK” button.
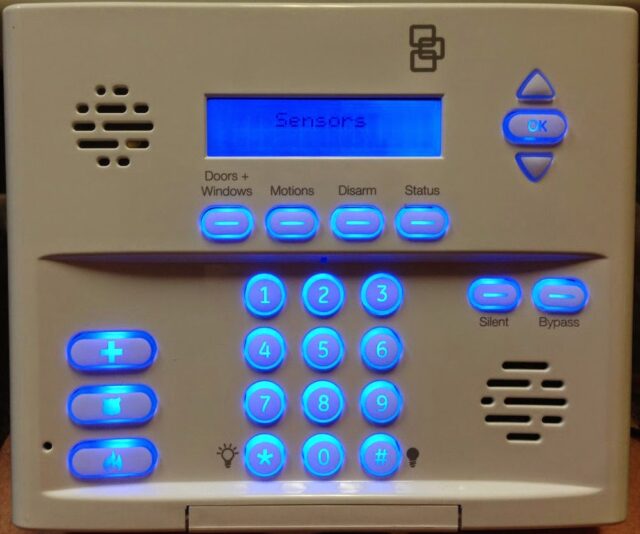 |
| Simon XT Sensors Menu Option |
Step 4: Use the up/down arrows to scroll to “Learn Sensor” and press the “OK” button.
The panel will display “Trip sensor ##”, with the number signs flashing. The number listed will be the next available (un-programmed) sensor spot.
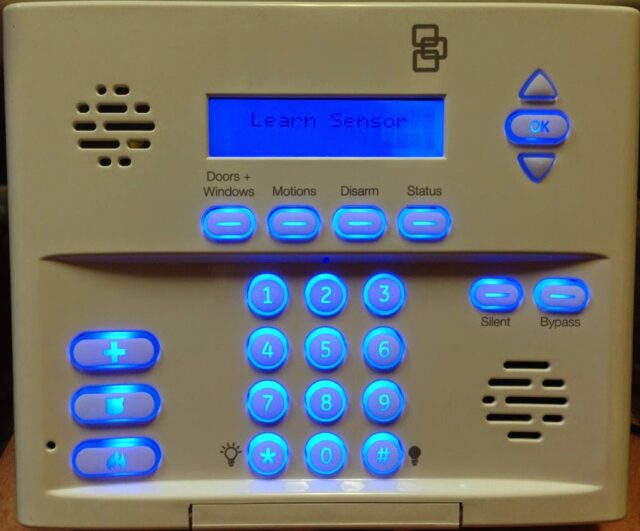 |
| Simon XT Learn Sensor Menu Option |
|
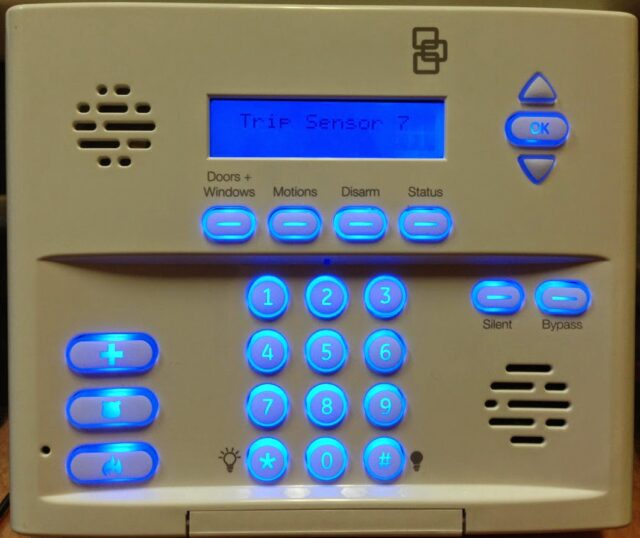
This is what you’ll see on the display when you are ready to trip the sensor you are adding:
|
| Simon XT Trip Sensor # Menu |
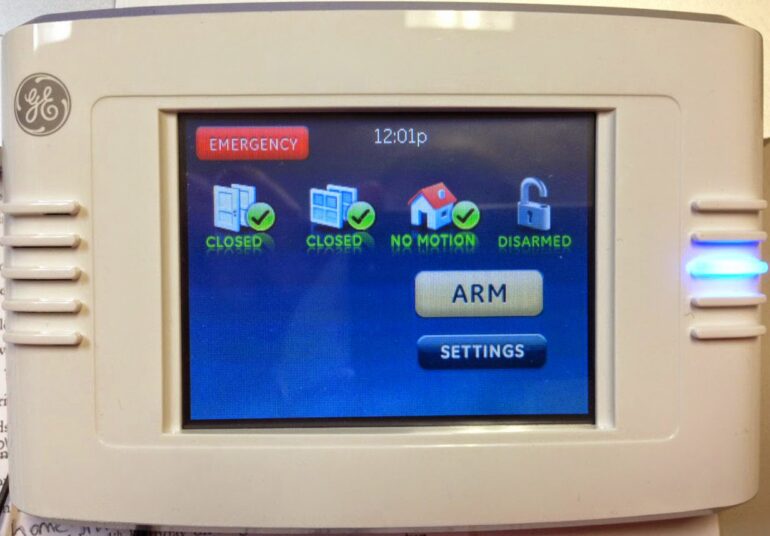
Step 5: On the TouchScreen tap the settings button.
After pressing the settings button this is what you’ll then see:
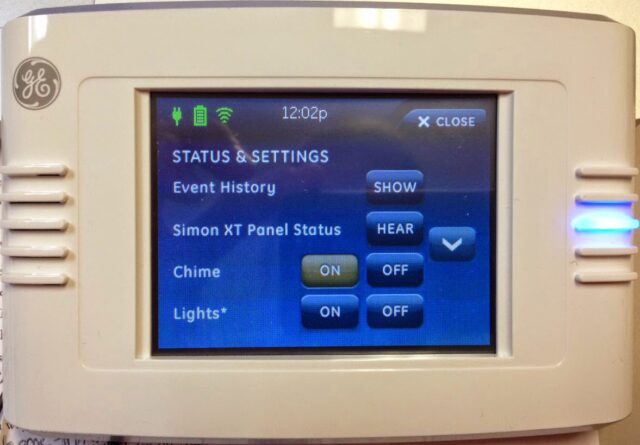 |
| Touchpad Settings Display |
Step 6: Tap the down arrow (twice) until you see the “Clear & Enroll” option.
Tap on “Clear & Enroll.” The Simon XT panel should chirp to indicated that it detected the touchpad.
| Touchpad > Settings > Clear & Enroll Button |
Step 7: On the Simon XT Alarm Panel enter the sensor group.
Enter 07 on the numerical keypad of the XT.
Step 8: Select the Sensor name.
By default it will say “Touchpad.” Press the “Ok” button on the XT to accept.
Step 9: IMPORTANT–WAIT: Do not press any buttons for a bit.
You will see the four main buttons on the Simon XT panel (Doors+Windows, Motion, Disarm, and Status) rapidly flash. This signifies that the XT panel is communicating with the touchpad. DO NOT press the Status button to get out of programming mode. Allow the XT Panel to communicate and sync up with the touchpad. Once the 4 buttons remain lit and not flashing you are done.
Note: On the Simon XT pressing the “Status” button takes you back one level on whatever menu you are on.
Amazon Associate Disclosure: As an Amazon Associate I earn from qualifying purchases. This means if you click on an affiliate link and purchase the item, I will receive an affiliate commission. The price of the item is the same whether it is an affiliate link or not. Regardless, I only recommend products or services I believe will add value to Share Your Repair readers. By using the affiliate links, you are helping support Share Your Repair, and I genuinely appreciate your support.