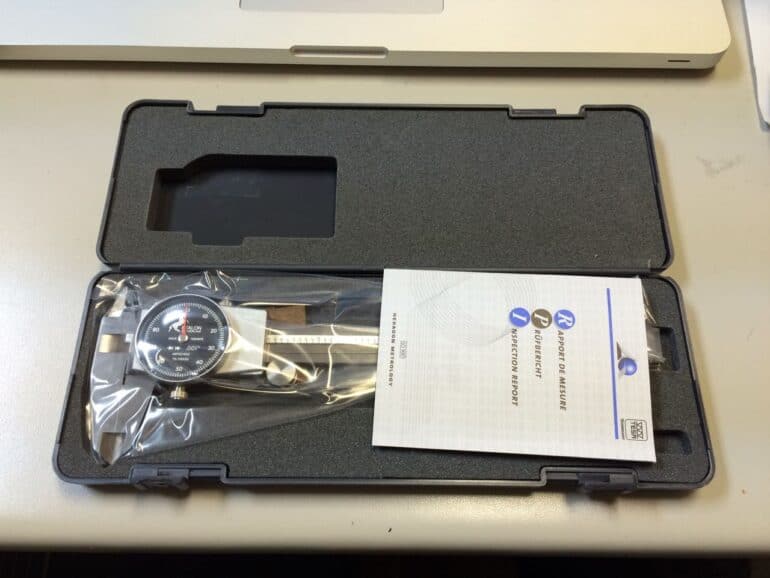
I have been taking a NIMS (National Institute of Metalworking Skills) class and have spent a lot of time using a caliper. The ones we have in class are pretty cheap so I spend a lot of time zeroing them out. It is a bad feeling to think you have machined a part to the correct thickness and then discover your caliper has gone off into la-la land and you actually have milled too much off. So with my Christmas money I decided to buy a good caliper for my own. I wanted to buy a Brown & Sharpe caliper because they are/were an American company but then I discovered they had been acquired and are a part of Hexagon Metrology, which are now manufactured by their TESA division in Switzerland. Anyway, I liked the reviews I read about their calipers–comments like “it returns to zero EVERY time” which was my primary complaint about the cheaper calipers I have been using. One thing I read about the Etalon caliper was that the case can scratch the dial. I wanted to make sure this didn’t ever happen so I had been planning in advance of my caliper’s arrival as to how I was going to “mod” my case to make it better. Here’s what I did.
Improve Brown & Sharpe Caliper Case so it Doesn’t Scratch the Dial
Hardware
- Self-Adhesive Felt
(if you don’t have large rubber bands lying around like I did)
- 3M Adhesive Transfer Tape 468MP
(if you need to make your own padded/soft material)
Step 1: Make a paper pattern of the cut-out shape in the foam where the caliper dial sits into when the case closes.
By making a pattern first you can play around with the shape and mess up a sheet of paper instead of whatever you’re going to use to line the opening.
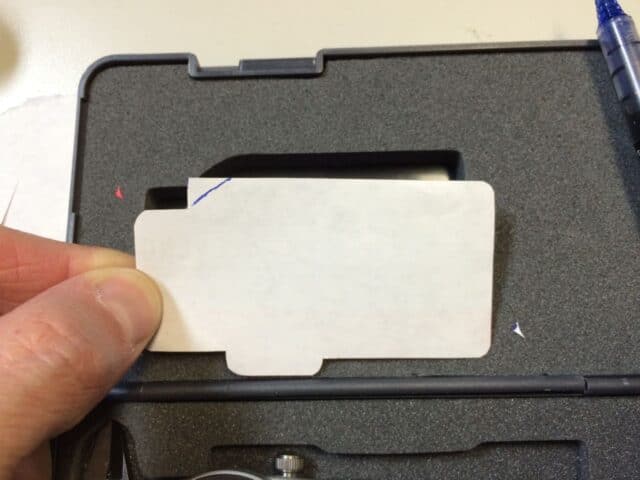 |
| Cutting out a paper pattern |
 |
| Paper pattern finished |
Step 2: Use the patter to draw a shape on some soft material.
You can buy adhesive felt from the link in the parts section above. I used an old rubber exercise band I use for my physical therapy that broke. I’m always trying to find new uses for those broken bands so I don’t need to throw them away.
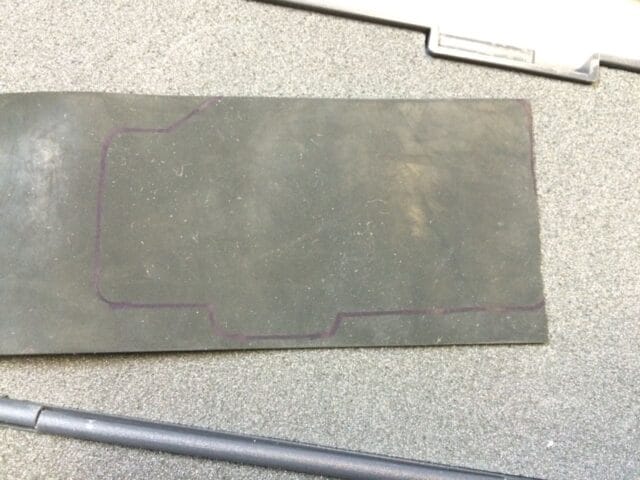 |
| Pattern drawn on the rubber band |
Step 3: Cut out the pattern.
 |
| Rubber Pattern cut out |
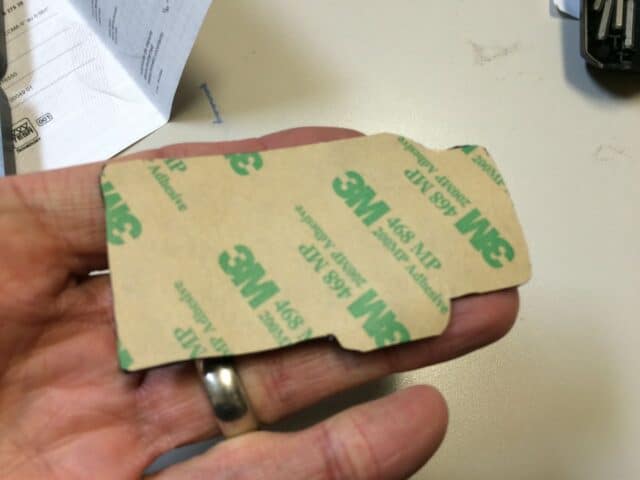
Step 4: Apply adhesive transfer tape to the back of the soft material (if necessary).
If you purchase the self-adhesive felt you won’t need to do this. Cut the the excess adhesive off from around the outside (of course):
 |
| Adhesive applied |
At this point I burnished the adhesive by scraping it with the round end of my pry tool to make sure it was adhered well to the rubber:
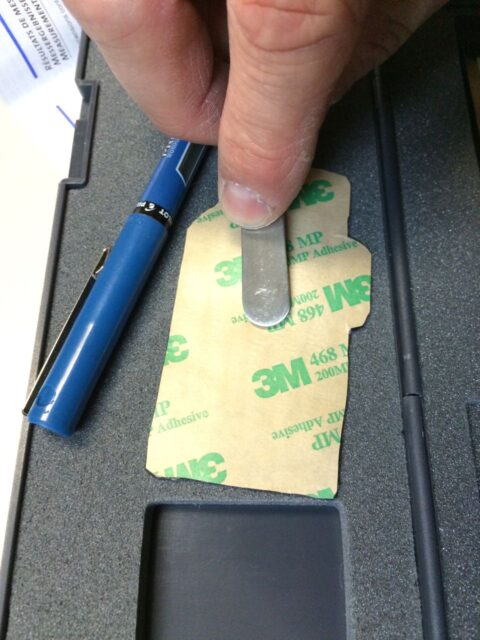 |
| Burnishing the adhesive onto the rubber |
Peel off the backing:
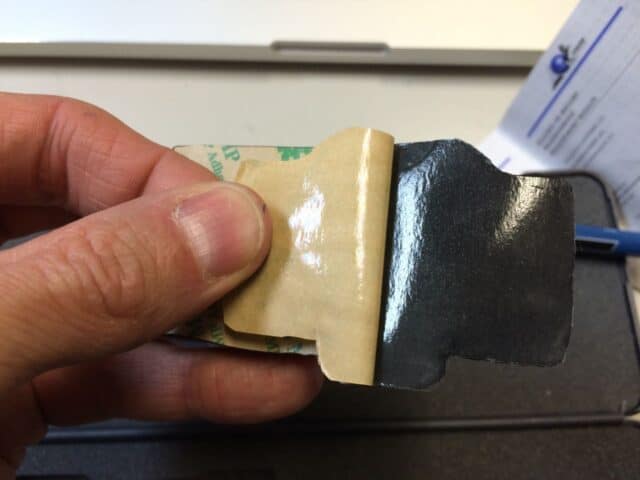 |
| Peeling off the adhesive backing |
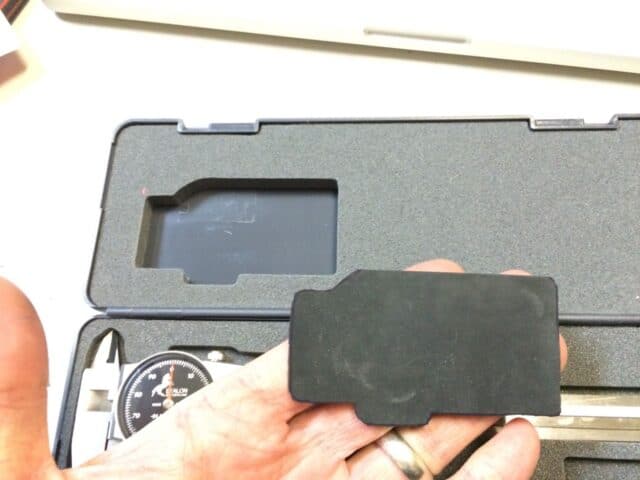
Step 5: Carefully position and stick down the padding (rubber band in my case) down on in the opening:
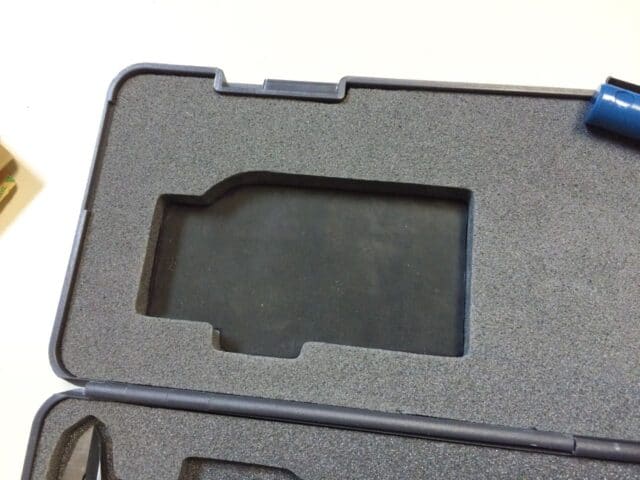 |
| The soft material will protect your dial |
New and improved:
 |
| Now my case will not be scratching the dial |
Amazon Associate Disclosure: As an Amazon Associate I earn from qualifying purchases. This means if you click on an affiliate link and purchase the item, I will receive an affiliate commission. The price of the item is the same whether it is an affiliate link or not. Regardless, I only recommend products or services I believe will add value to Share Your Repair readers. By using the affiliate links, you are helping support Share Your Repair, and I genuinely appreciate your support.