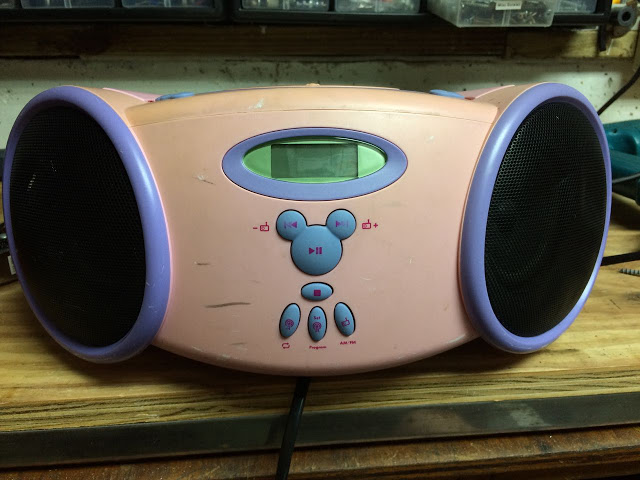
My daughter’s portable stereo, a Disney Princess Boombox, had a problem in that the female electrical power connector in the back came loose and was floating around inside so we couldn’t plug it into the wall. I was going to open it up and fix it but it turned out to not be easy to determine how to open up disney princess boombox. I figured it out and am sharing with you how you can too…
How to Open up Disney Princess Boombox DB3000-P CD Player And Fix The AC Connector
Hardware:
- Disney Model DB3000-P Portable CD Player Digital AM/FM Stereo Radio (discontinued)
Tools/Materials Needed:
- 45 in 1 Precision Screwdriver Set
- 5/16″Drill Bit
- Drill
- Hot Glue Gun
(almost the most useful tool I own!)
- High Temperature Glue Sticks
- 6-Inch Steel Spring Clamp
(very handy tool to have around your house for clamping things)
- 3M Adhesive Transfer Tape 468MP
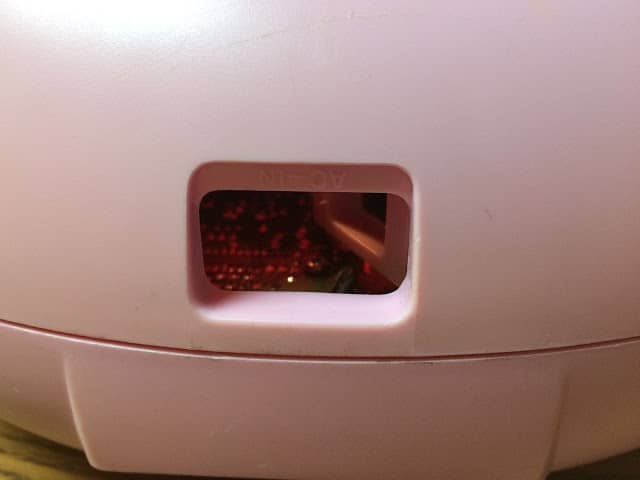 |
| AC Connector on the back is loose |
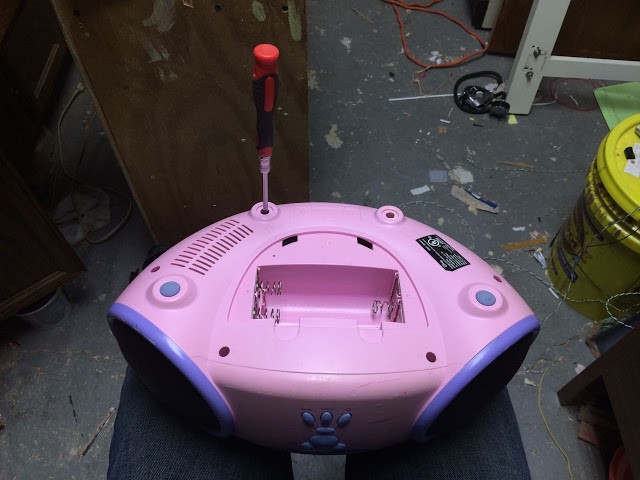
Step 1: Locate the screw holes on the underneath side of the CD player.
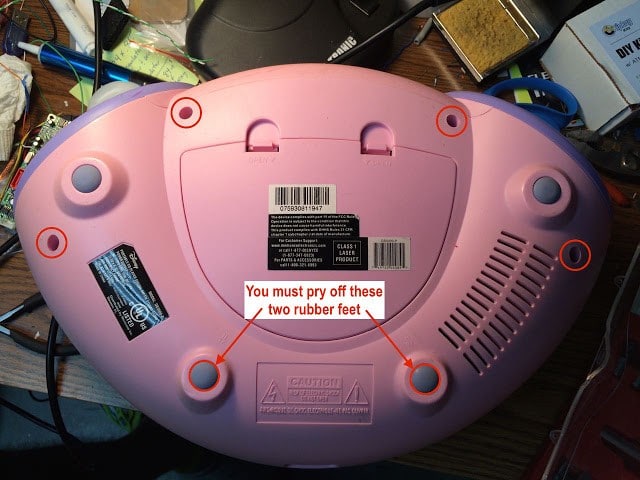 |
| Case screw locations (four visible and two hidden under the back two rubber feet) |
As it is you likely can insert your precision screwdriver with the Torx-10 bit in it and it will fit down the hole but the holes are tapered and get smaller as you get closer to the screw head. I was unable to push the screw driver all the way down till the torx bit seated down into the screw–it gets so tight you cannot unscrew them. Come on engineers–do you really need to put torx screws in these?
 |
| The holes are tapered so you cannot loosen the screws |
Step 2: Drill the holes larger.
I found that I could use a 5/16″ drill bit and drill out the holes slightly larger, so I could fit my screw driver down in the holes and it wouldn’t effect the strength of the case enough to matter.
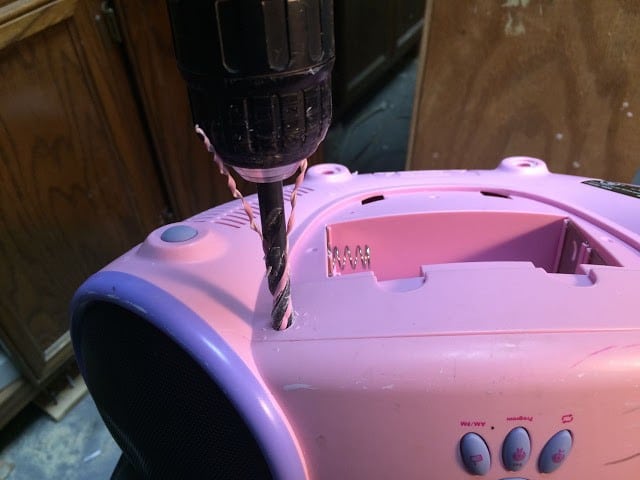 |
| Drilling the holes larger with a 5/16″ bit |
I don’t think I ever drilled all the way until I was hitting the screw head but I just drilled a ways and then tested the screw driver and then drilled a little more until the hole was deep enough.
Step 3: Unscrew the 6 screws from the bottom of the case.
The screws will most likely not come up with the screw driver so be careful not to loose them in the next step when you take to bottom of the case out because they will fall out. Once you get them out this is what they’ll look like:
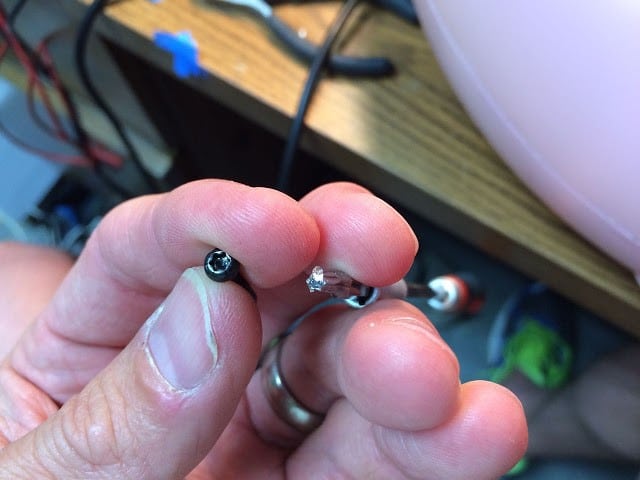 |
| One of the 6 screws from the bottom of the case |
Step 4: Lift off the bottom of the case.
This is what you’ll see:
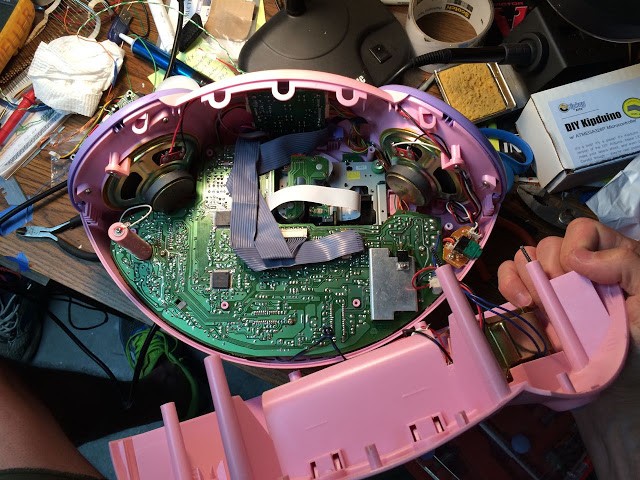 |
| Bottom of case removed |
The bottom cover will be connected to the top by the power wires but it’s pretty stable so you don’t need to worry about anything coming loose when you open it up.
Step 5: Locate the broken AC connector.
Below is what mine looked like–one of the risers that the screw screws into had broken off:
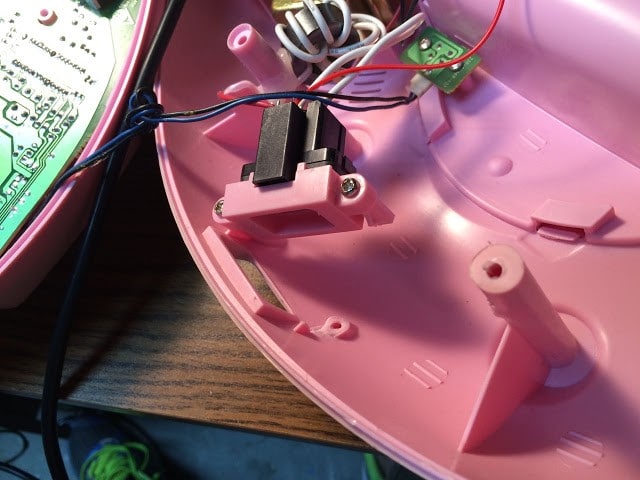 |
| Broken AC Connector bracket |
Step 6: Sand the area around where the piece broke so the hot glue will adhere better.
I used some random 200-grit sandpaper I had laying around.
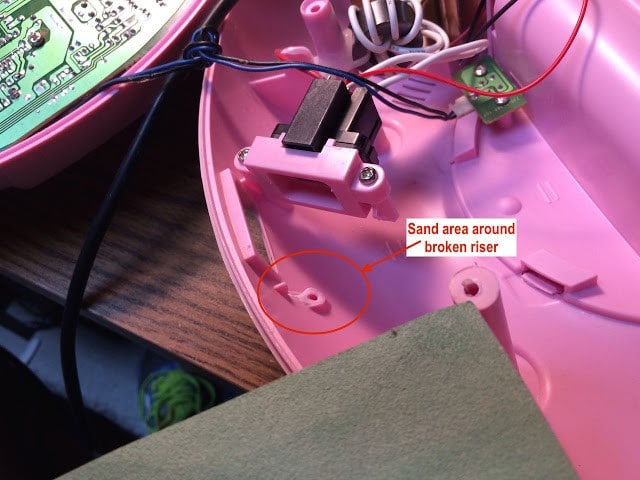 |
| Sand the area around where you will apply the glue so it has something to adhere to |
Step 7: Clamp the AC connector in place and put on a generous layer of hot glue.
The glue is going to run so make sure you have it level so the glue does not run all over.
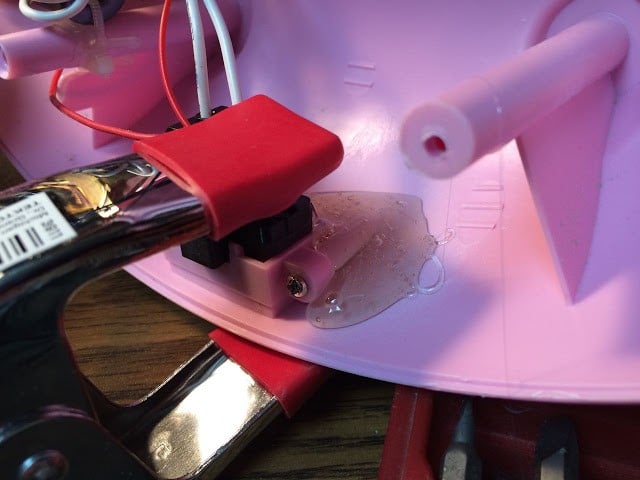 |
| Clamp the connector with a spring clamp and lather it up with hot glue |
Let the glue dry before proceeding.
Step 8: Reinstall the bottom of the case.
Make sure you line up the seams carefully when pairing up the halves:
 |
| Make sure to tuck in the correct seams before installing the screws |
Step 9: Reinstall the six screws.
 |
| Reinstall the six Torx-10 head screws |
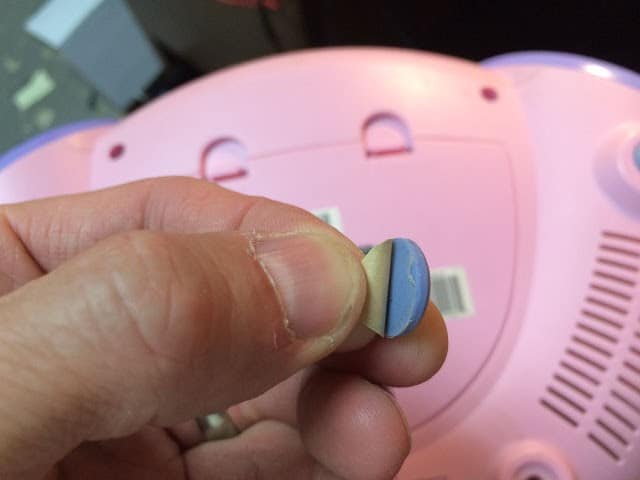
Step 10: Reinstall the rubber feet.
I have had a big roll of double-sided 3M adhesive, which I’ve linked in the material list at the top, that I often use in cases like this. Stick the rubber feet on the adhesive and then cut around them.
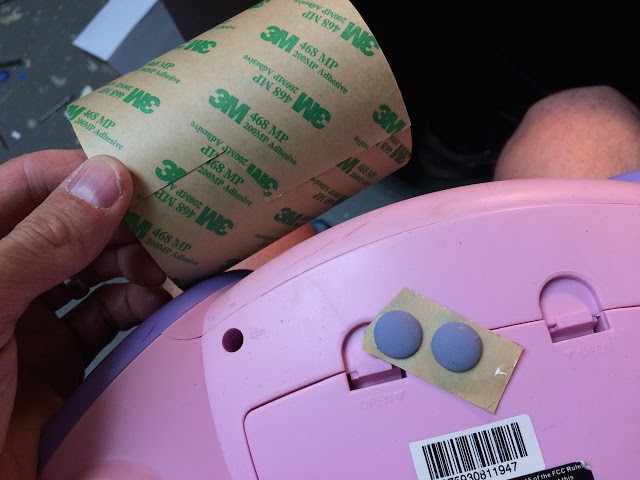 |
| Sticking the rubber feet on the double-sided adhesive |
Peel off the backing and then put them in place.
 |
| Peeling off the backing of the adhesive |
Now you should be back in business and hopefully you’ve breathed new life into your daughter’s old CD player.
Amazon Associate Disclosure: As an Amazon Associate I earn from qualifying purchases. This means if you click on an affiliate link and purchase the item, I will receive an affiliate commission. The price of the item is the same whether it is an affiliate link or not. Regardless, I only recommend products or services I believe will add value to Share Your Repair readers. By using the affiliate links, you are helping support Share Your Repair, and I genuinely appreciate your support.