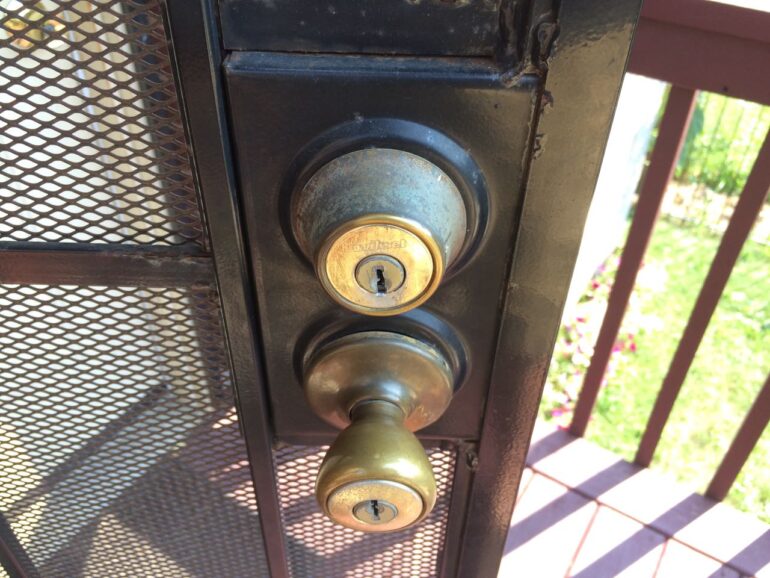
The bolt lock on our front door sees a lot of work and eventually it broke and now the key turns forever and the lock will not unlock. It still unlocks fine from the inside though. I took it apart and figured out that the solution is a tiny replaceable part and I’ll show you how to fix yours…
Key Turns Forever on Kwikset Lock-How To Repair a Broken Bolt Lock
Hardware:
Tools Needed:
Parts Needed:
- Kwikset E Keying Clips
(a 100-pack is still cheaper than replacing all your locks and making extra copies of keys)
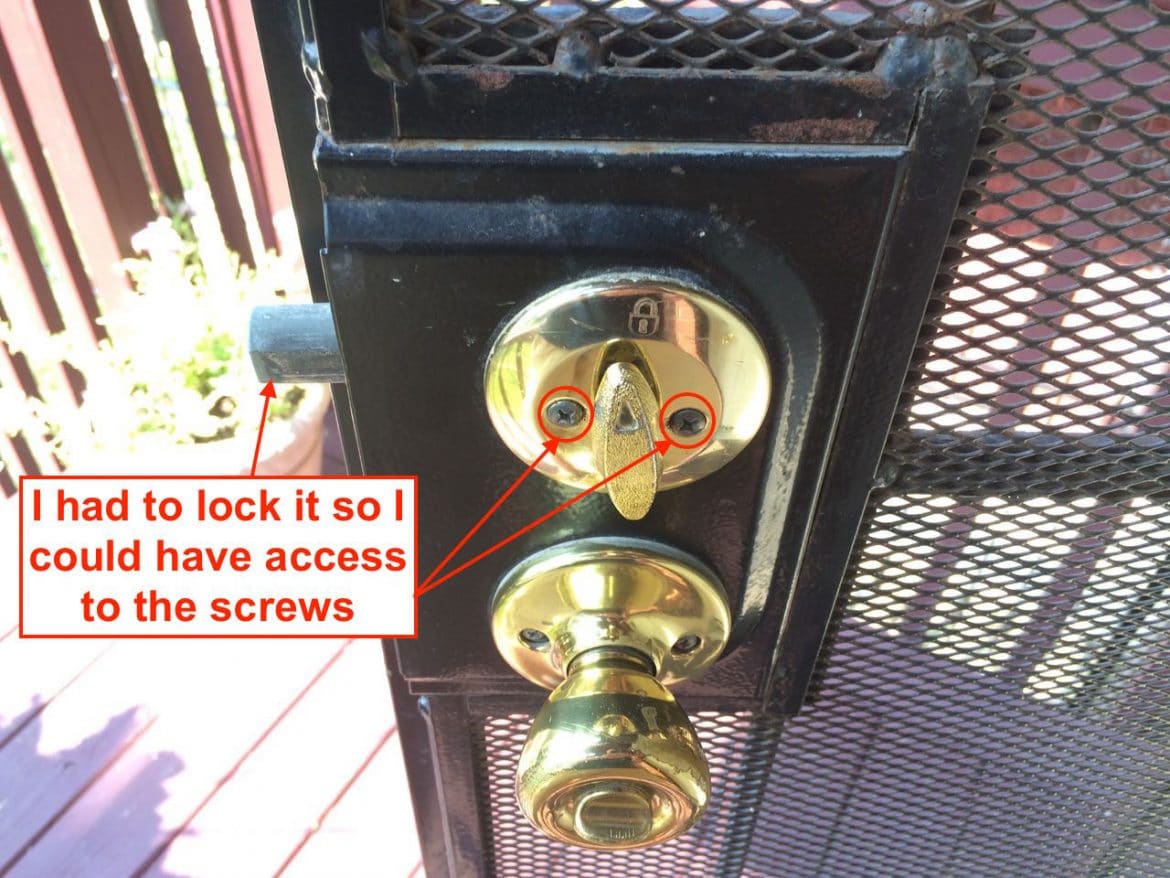
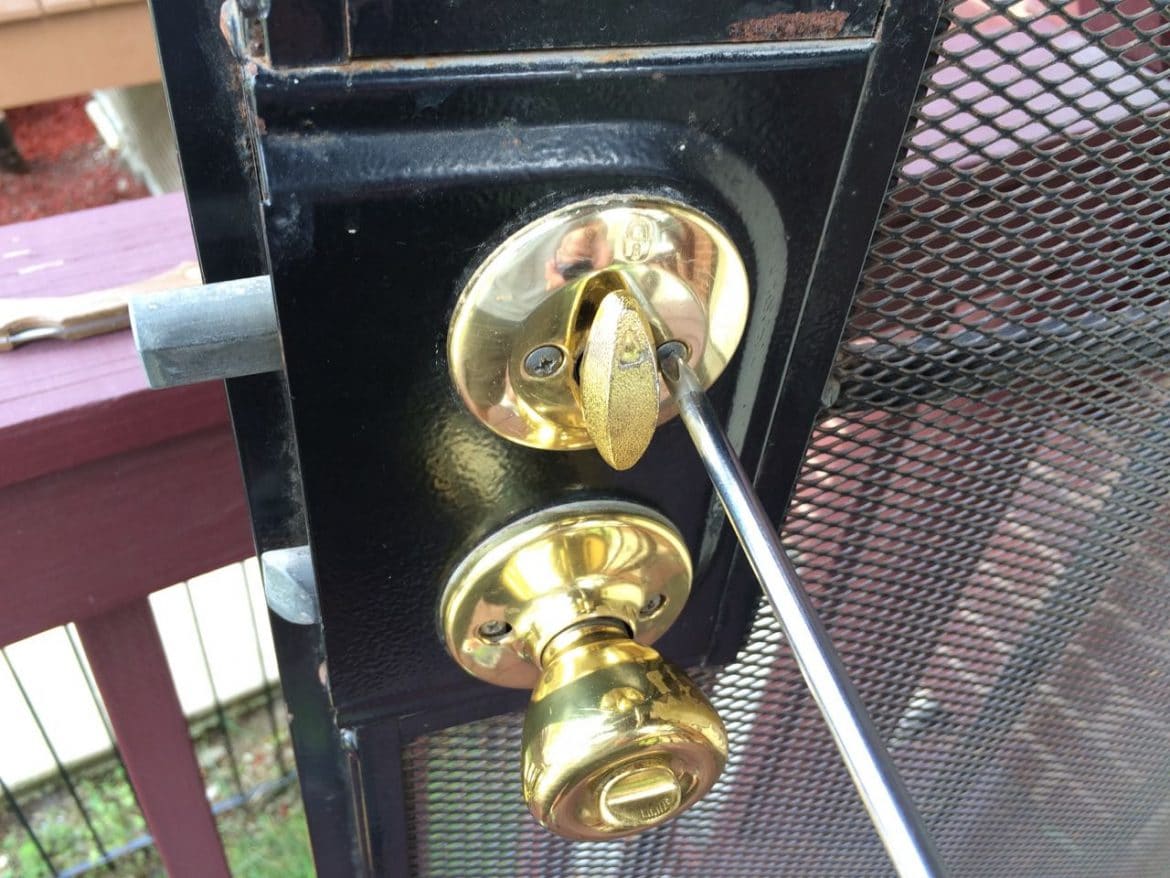
Step 1: Remove the two screws on the inside of the bolt lock.
I needed to put the lock in “lock” position in order to be able to get at the screws:
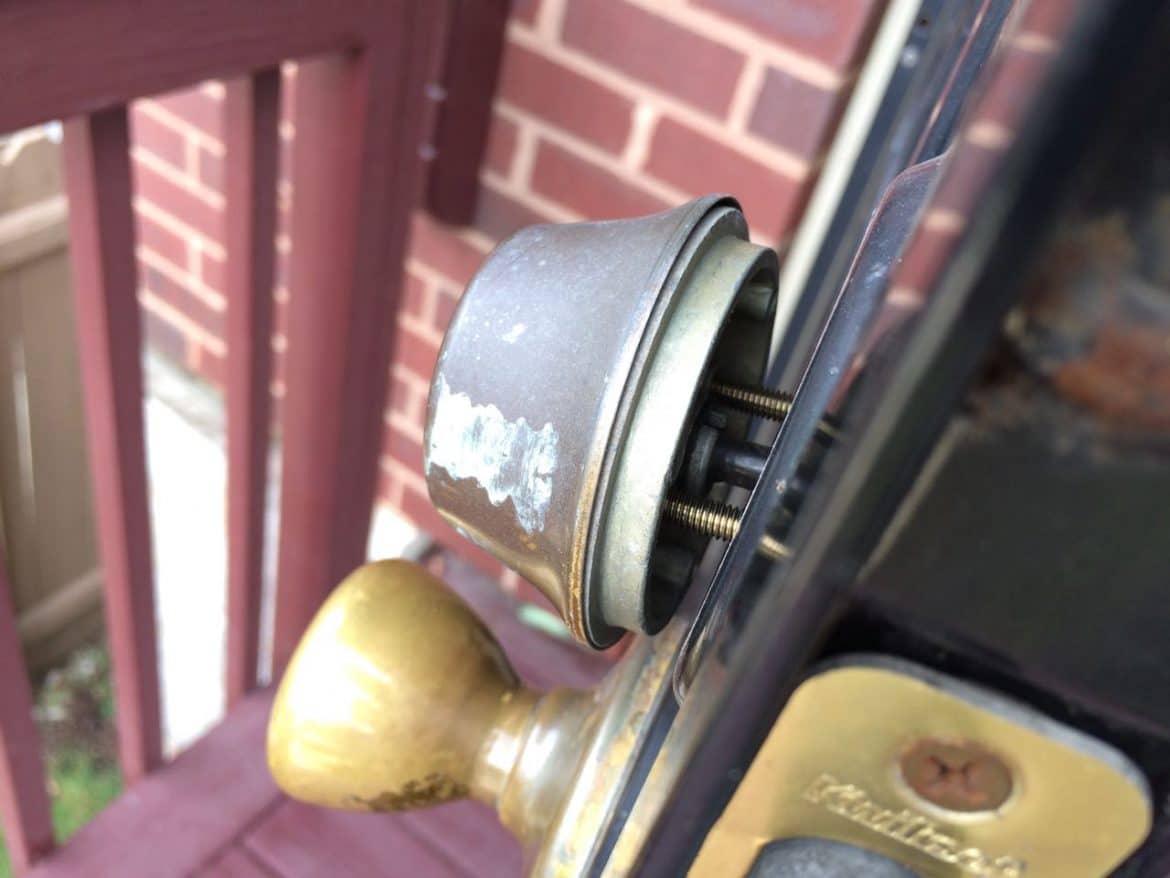
After you unscrew the first one note that as you unscrew the second, it will push the other side of the lock out and will eventually fall. The other side is pretty heavy so watch out if you are wearing flip-flops 🙂
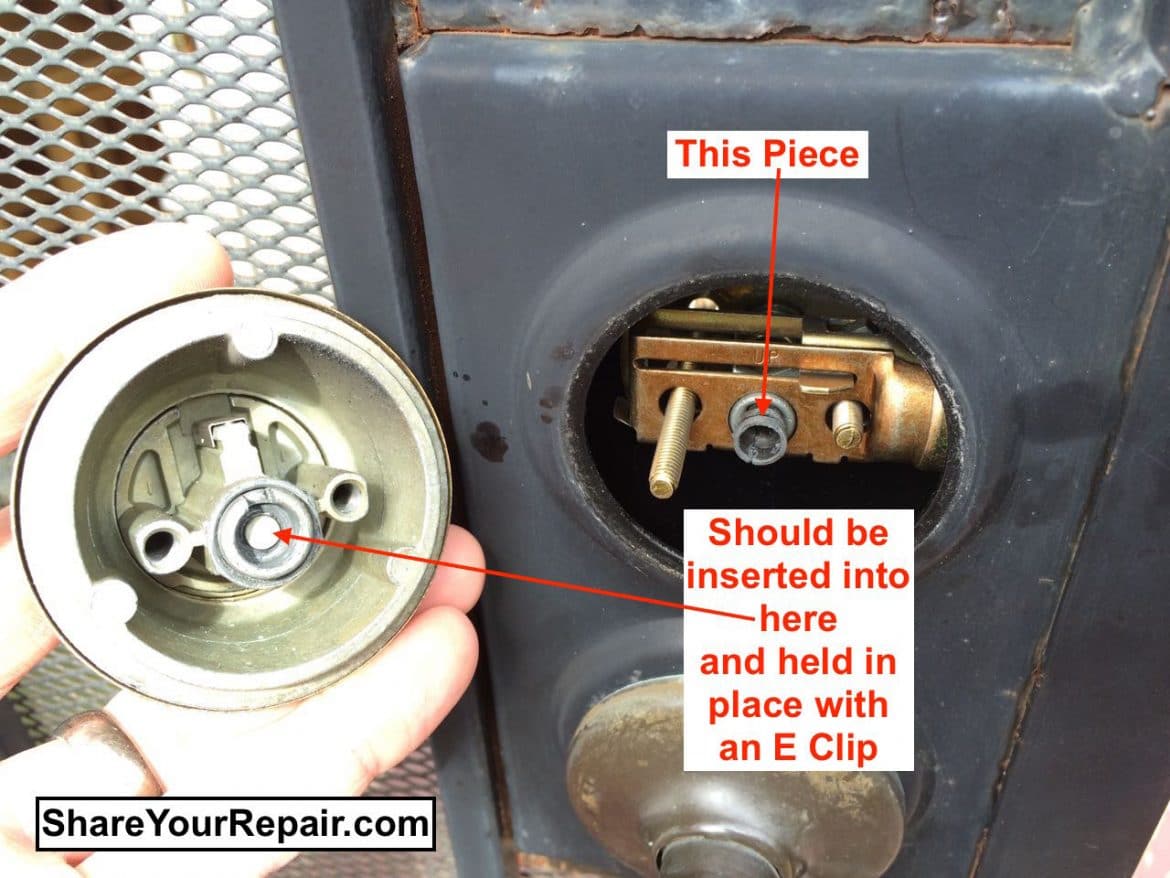
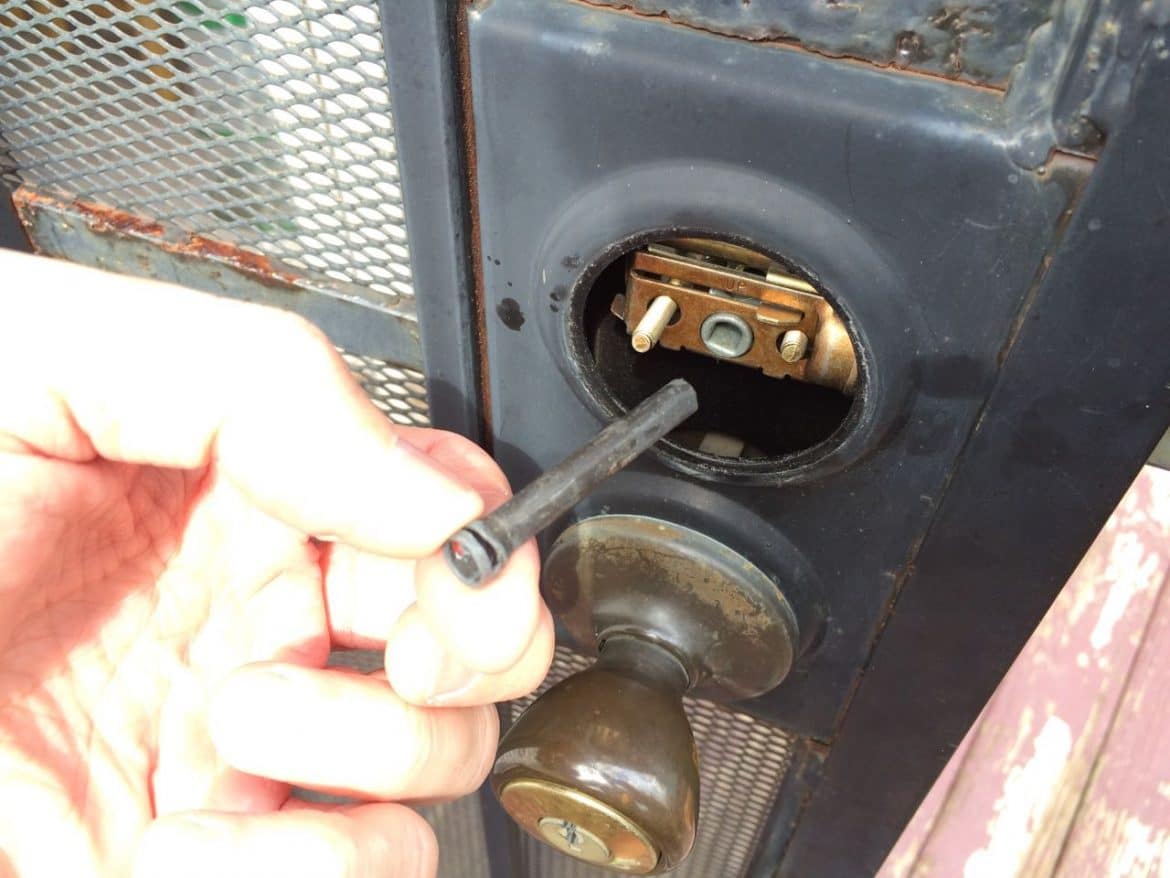
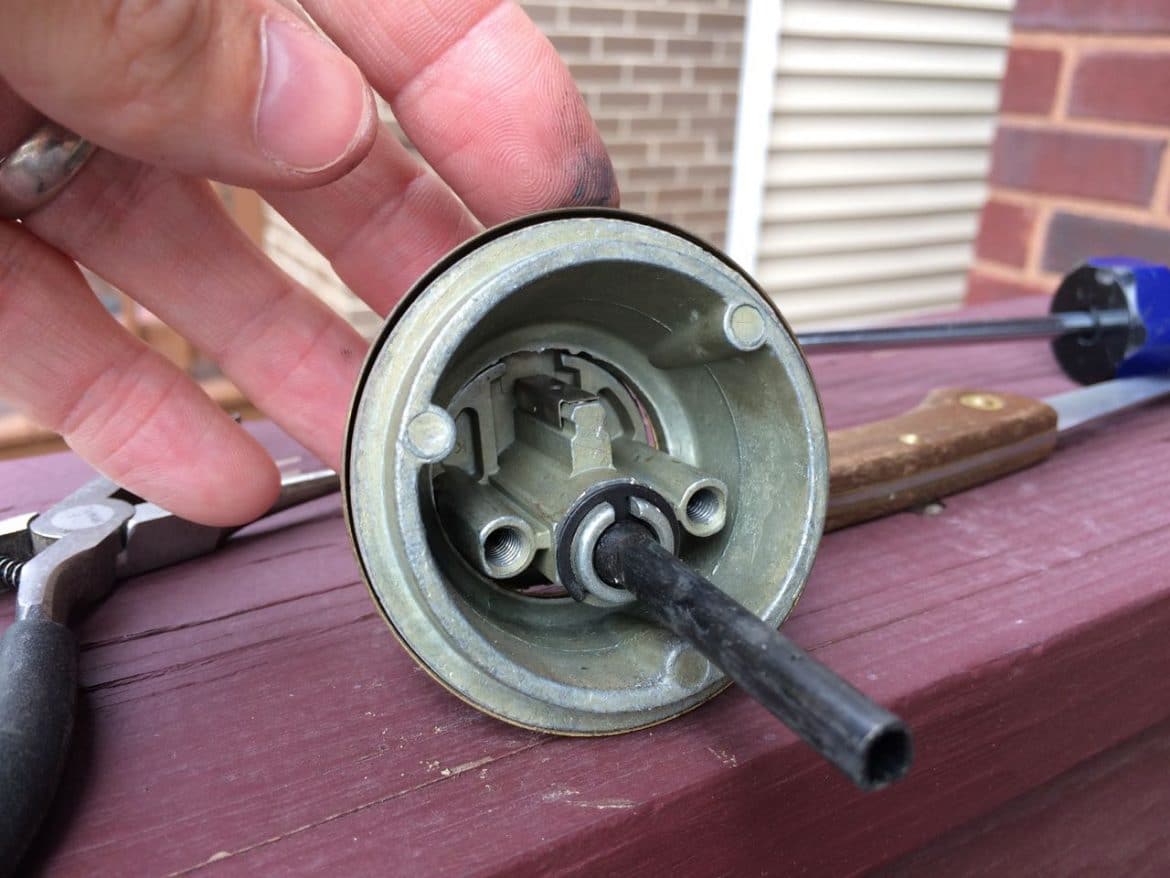
Step 2: Remove the front and back faces of the lock.
This is where I discovered why this lock would not work. When I took off the side that you put the key in, the shaft that should extend into the key mechanism was not connected:
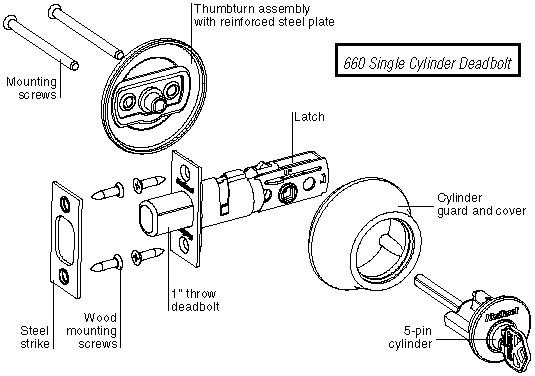
Here is a diagram of how this lock should fit together, from the Kwikset website:
The tail piece pulls right out:
Step 3: Reconnect the tail piece to the cylinder.
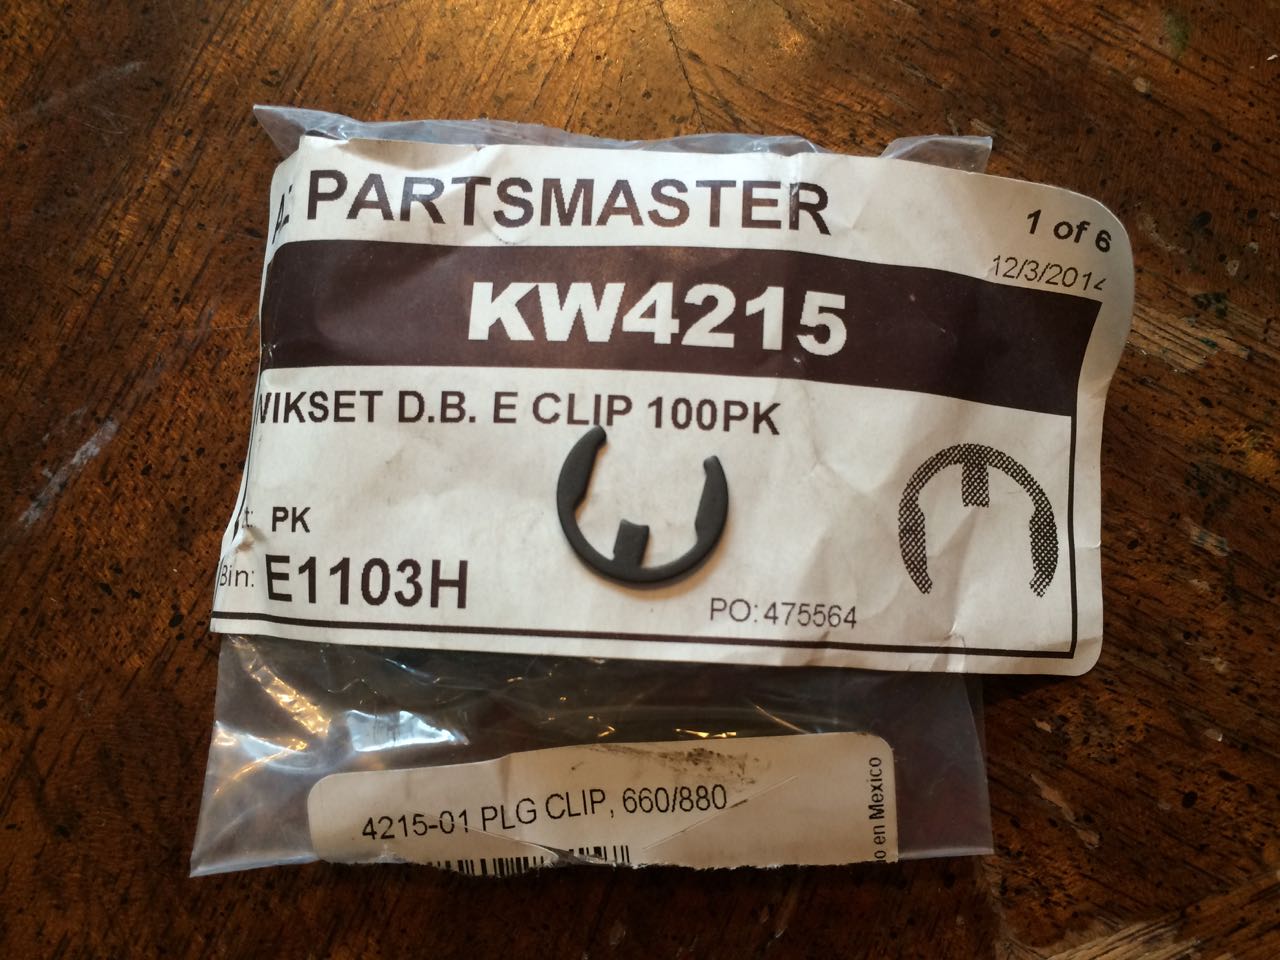
At this point you will need a replacement E Clip. See my parts link at the top of this article for the part. Here’s the bag of them I ordered:
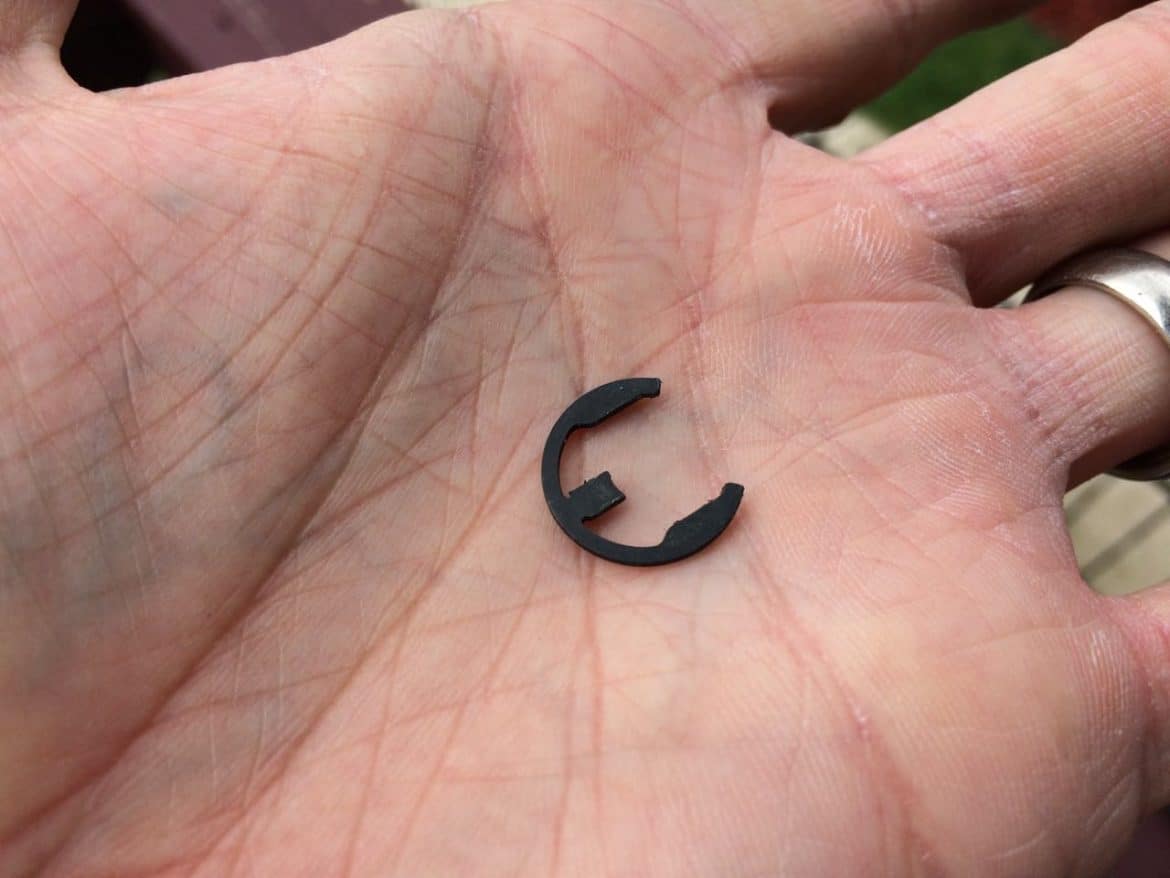
Ready to install:
Insert the tail piece into the back of the cylinder. Center the slit on the tail piece with the notch in the cylinder:
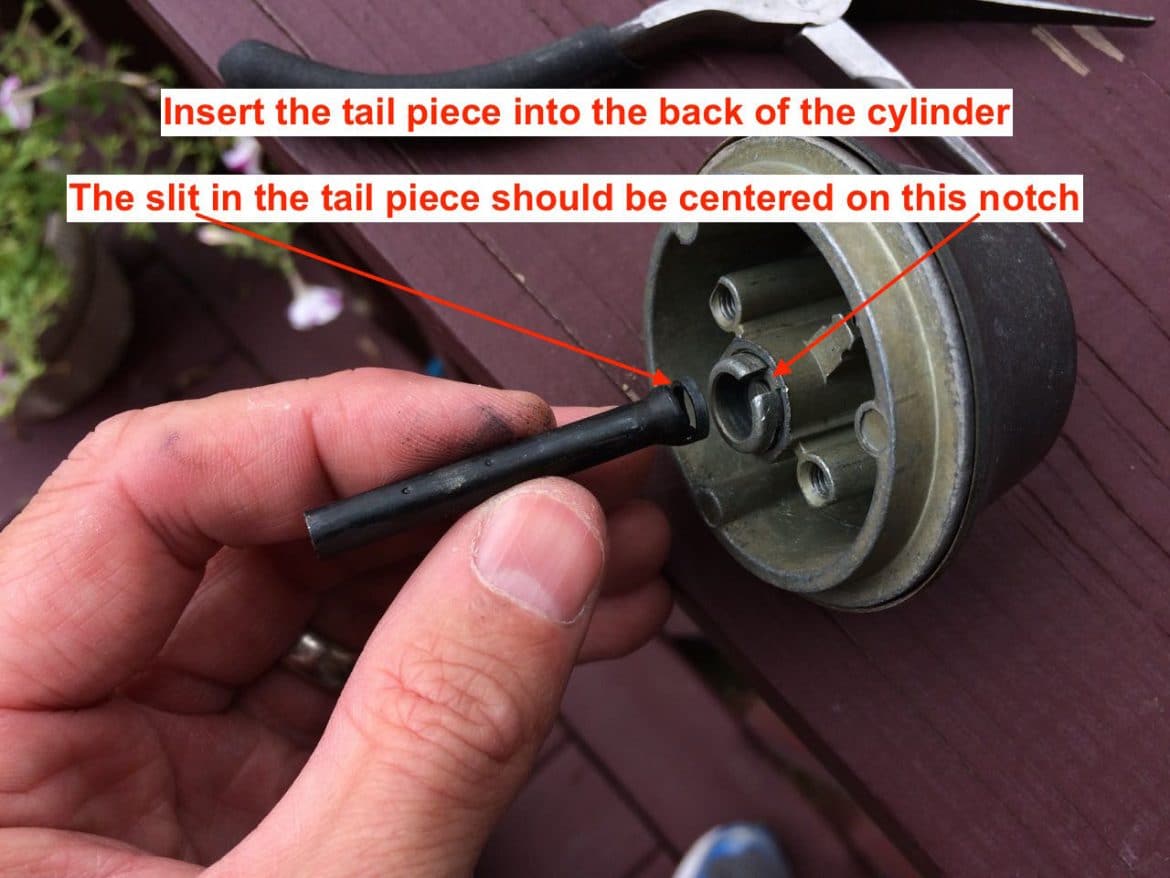
This is what it should look like:
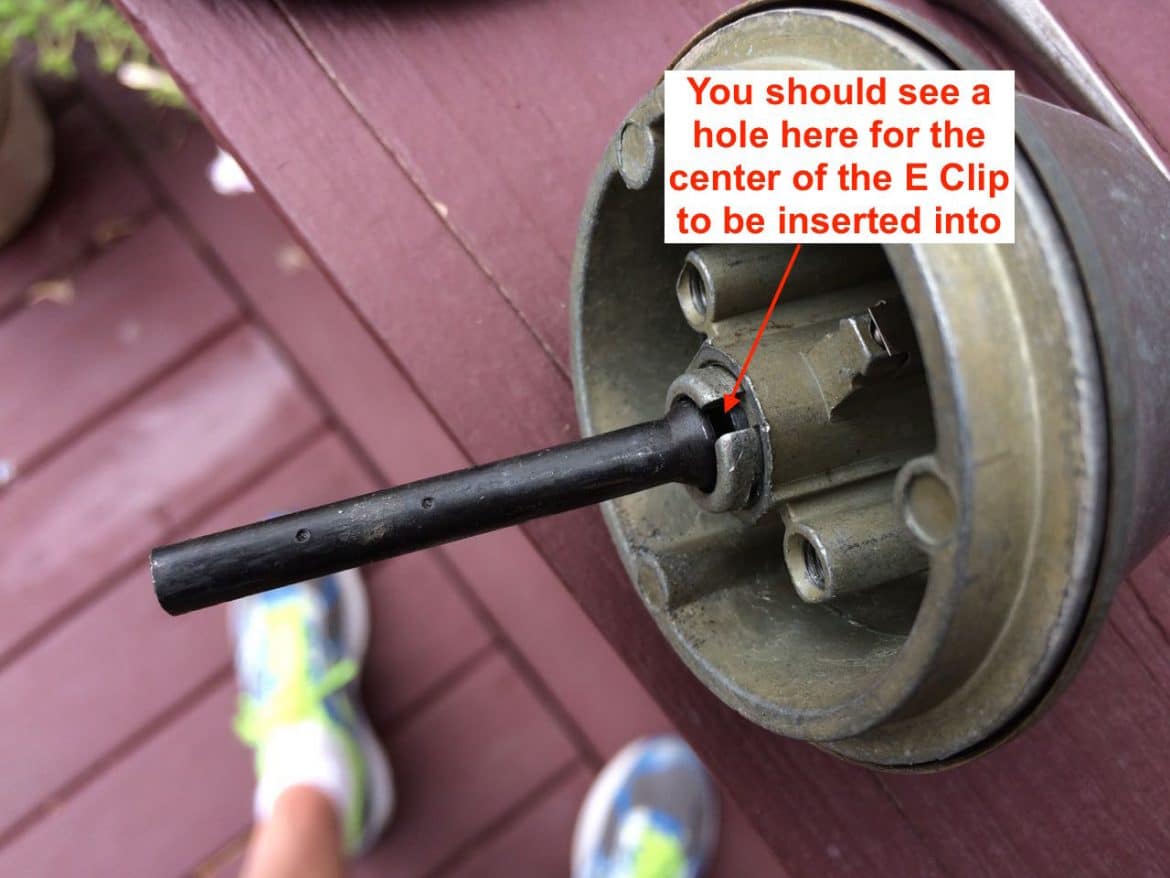
Insert the E Keying Clip around the outside (in the groove) and the center should insert in the hole (pictured above):
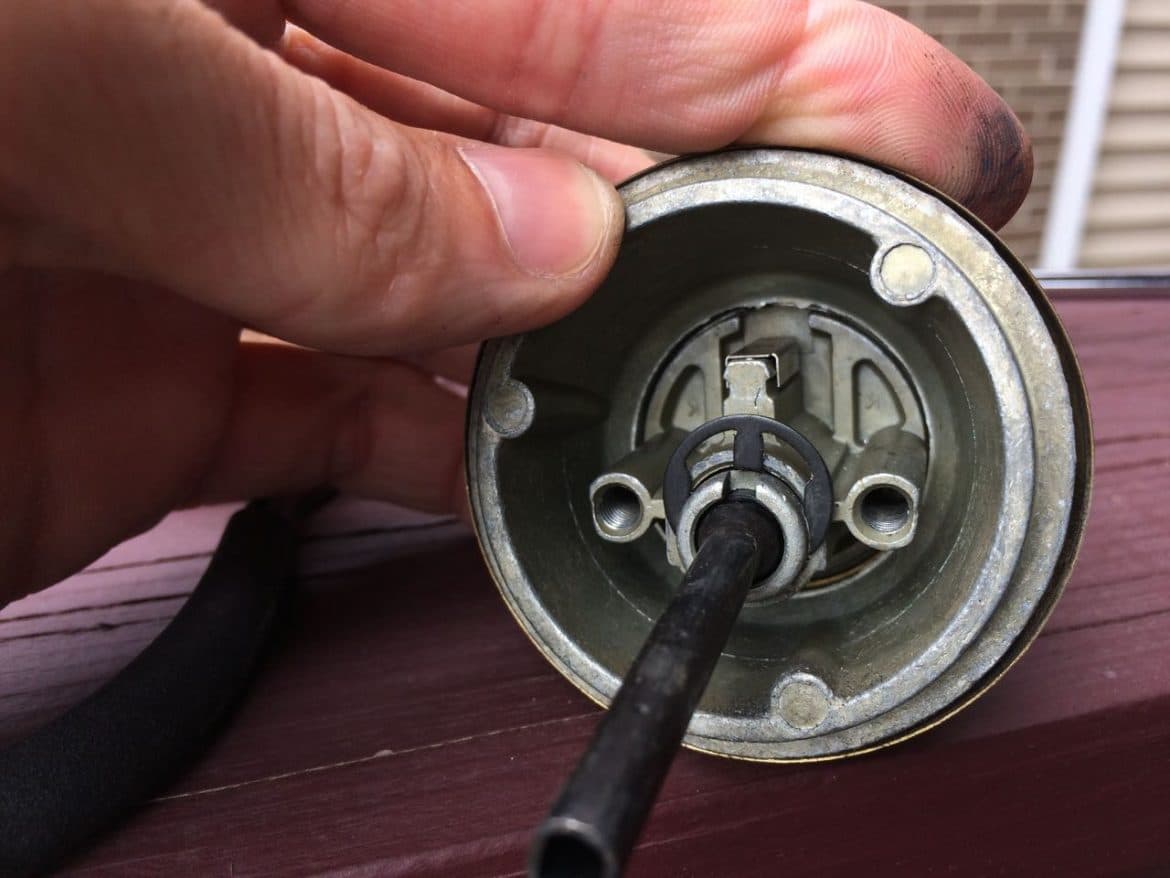
And this is what it looks like when the clip is fully installed:
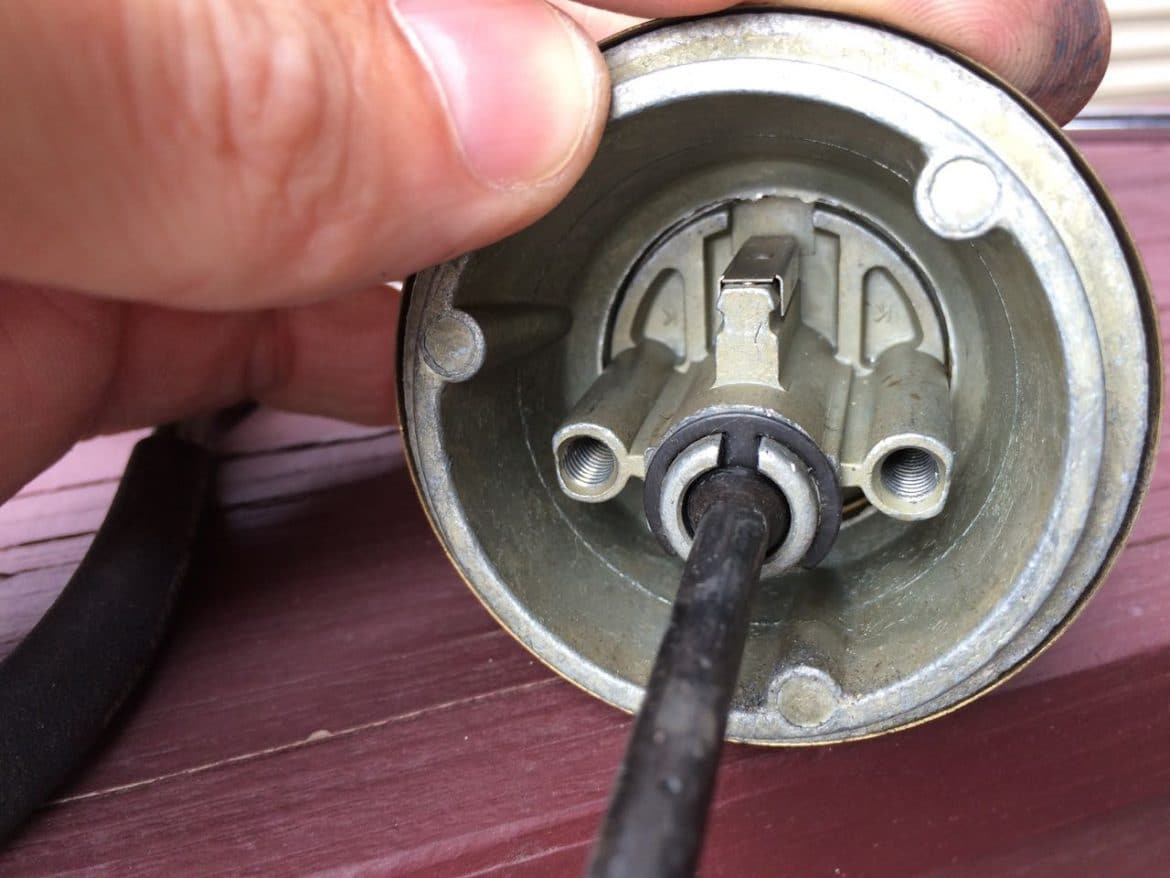
Here’s another angle:
Step 4: Reassemble the lock.
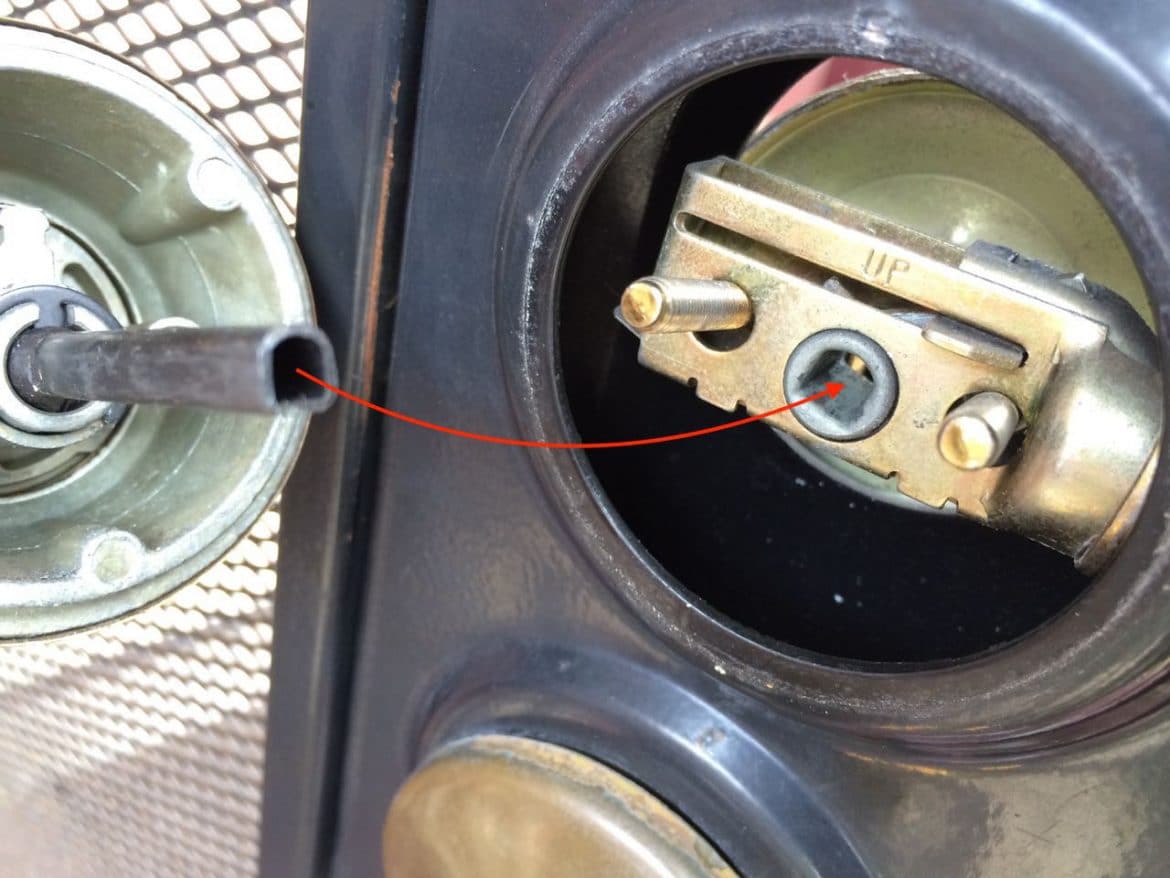
Insert the tail piece (note that it is D-shaped) through the latch and into the other half of the lock (the part you turn the knob from the inside). You need to orient the D-shaped tail piece so it fits in:
Then start your screws by hand. I’ve found that it is easier to pull the lock apart a bit so I can guide the screws into their holes. Start them by hand first to make sure you do not cross thread them:
Line up the front and back halves of the lock and then begin to tighten the screws. These screws are fine-threaded so they will not loosen up with use so tighten them pretty tightly:
Now you’ve repaired your lock and saved some money!
Amazon Associate Disclosure: As an Amazon Associate I earn from qualifying purchases. This means if you click on an affiliate link and purchase the item, I will receive an affiliate commission. The price of the item is the same whether it is an affiliate link or not. Regardless, I only recommend products or services I believe will add value to Share Your Repair readers. By using the affiliate links, you are helping support Share Your Repair, and I genuinely appreciate your support.
I found this guidance to be incredibly helpful. Thank you!
HI John,
My problem was trying to swap tailpieces on two Kwikset Smart Key deadbolts outside piece so that I could mix and match single cylinder with double cylinder. More complicated to explain, but in short had to swap tailpieces and was not sure how to remove them. Your instructions were perfect and I was able to do my swap in 2 minutes flat once I know how to do it thanks to your instructions.
Hint: the E clip does not have to come all the way out. And it can be pulled (yes pulled) towards you if you pull on the outer prongs of the E with your finger nails pulling towards you when it’s laying face down on a table. Don’t pull the E clip all the way out as the tailpiece will come out before the E clip is all the way out.
I figured out there was a clip missing and this was exactly what I needed to see!! Thank you!
Good to hear, thanks for sharing.
Hi John – Thanks for posting this. This is the exact issue I was having, and it had been a few years since I installed the lock. Had completely forgot about this clip, and that’s the piece that had broke off. Thank you for your informational posting here, really great.
You are welcome Thomas. The clip link above has been updated so you can order a replacement.
John, your kwikset repair seems to match the issue my wife and I currently have. The link to the needed part leads to a site saying part unavailable and may not ever be in stock. Could I purchase 5 of the clips from you or do you know of another source for the clips ? Your pictures and accompanying descriptions were extremely clear. Thanks. Paul Gault
Paul, Thanks for letting me know. I sent you a personal email to the email address you listed (not displayed in comments as it is private to me). I will send you 5 clips free of charge since I have 99 of the 100 I purchased back when I wrote that article. Check for an email. Thanks!
Your 5 clips will go out in the mail tomorrow Paul and for everyone else, I have updated the Amazon link so you can order your parts.