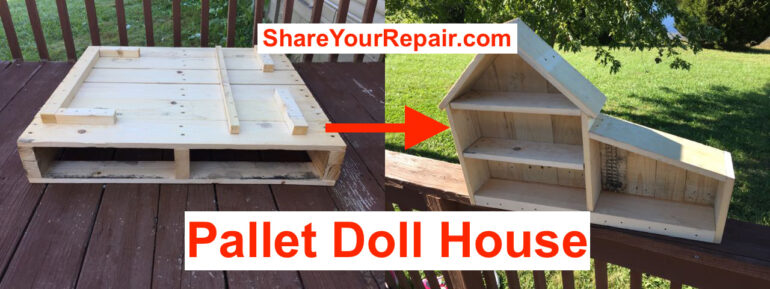
A used pallet is an opportunity to do something with your kid, like build a doll house. Some equipment I ordered at work came with a small pine pallet. It really couldn’t be re-used since it was specifically made for the equipment shipment. I hated to see the pallet get thrown away so I grabbed it and took it home. Follow along to see how we turned what would have gone to the landfill into an interactive afternoon with my kids.
Materials Needed:
- Pallet
- Nails (I used Bright Finish 4d 1-1/2)
- Screw-in Hooks (if you want to add blinds to your doll house windows)
Tools Needed:
- Hammer
- Nail Bar
- Combination Square
- Pliers
- Flat-Head Screwdriver
- Vice Grip (for pulling nails whose heads pull off)
- 10″ Table Saw
- Miter Saw (I love my Ryobi sliding compound miter saw)
- Nail Set (for driving hard to reach nails)
- Cordless Drill (for drilling hose to cut out windows)
- Drill Bit Set (for drilling out the corners of the window)
- Keyhole Saw (for cutting out windows)
Pallet Doll House
Step 1: Make sure to be safe!
If you are using a table saw, miter saw, or even hammering, you should wear safety glasses. Hammering on a nail bar or even nails can cause a sliver of hard steel (literally like shrapnel) to go into your eye. If you are working with your kids it is a good opportunity to demonstrate being safe and your kids will love to wear safety glasses. Here’s our safety glass selfie:

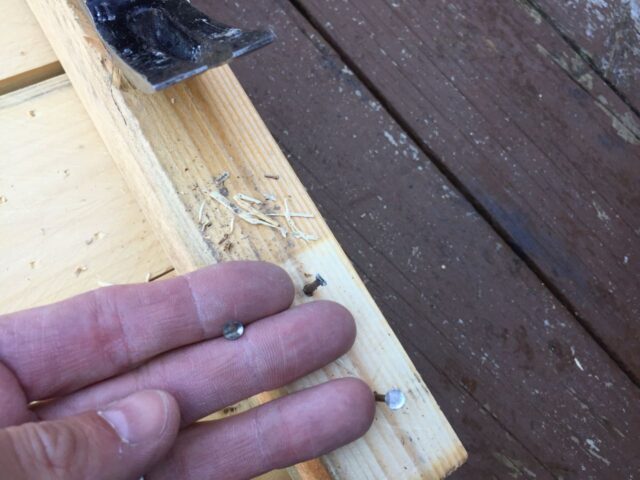
Also, when working with boards with nails in them, NEVER leave them lying around with nails sticking up:

Either pull the nails, cut them off, or bend them over so you or someone else doesn’t step on the board and drive a nail up into their foot. If you are going to be cutting the wood later you should pull them as hitting a nail with a high-speed tool can be dangerous.
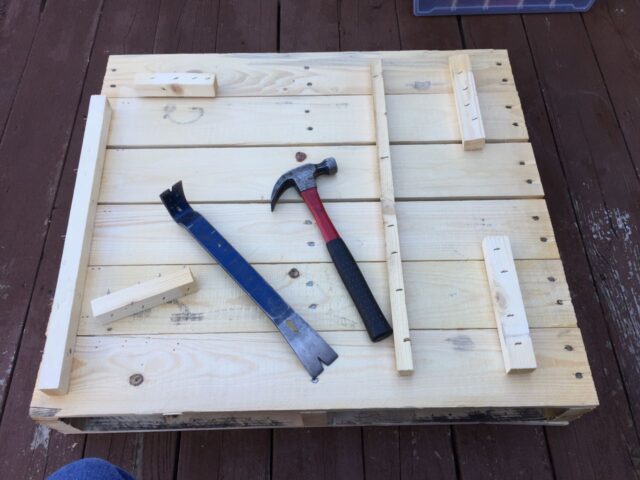
Step 2: Disassemble the pallet.
You will want to take care with how you disassemble the pallet because you can split the boards or pull the nail head through the boards if you are not careful. I would recommend using a nail bar, hammer, pliers, and flat head screw driver as necessary.
To remove the boards on the top, that were stapled, I tapped on the side of them with a hammer, and then pried them up with the nail bar. I tapped the staples on the ends to get their heads to pop up and then pried them out with a pliers against my nail bar to keep from damaging the wood:
Separate the lumber with a nail bar:
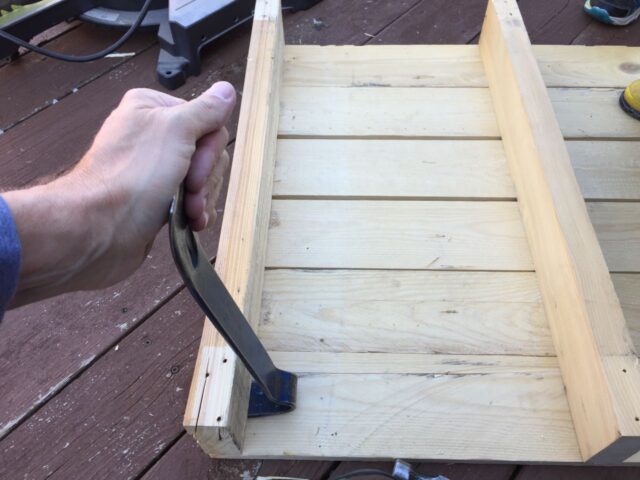
You don’t need to pry the two boards completely apart (and you may pull the nail heads through the board if you do). Simply get the pried apart about a quarter-inch and then pound the board back down, exposing the nail heads for pulling:
Then pry them out:
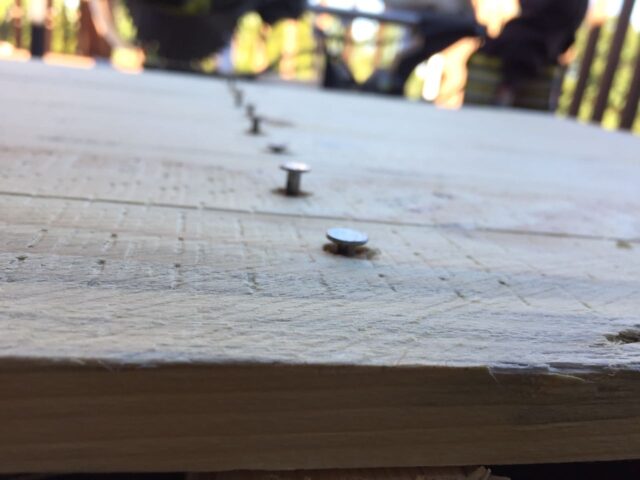
We are making progress:
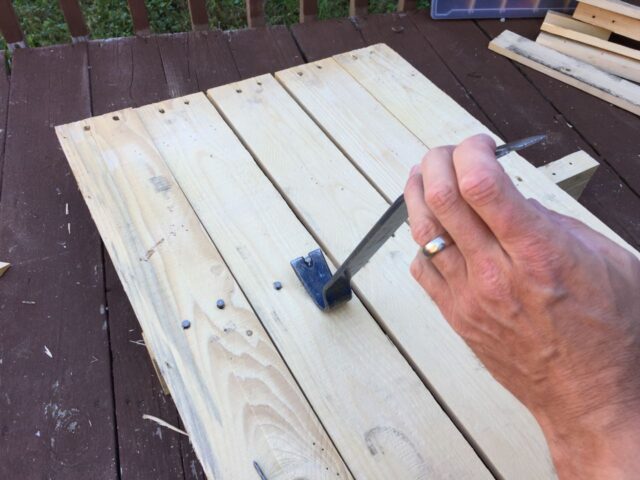
Tips For Stuck Nails
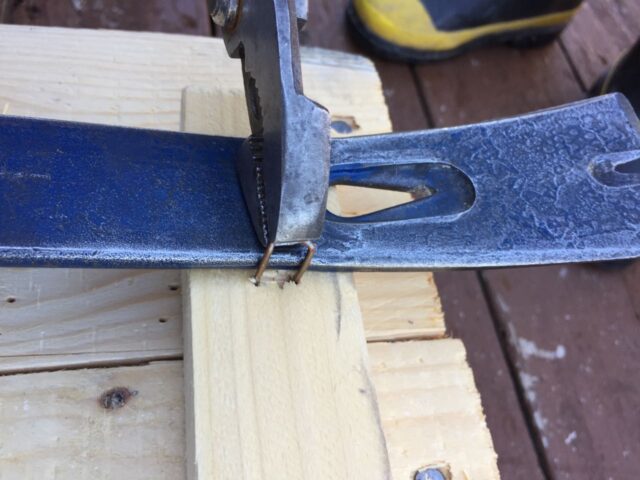
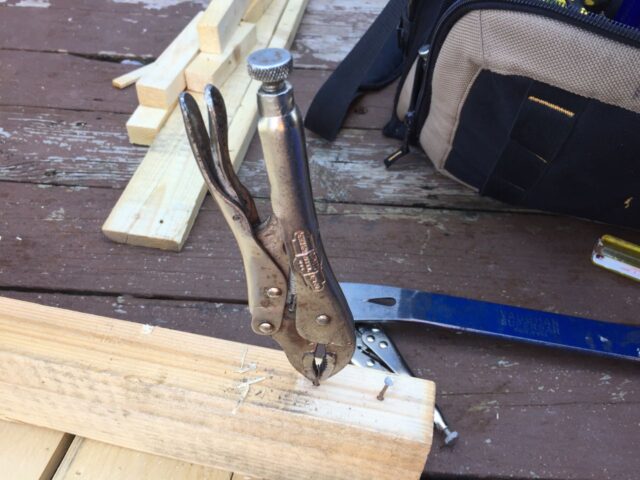
This pallet had spirally shaped nails, staples, and ribbed nails too. For the ribbed nails I ran into an issue of the head pulling off the nail:
I simply clamped a vice grip on the nail shaft and then pried against the vice grip:

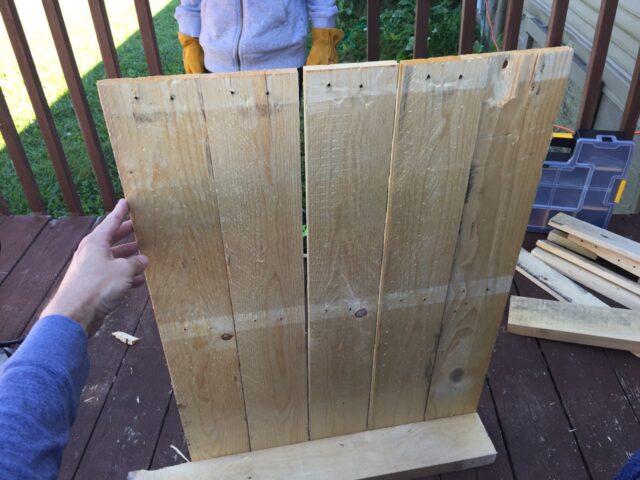
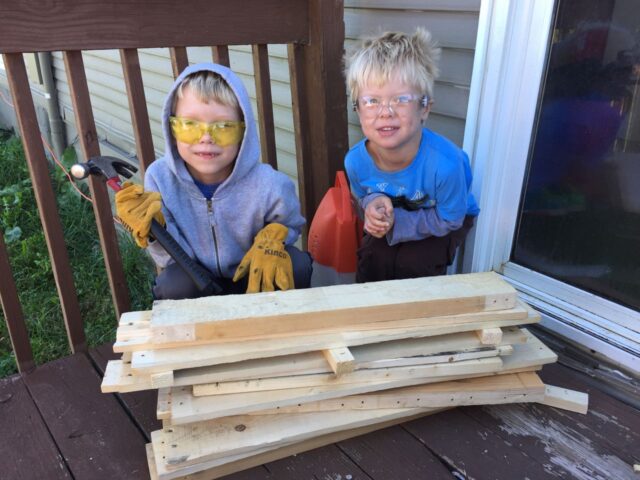
Finally the pallet was disassembled. My oldest son was really anxious to drive some nails at this point!
Step 3: Plan out your house.
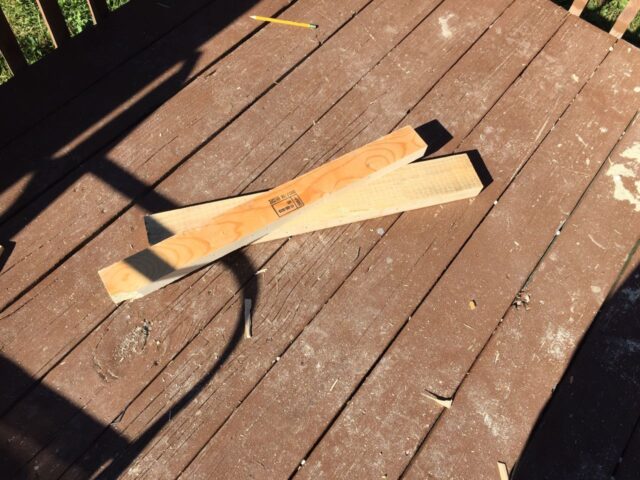
There are an unlimited number of ways you could use the wood from a pallet. My goal was to get the most for the material we had without running out or leaving a bunch of wood unused. I also wanted to fully assemble it with nails so we didn’t need to wait around for glue drying. Besides, my son really wanted to hammer something (and his begging to hammer something actually gave me the idea to do this project). I laid out the uncut boards to plan how I was going to do it. This was a non-typical sized pallet so your situation will be different. One key decision I made was to make the base out of the heavier wood and made it the same width as the thinner slats so I could slap the slats on the sides:
Here I am laying out the board to make a plan:
Step 4: Start to cut the boards.
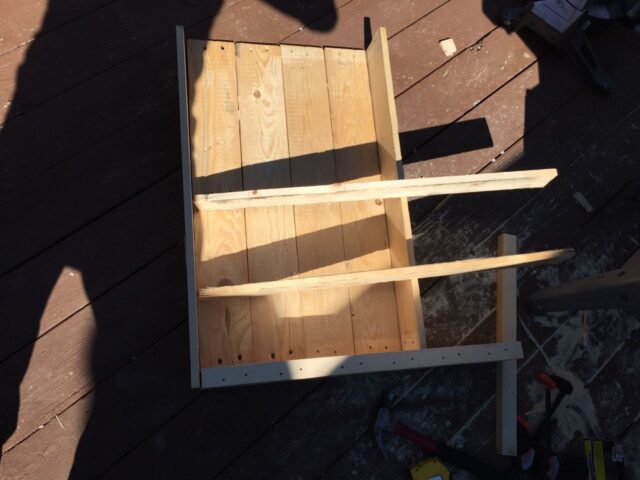
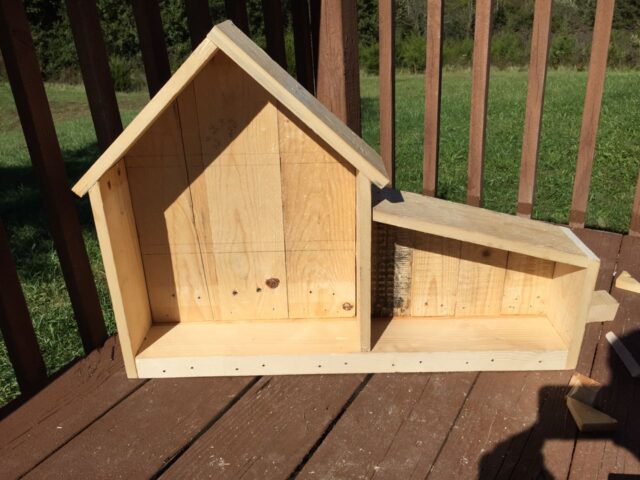
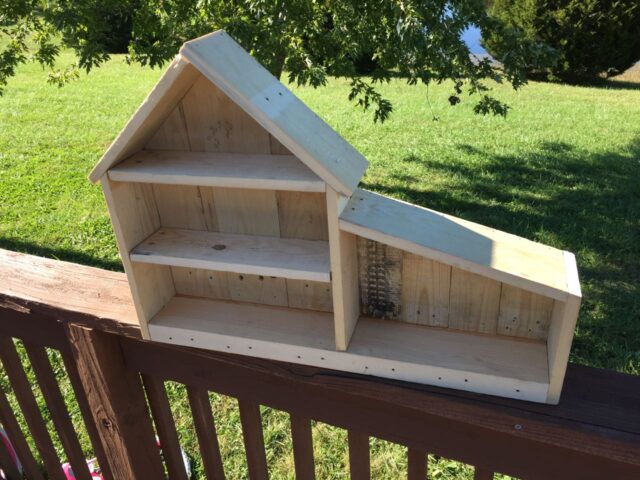
Once I had a plan which I felt would utilize most of the material I began making cuts, assembly (no nails yet) as I went. The plan came together well and I decided that I had room for an additional room on the right side:

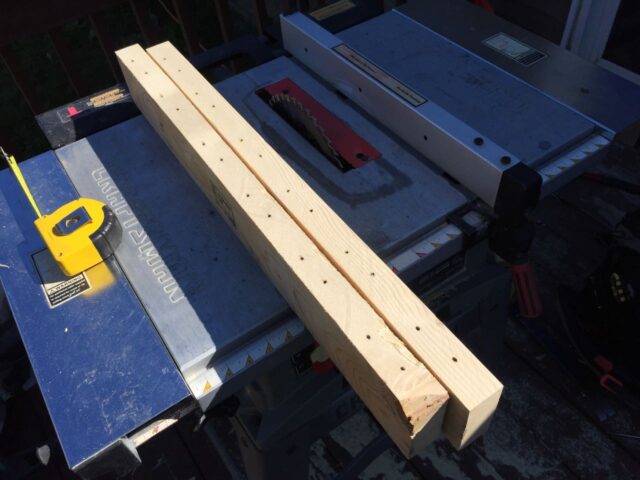
Use a table saw to rip boards to width. Be very careful using a table saw without a guard. I took 6 years of woodworking classes when I was young so I’m experienced at using a table saw. If you are not experienced I would suggest you get help from someone who is, because you could really hurt yourself if you are not careful.
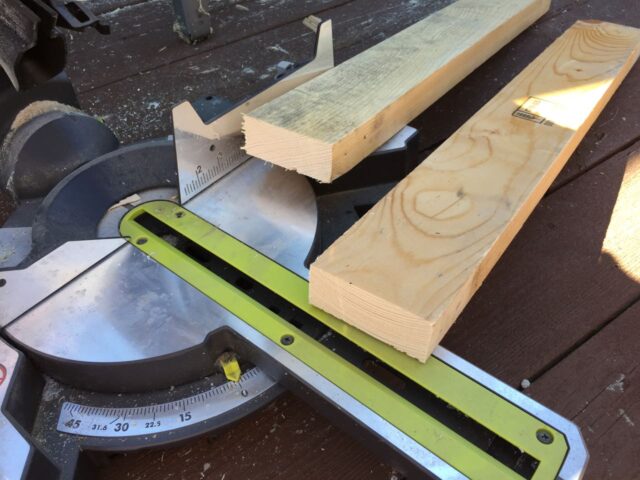
Use a miter/chop saw to cut boards to length:
The outline of the extra room is complete, again there are no nails in it at this point:
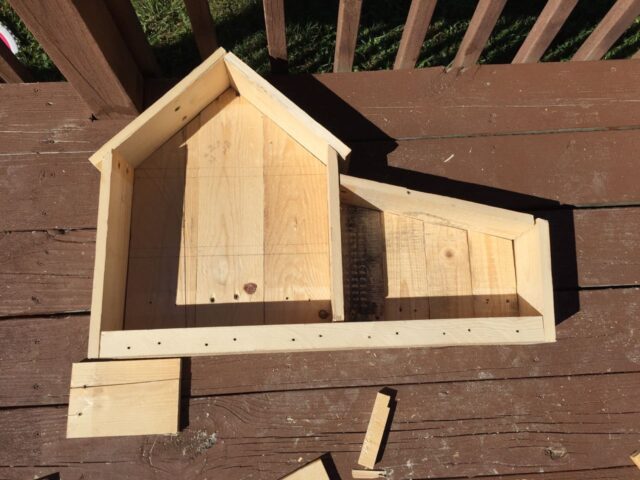
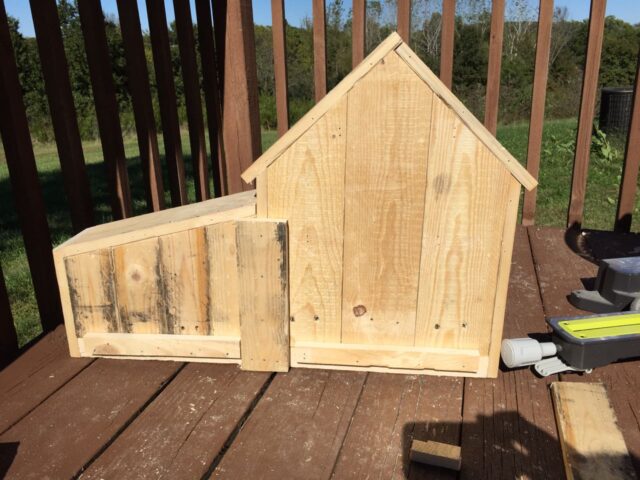
Step 5: Begin nailing the house together.
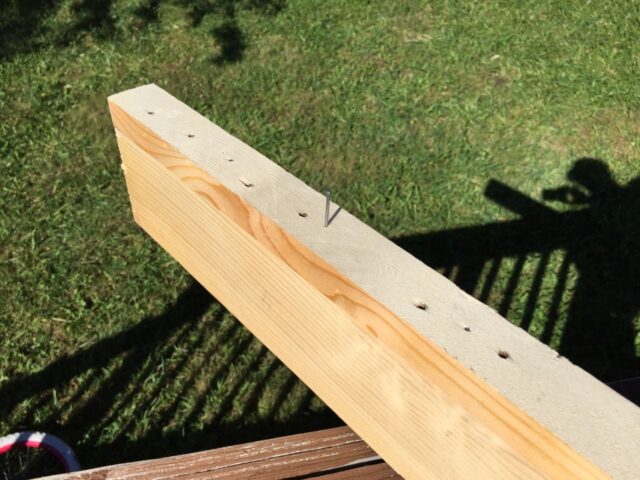
I tacked the frame together first. I would nail the ends and then start all the nails in the middle for my son to nail in:

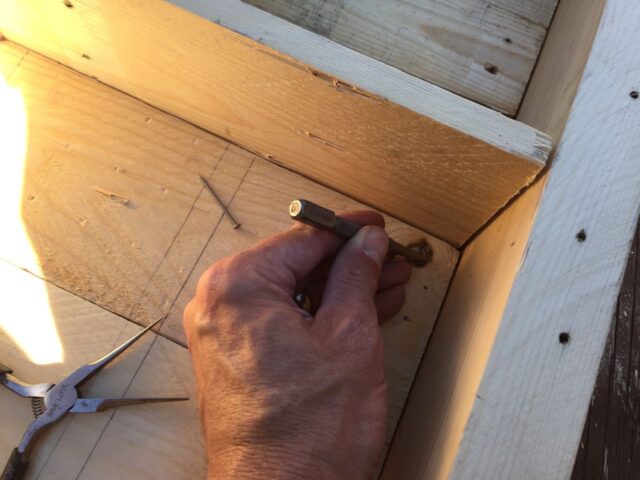
One tip for driving those hard to reach corner nails, use a nail set:
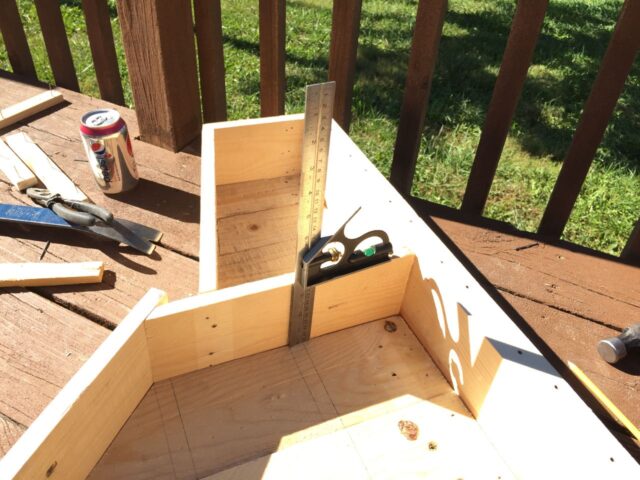
I could nail in from the edge on the sides and top but the bottom was so thick that I really couldn’t drive nails all the way through the bottom into the thin sides to I tacked nailers on the back and middle to nail the back wall of the doll house into from the front side:
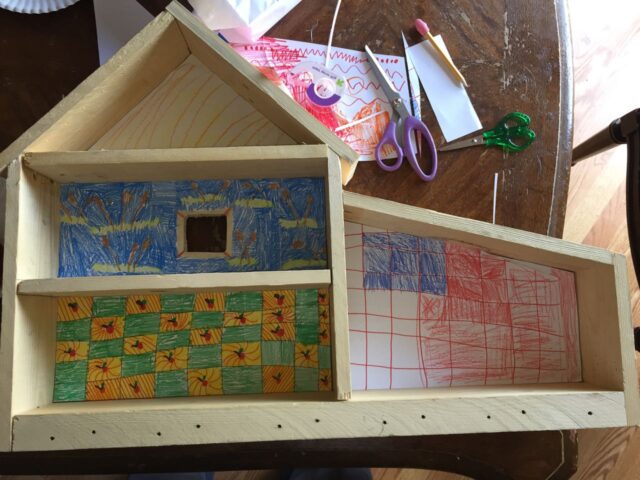
Step 6: Customize it.
My daughter wanted to get involved in the doll house creation so she made curtains. I had to make a window for the curtains. I drilled 1/2″ holes in the corners of the window and then used a key-hole saw to cut out the window.

I used screw in hooks to hang the blinds that were hung on a straw:

We then went on to make wall paper for the house. Cut pieces of paper to fit the rooms and then have the kids color it:
Step 7: Enjoy it.
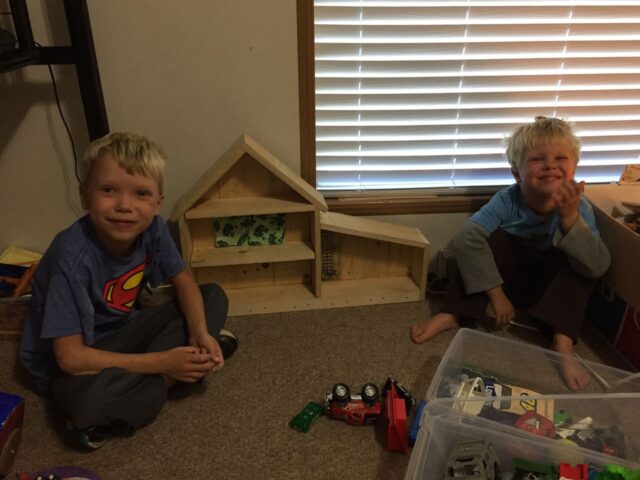
I had to get the boys to pose with the house we built:
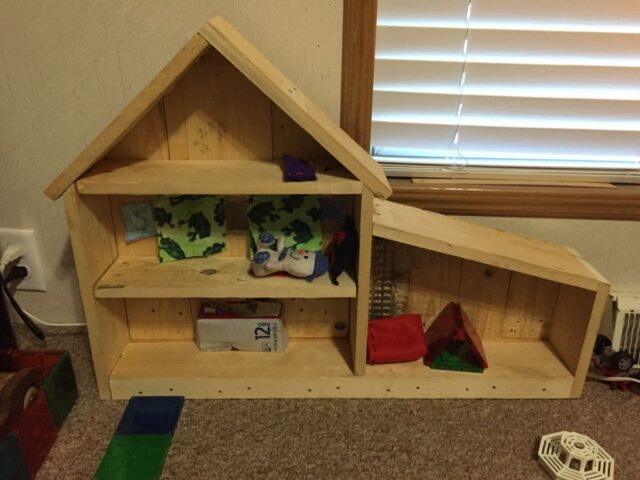
The kids added furniture and pictures on the wall:
Conclusion
This was a fun activity that gave me something to do with my boys on a beautiful fall Saturday. Hopefully it inspires you to create something with your kids. This was pretty much all that remained (apart from scrap) of the pallet:
If this gave you an idea as to what to do with a pallet, please share in the comments!
Amazon Associate Disclosure: As an Amazon Associate I earn from qualifying purchases. This means if you click on an affiliate link and purchase the item, I will receive an affiliate commission. The price of the item is the same whether it is an affiliate link or not. Regardless, I only recommend products or services I believe will add value to Share Your Repair readers. By using the affiliate links, you are helping support Share Your Repair, and I genuinely appreciate your support.