I’ve been taking things apart since before I can remember (I’ve been told) and therefore I’ve always wanted to look inside hard drives once they go bad. There’s one very neat component inside hard drives and that is at least one (and many times two) neodymium-iron-boron (NIB) high-flux magnet(s). In older drives they had two and the bigger (and older) the drive the bigger the magnet. These magnets are handy to have on hand in that they are great for finding studs and if you are like me they are great fun to play with. One thing to note is that they are brittle. Combine brittle and high power and if you let them snap together they can break, so be careful with them (and they can pinch you too–you could end up with a blood blister or cut skin). Anyway, if you’ve never done it, here’s how to remove the magnets from a hard drive (and I’ll share my trick to get them off the metal plates they are glued to)…
How to Remove Hard Drive Magnets
Hardware:
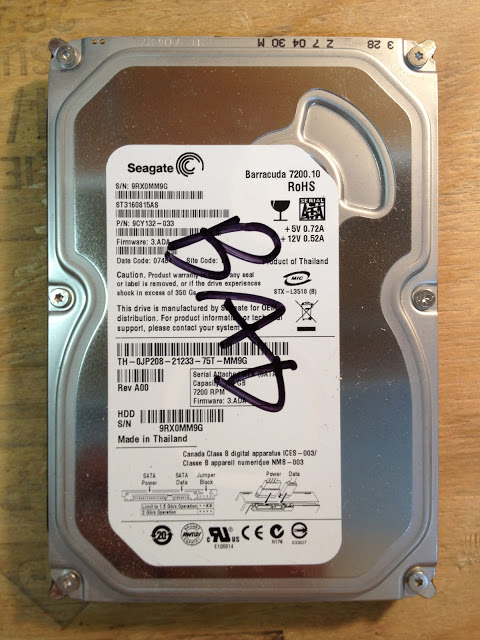
- Magnetic Medium Hard Drive (Hard Disk Drive, HDD)
Step 1: Use a torx wrench to remove the screws from the case.
 |
| The hidden “warranty” torx screw |

Step 2: Using a flat screwdriver pry off the hard drive’s cover.

 |
| The platter is scratched |
Step 3: Remove the screw from the bracket that holds the top magnet (if applicable).

Step 4: Pry off the top magnet bracket.

Step 5: Remove the screws that hold the platter on the spindle.

Step 6: Remove the actuator arm.

Since you unscrewed the screws that hold on the platters you can lift up the actuator arm and the platter(s) at the same time and remove them. The actuator arm will be connected by a ribbon. There’s a connector on the other end of the ribbon that you’ll need to unscrew as well (or you can just rip the thing off there).Step 7: Free your magnets. The magnets are glued the their respective plates with some pretty tough glue. I’ve tried a couple different methods (including trying to pry them up with a pocket knife) but most of them end up damaging the magnets or even breaking them. Here’s the most successful way I’ve come up with. Take a pliers and grab the very end of the metal bracket the magnet is connected to:

Now gently bend the bracket away from the magnet. I believe you’ll be most successful if you grab the bracket by about the least amount possible (not like the picture). This causes the most gradual bend in the bracket. Bend the bracket back–this breaks the seal of the glue. In this case I used a vice grip on the other end to make it easier for me and it causes the other end to bend away from the magnet too.

At this point you can easily remove the magnet.
I repeated this same process on the other magnet. First I broke off the plastic actuator arm stopper:

Bend one side away and then repeat for the other side. Make sure to not press against the magnet because you can break it in half.

Success:

Your hard-earned magnets:

Sometimes, instead of the glue releasing from the bracket, the nickel coating will prove to be the weakest link and the glue will pull off an area of nickel coating. This is a real bummer because the nickel coating is sharp on its edges and once it starts pealing up it wants to keep pealing up. Here’s one magnet that this happened to:

Like I shared above, one useful reason to have one of these magnets around is to find studs behind drywall. Your drywall is held to the studs with steel screws that these magnets will stick to if you pass over them. You’ll want to wrap the magnet in tape before rubbing them against your wall because the nickel coating will leave grey marks on your wall. Gently slide the magnet back and forth across the wall and you will feel when you pass over a screw. I use the magnets where the nickel pulled off for this kind of thing because I’m wrapping them with tape anyway. These magnets are so strong they will stick to the head of the screw right through the drywall mud (and the tape):

Here’s my collection of successfully-removed magnets. Yes, I’m a nerd.

Amazon Associate Disclosure: As an Amazon Associate I earn from qualifying purchases. This means if you click on an affiliate link and purchase the item, I will receive an affiliate commission. The price of the item is the same whether it is an affiliate link or not. Regardless, I only recommend products or services I believe will add value to Share Your Repair readers. By using the affiliate links, you are helping support Share Your Repair, and I genuinely appreciate your support.
Do you think heating the bracket will warm the glue enough to make it easier to bend the bracket away from the magnet? Or is it not that kind of glue? Thanks for the tutorial!
I have experimentally found that the heat required to soften the adhesive will demagnetize the magnet so I do not recommend that. They use very good adhesive, which unfortunately holds so well that it often peels off the chrome coating.
Thanks, I'll try the bending trick.
Another safety issue:
"If a child swallows more than one magnet over a short period of time, the magnets can attract one another while travelling through the intestines. When this happens, the magnets can twist the intestines and create a blockage or they can slowly tear through the intestinal walls. The results can be very serious and even fatal."
http://www.hc-sc.gc.ca/cps-spc/pubs/cons/magnets_danger-aimant-eng.php
Yes, a good word, hard drive magnets could be very harmful to anyone if swallowed. I never let my children play with these magnets. Thanks for the comment.
Thank you! This worked like a charm! The nickel did come off of both magnets, but at least I got them out with your help.
Cheers!