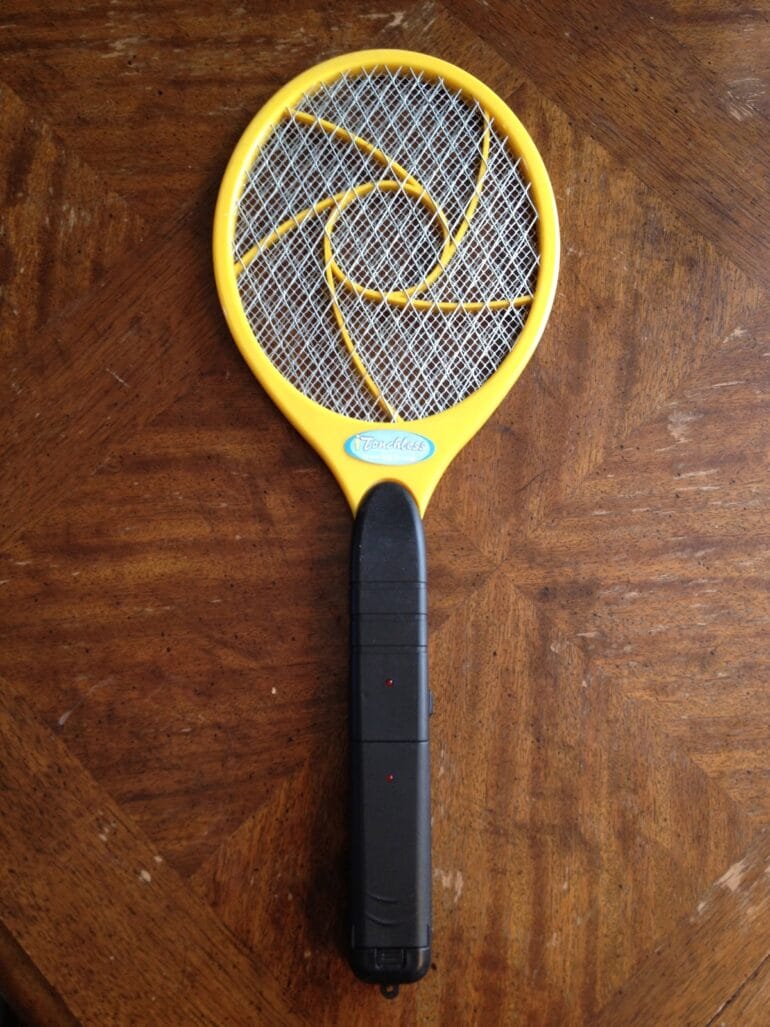
I purchased one of those electric bug zapper fly swatters off Amazon.com after seeing one at a friend’s house and thinking it was the funnest way to kill bugs ever. This makes killing bugs fun–mosquitos are the best. Finally, after 4 years it doesn’t hold much of a charge anymore so it’s time to tear into it.
How to Replace the Rechargeable Battery in a Portable Handheld Electric Bug Zapper/Swatter
Hardware:
- Power Bug Swatter/Zapper
- 2.4V/600mAh Ni-Cad rechargeable Battery (battery originally inside swatter)
- 2.4V Ni-MH Battery

Remove the two phillips screws from the charger and then take off the top of the case, which reveals the the battery and charging circuit. Note, the picture below is of the replaced battery (I forgot to take the before pictures):
 |
| The charging case open |
It turns out that the battery inside is a common NiCad battery pack. I believe the most popular use of this battery pack is cordless phone handsets and you can get a replacement at Radio Shack or you can order one online here at Amazon.com. The battery is the same physical size as two AA batteries (shrink-wrapped together) but you’ll have to make sure your replacement battery will fit (it’s not the same voltage as 2 AA’s though). The mAh (milli-amp henry) number tells you how much charge the battery will hold (the bigger the number the longer it will run on a charge). I think the original one that was in this was only something like 600 mAh and this replacement is 900 and the one I link to above is 1,400. Amazon.com has them much cheaper than Radio Shack but I wanted to make sure it was the same physical size.
The battery, charging circuit, and the outlet plug all will slide straight up and out of the case:
 |
| The complete flyswatter circuit removed from the charging case |
We are interested in the battery and the red and black wires running from the battery to the circuit board. We will need to first make sure to note which one connects where. You’ll need to follow the red and black wires through the board and then to the back of the board where they are soldered.
 |
| The charging circuit of my electric bug zapper flyswatter |
In my case the board was not marked with a + (red) or – (negative) so I marked the board before I unsoldered the wires (see the black magic marker +/-):
 |
| Positive and negative terminals marked on the charging circuit |
Be careful not to connect any of the solder points that are not already connected when you heat the points up and remove the old battery.
The replacement battery will most likely have a connector on the end to connect it to the cordless phone. You will need to cut off the connector. NOTE: do not cut both wires at once. Your new battery is charged. You don’t want to short the battery with your wire cutters or whatever metal (conductive) device you use to cut the wires. The two wires might be connected together so in that case you’ll have to pull them apart and cut them one at a time. Here’s an example of what the connector may look like on the end of your replacement battery:
 |
| Example form of the replacement battery and connector |
Once you’ve clipped each wire, one at a time, you can strip the insulation off the ends of each wire (don’t touch them together), tin them ahead of time, and then reconnect the red to the + (positive) and black to the – (negative). Tuck the parts back into the charging case and put it all back together. One thing you’ll want to watch out for is the wires cutting across the opening for the screw. I had the yellow wire want to cross this hole when I first reassembled mine. Make sure to move it out of the way so you don’t screw into your wiring. The red circle marks the area you need to steer clear your wires from:
 |
| The arrow shows the red circle I added to remind you not to let any of the wires cross the hole the screw will go through. |
Another thing you’ll want to be careful of when you put it back together is to make sure the small red LED points to the hole in the case. It can easily be bend and then when you put the cover back on it will not line up with the hole. Carefully bend it around a bit to line up if it got misaligned when you were working on it:
 |
| The LED must line up with the hole in the case |
Now that you’re done, you’ve extended the life of your flyswatter and probably upgraded the charging capacity, so you’ll be swatting flies for longer than ever.
Amazon Associate Disclosure: As an Amazon Associate I earn from qualifying purchases. This means if you click on an affiliate link and purchase the item, I will receive an affiliate commission. The price of the item is the same whether it is an affiliate link or not. Regardless, I only recommend products or services I believe will add value to Share Your Repair readers. By using the affiliate links, you are helping support Share Your Repair, and I genuinely appreciate your support.