Hardware:
- LACIE Design by F.A. Porsche 301103U 500GB 7200 RPM External Hard Drive
- Any SATA 5 1/2″ internal (replacement) drive
 |
| LACIE 500GB External Hard Drive |
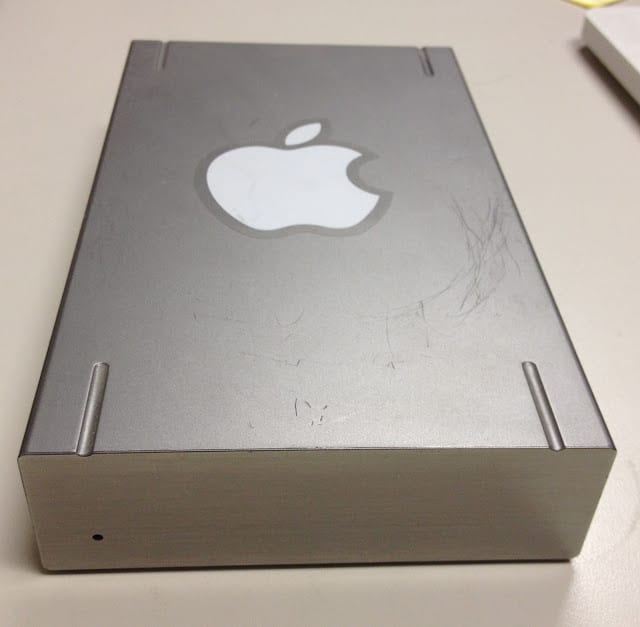
Back in 2007 I purchased this 500 Gig Lacie 500GB USB external hard drive. 500 Gig doesn’t cut it now-a-days so I wanted to upgrade it. My MacBook Pro has both a 750 Gig and a 120 Gig drive in it and I want to back them up both to the same drive. Therefore, it’s time to crack the thing open and put a bigger drive in it.
Step 1: Use a knife to pop off the bottom of the case. I used my pocket knife but something with less of an edge on it (like a round-ended butter knife) will probably do the least amount of damage to the case. The bottom of the case has slots around its outside edge that the plastic from the case snaps into.

Above you can see the slots in the case bottom that fit into the sides of the case. The case top and sides are plastic and the bottom is pressed aluminum. Put the knife into the slot on the bottom and pry the sides away from the bottom. There is one “catch” on the back side and none on the front, so you may want to start toward the front and work your way to the back.

Here you can see the one catch on the back side:

Here’s what it looks like with the bottom cover off:

Step 2: Disconnect the SATA and Power cables and move the LED activity cable out of the way. The HD activity LED is just set down into a slot so if you lift it straight up it will come out. You do not have to disconnect it from the board.

I found it easier if I unplugged the SATA cable from the controller board first and then from the drive:

Step 3: Remove the 4 screws from the HD. There are 4 screws that connect the HD to the metal shielding tabs that wrap around the HD (circled in red below). Unscrew these four screws with a phillips screw driver.

Step 4: Straighten the metal tabs that the screws went through. These are easily bent with your fingers. Here they are straightened:

And the other ones too:

Save the clear plastic insulator sheet, because you’ll want to reinstall them when you are done.

Step 5: Lift the HD out of the case. You can just put your hand over the hard drive and turn the case over or grab it by the connector end and lift up. Just watch the LED cable that is probably still connected.
Step 6: Insert the new HD and follow the steps in reverse to reassemble.
Now you’ve extended the life and usefulness of your external drive.
Amazon Associate Disclosure: As an Amazon Associate I earn from qualifying purchases. This means if you click on an affiliate link and purchase the item, I will receive an affiliate commission. The price of the item is the same whether it is an affiliate link or not. Regardless, I only recommend products or services I believe will add value to Share Your Repair readers. By using the affiliate links, you are helping support Share Your Repair, and I genuinely appreciate your support.