The other day my wife reported to me that the oven had stopped working. The oven had stopped working one other time a little over 2 years ago and it turned out to be the igniter. I figured it was the igniter again but was surprised it had happened again so soon. I wanted to trouble-shoot it further just to make sure I wasn’t jumping to conclusions and it happened to be an electrical issue.
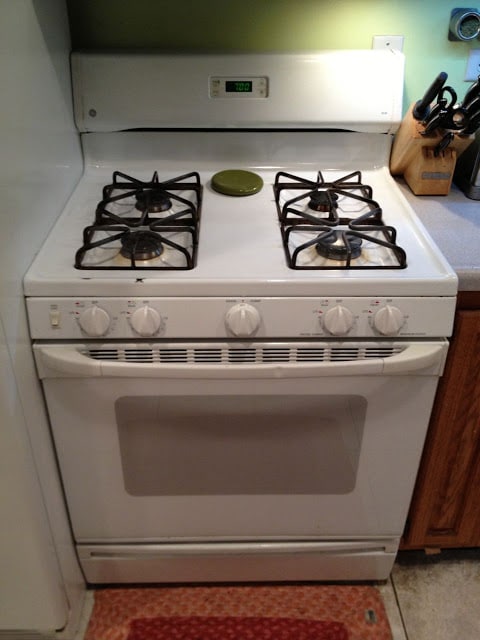
How to Replace the Igniter on a GE XL44 Oven
Hardware:
- GE 30″ XL44 Range, Model JGBS23WEAWW
- Equivalent Replacement Oven: GE WB13K21 Igniter for Oven
Tools Needed:
- Flat head and phillips head screwdrivers
- 1/4″ hex-head driver, get this and more with this Highly rated 170-Piece Tool Set
- Fluke 177 True RMS Digital Multimeter with Backlight (optional, for testing the voltage of the igniter and resistance of the igniter)
Parts Needed:
- GE WB13K21 Igniter for Oven
- GE Lighting Appliance Bulbs, 40 Watts, Pack Of 2
(if your bulb is burned out you might as well replace it while you’re working in there)
Troubleshooting Steps (in case you are not positive your igniter is bad)
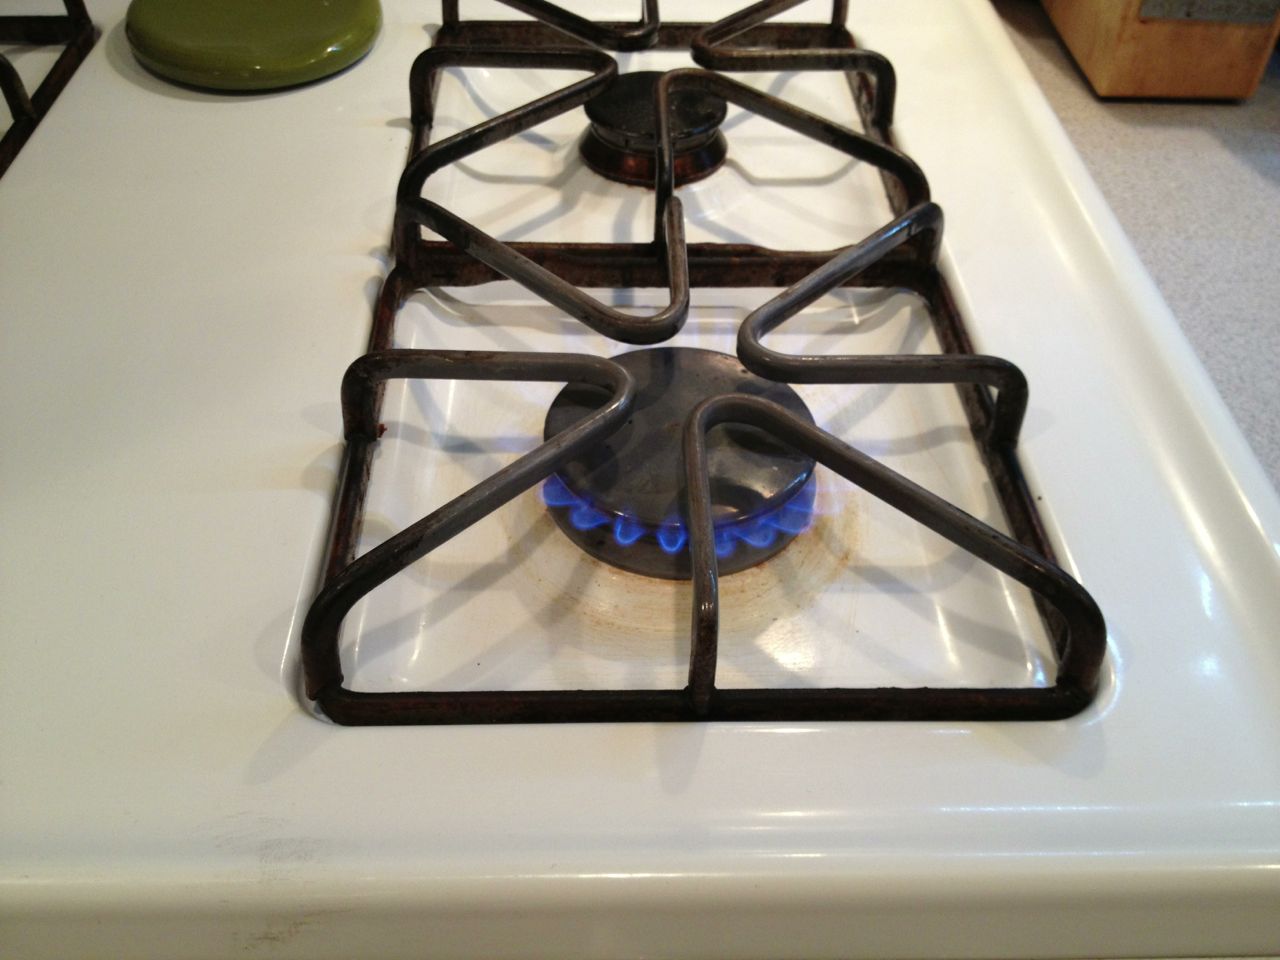 |
| The top burners work fine. |
How to replace the igniter on a GE XL44 oven
Step 1: Remove the lower panel of the oven.
Open the oven door, remove the racks, and then unscrew the two flat-head screws from the floor of the oven at the very back. They are designed to be able to be removed by hand but their head is slotted so you may need a flat screw driver to get them out.
| Oven floor screw locations |
Step 2: Remove the oven floor.
You’ll want to insert your fingers into one of the back vents in the floor of the oven and lift up. Once the back edge of the floor comes up you’ll want to push the entire floor back towards the back of the oven to untuck the floor from the front lip of the oven opening.
 |
| Lifting up the back end of the oven floor |
Once you have dislodged the oven floor you can take it out and set it aside. This is what you’ll see:
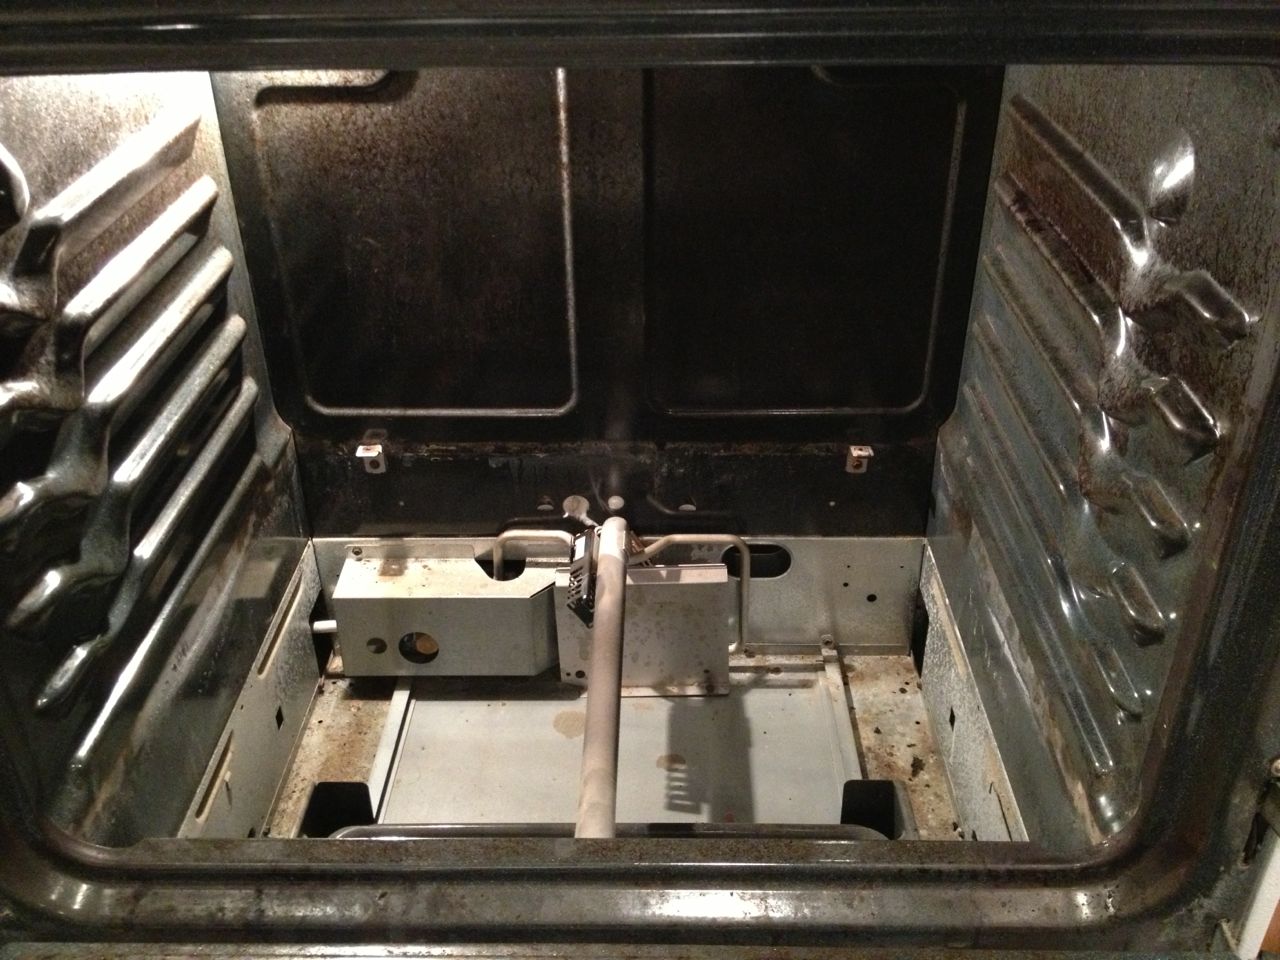 |
| Oven floor removed |
Step 3: Remove the metal shield that protects the wiring.
There is one screw that goes into the floor of the oven. The other end tucks into a slot in the floor. Remove the screw and then untuck the other end and set the shield aside. The screw is a slotted 1/4″ hex head (and all the screws following this have the same 1/4″ hex head). If you need a good tool set, pick yourself up a Highly rated 170-Piece Tool Set.
 |
| Location of the large shield screw |
Step 4: Remove the shield that covers the hole where the wiring goes out the back of the oven.
Remove the one screw and set the cover aside.
 |
| Location of the wiring hole cover plate screw. |
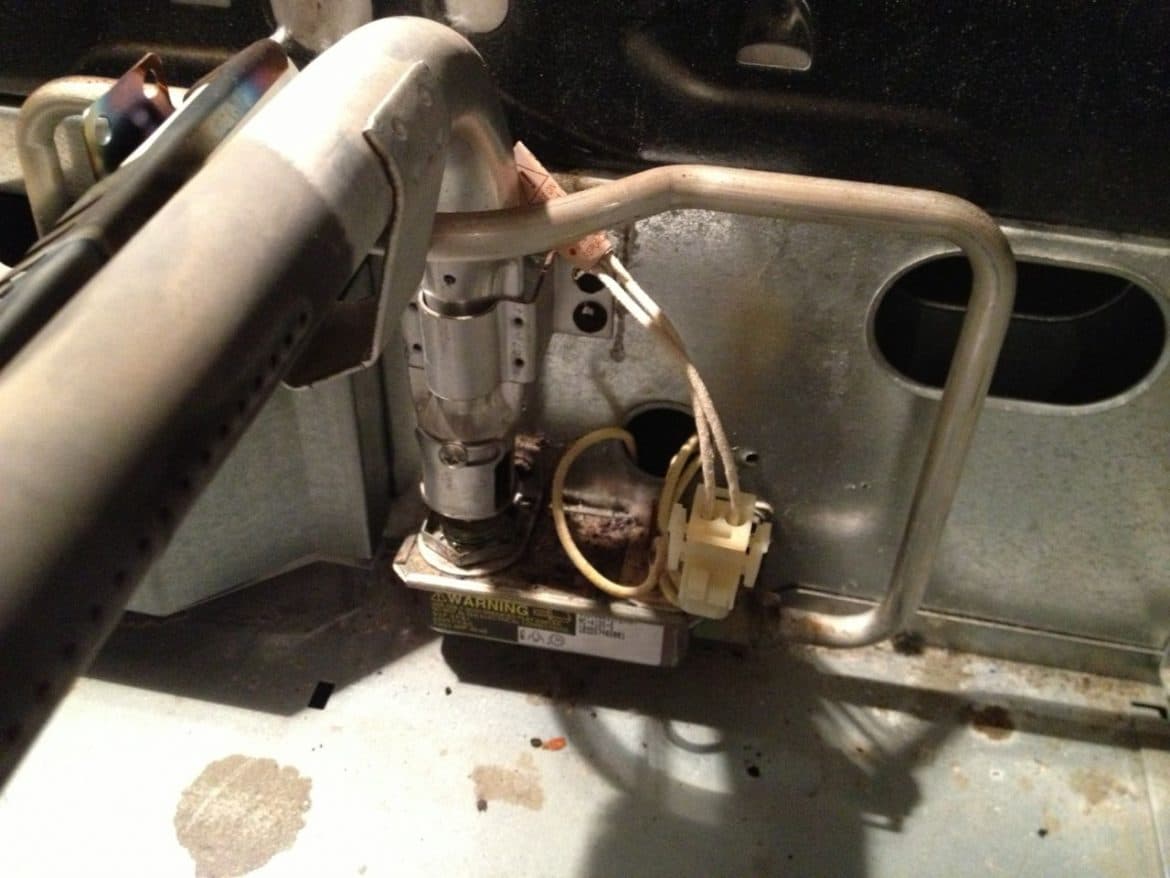
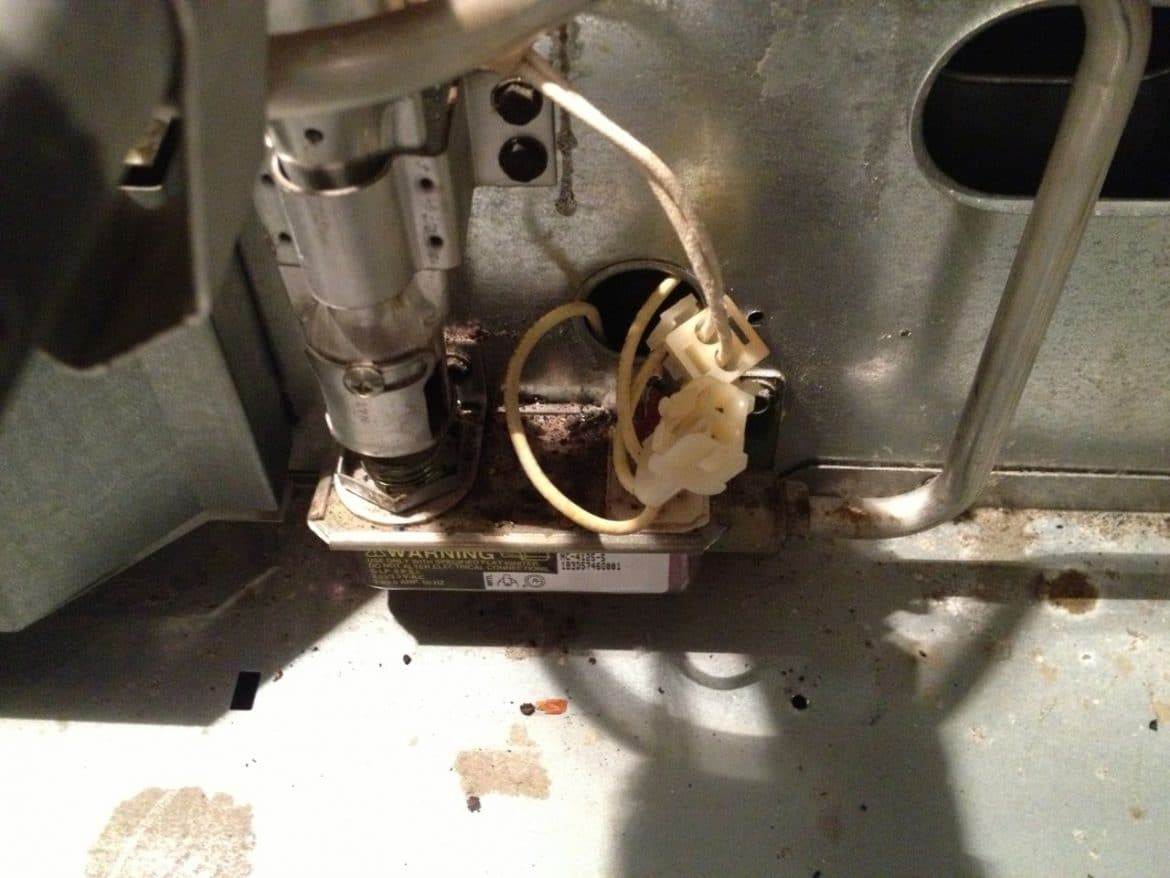
Step 5: Carefully pull the connecter out of the hole.
Be careful to not break off the wires running to the valve.
Step 6: Disconnect the igniter connector.
Squeeze the tab on each side and then pull apart.
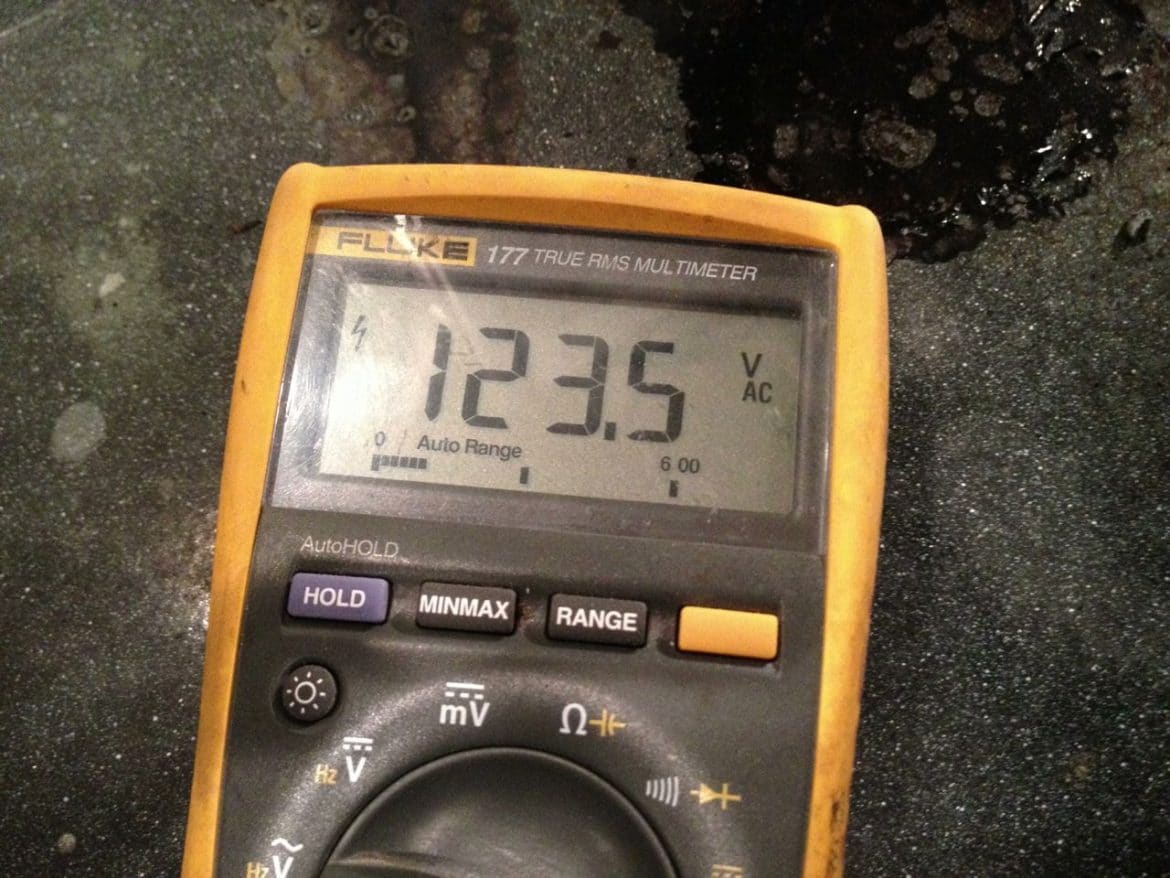
Step 7: Test the igniter voltage.
This is an optional step. You want to know that the igniter is getting 120 volts AC. If it isn’t then you know the problem is not the igniter. If it is getting 120 volts AC then you can eliminate that as a possible problem. Use a multimeter, putting the setting on AC volts. Put one lead into each of the two terminals of the connector coming from the oven. It should be right around 120. Mine read 123.5 volts. Be careful not to touch your multimeter leads when you are testing this–it would be like putting your fingers into an electrical outlet.
Step 8: Check the resistance of the igniter.
This is an optional step too. I love my Fluke 177 True RMS Digital Multimeter with Backlight
and highly recommend it. Place your multimeter on ohms (resistance) and put one lead into each terminal on the igniter. It should be less than 1,000 ohms (1 kilo ohm). The one from my non-working oven read 14+ mega ohms, practically an open circuit. This means the igniter is definitely bad, which is good because it’s an easy-to-replace part that isn’t that expensive. I ordered mine from amazon.com here.
 |
| Resistance reading of 14.74 mega ohms on the bad igniter |
Step 9: Order a replacement igniter and wait.
I did a search for GE XL44 and that is how I found my igniter on amazon.com here (GE WB13K21 Igniter for Oven). XL44 isn’t actually the model of this range, but the series of ranges. This particular oven does have a plate that gives the model number but I only just now found it (after already repairing it). If you open the pan drawer, look down on the left side:
 |
| GE XL44 Model JGBS23WEA2WW Range |
When my replacement igniter came in I had to test the resistance just so I could compare. The new one measured 276.8 ohms, which gives you an idea what yours should read if it is good.
 |
| Resistance reading of the NEW igniter |
Step 10: Mount the igniter.
This actually was the hardest part for me both times I replaced the igniter. The first time it was for two reasons: 1. because of how hard it was to get the screws started on the threaded sheet metal the thing mounts to. 2. because I couldn’t remember exactly how the igniter was oriented when it was mounted. There are two mounting tabs on the igniter–one straight and one bent. You should use the straight one and it should look like this when you mount it:
 |
| GE XL44 replacement oven igniter in place |
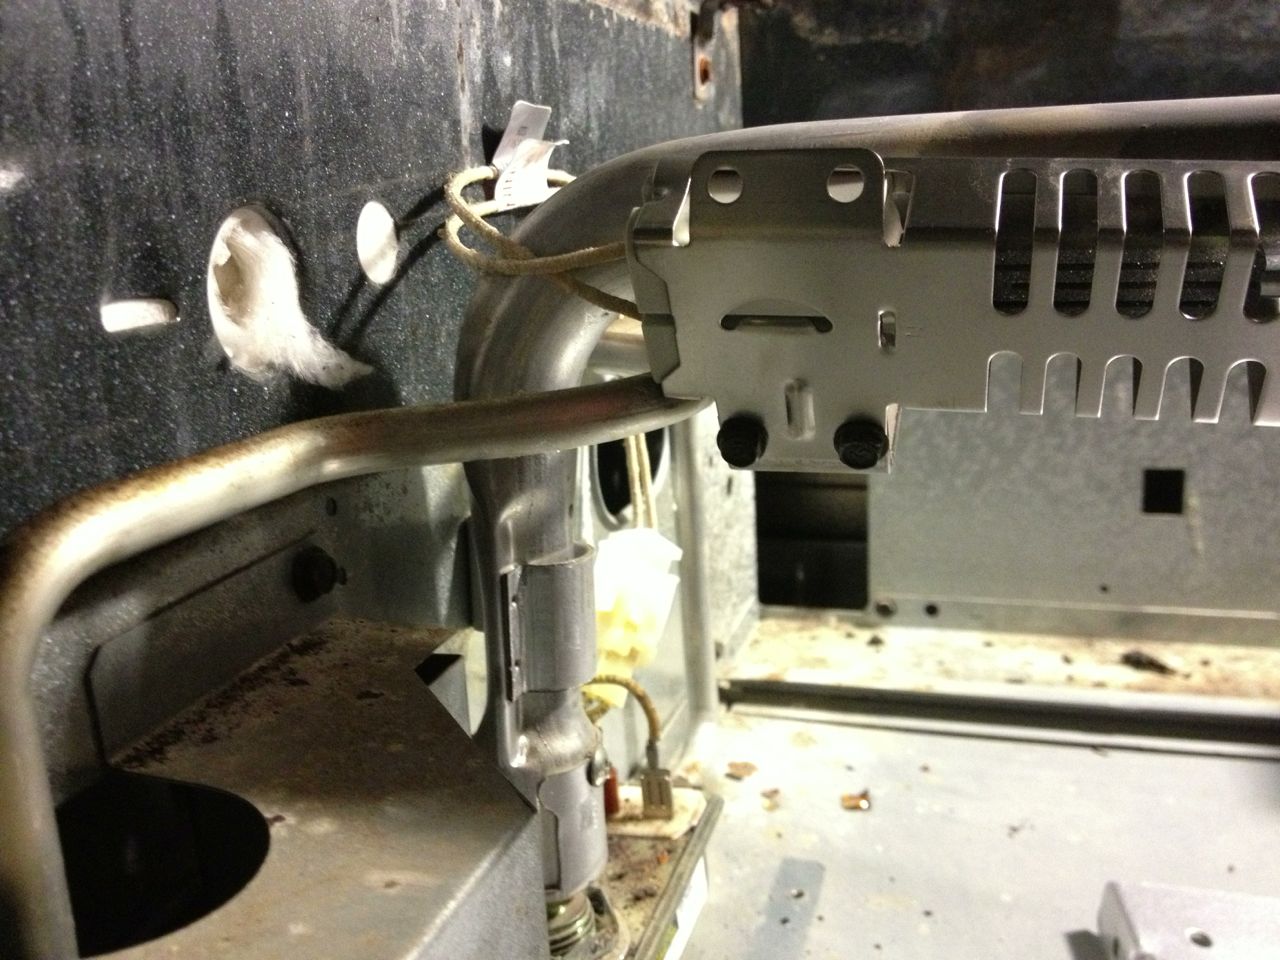
Step 11: Run the wiring back to the oven’s connector and connect it.
The wires should go back and around the main burner as shown here:
 |
| Igniter wiring path |
There is only one way to connect the connector because of its shape:
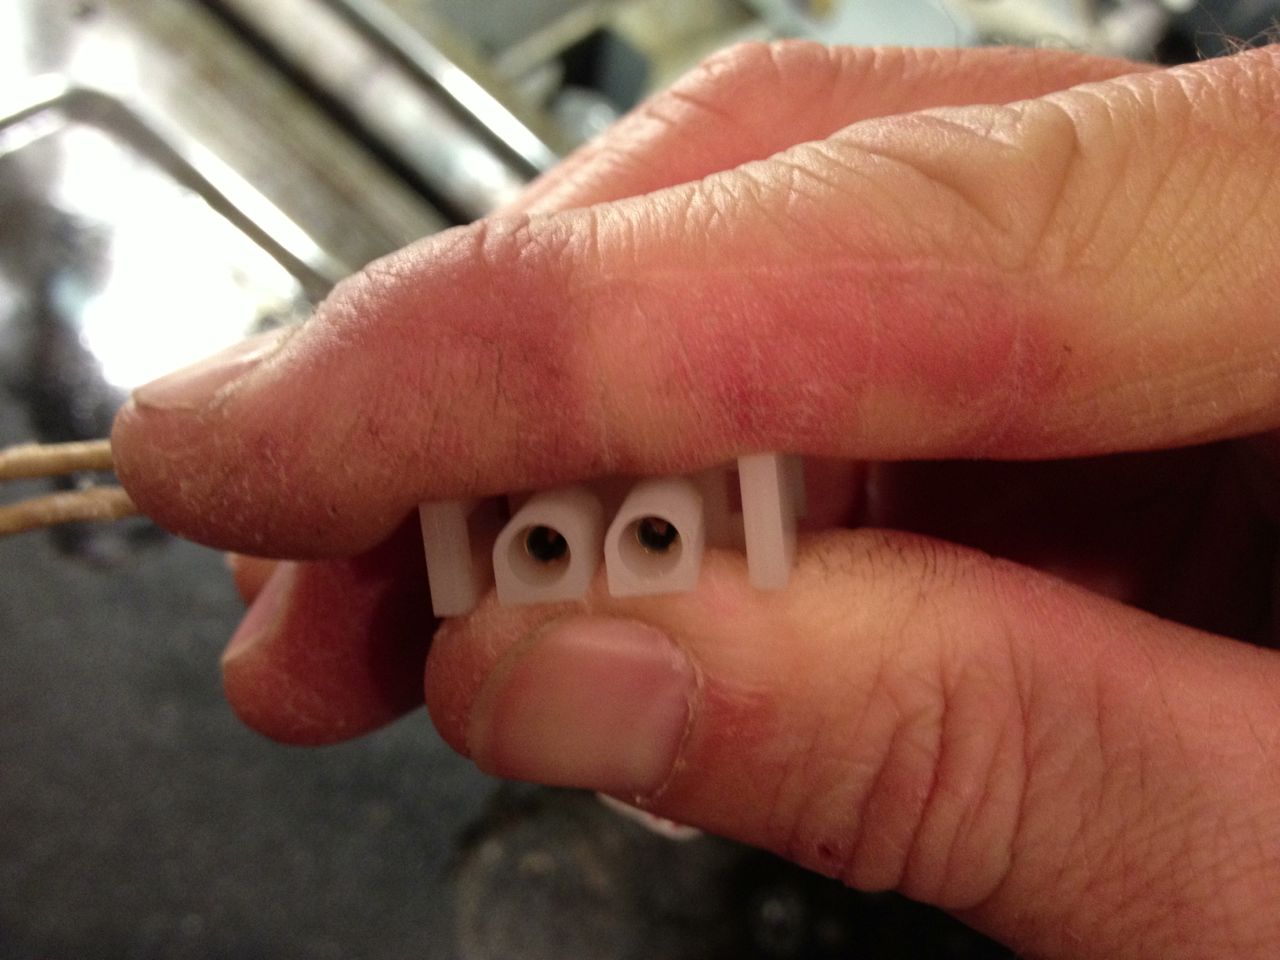 |
| connector shape–round on one side and boxed on the other |
Step 12: Push the connector back through the hole.
You want the connector shielded from the heat as much as possible. Be careful not to break off one of the wires sticking up from the valve right below the hole. This is what it looked like originally (I forgot to take a picture when I put it back together):
 |
| Igniter connector hidden back in hole |
Step 13: Reinstall hole cover and wiring/valve shield.
Reinstall the shield that covered the hole where the wiring goes through with one screw. Reinstall the shield that covers the valve and wiring by first tucking the left bottom tab in the hole and then replacing the screw on the right side.
Step 14: Test your replacement.
You can fire up your oven without the bottom reinstalled. Turn on the oven and if the replacement igniter is working this is what you will begin to see first (i.e. the igniter glowing):
 |
| Igniter heats up |
The proper operation of the igniter will cause the valve to open up and the gas will flow, allowing the oven to light:
 |
| Ignitor properly lights gas |
Don’t leave it on for long because you don’t want to be trying to reinstall the floor of the oven with it being hot in there.
Step 15: Reinstall the floor of the oven and then the racks.
You’ll want to put the floor of the oven in with the back end up high, holding the floor through the vents. Tuck the front edge under the rim of the opening and push the back edge down. Reinstall the 2 screws. Reinstall your oven racks and get ready to whip up that batch of cookies! Done. If this was helpful to you please let me know in the comments. Thanks.
My other GE XL44 Oven Repair Tutorials:
Other Resources:
Amazon Associate Disclosure: As an Amazon Associate I earn from qualifying purchases. This means if you click on an affiliate link and purchase the item, I will receive an affiliate commission. The price of the item is the same whether it is an affiliate link or not. Regardless, I only recommend products or services I believe will add value to Share Your Repair readers. By using the affiliate links, you are helping support Share Your Repair, and I genuinely appreciate your support.
Could there be another cause for the oven not shutting off or do you think the new switch is defective. I will check the voltage leaving the switch with the switch off on the weekend. It’s at my campground.
I don’t think so, that thermostat is what switches the igniter on
My propane ge xl44 oven stays on with switch turned off. I replaced the thermostat and dial but still stays on. Could it be the igniter is not shutting off and needs replacing?
That cannot be the problem. The igniter is like a light bulb. It comes on if electricity is applied to it. A light bulb not turning off has nothing to do with the light bulb being bad. The circuit that the igniter is connected to is telling it to stay on when it shouldn’t.
Could it be that the wires on the switch are hooked up backwards? The red wire is on the right terminal and white wire is on the left. Looking from the front of the stove. The switch is the same one as in your picture.
I just did some research and a parts supply site says it doesn’t matter which wire goes on which side.
Hi John.
I know this is a very old repair but I am hoping for some guidance. The trouble I am having with my XL44 is that the oven will not turn off when connected. I read your guide on replacing the thermostat and am waiting for that part to come in the mail. While waiting I would still like to use the top burners to cook without having the oven turn on off course. Does removing the oven igniter allow me to cook using the top burner without having to worry about gas leaks and heating from the oven? Thanks in advance!
Yes, I recommend just disconnecting the igniter, but leaving it in place, and that will keep the oven from coming on. I have written an article on replacing the igniter as well. http://www.shareyourrepair.com/2012/11/how-to-replace-igniter-on-ge-xl44-oven.html
Thanks for your clear photos, instructions, and cautions. I successfully replaced my faulty igniter and saved a lot of money by doing it myself.
Thanks for the feedback Ruth. Good work on fixing your oven!
The stove top is working so everything is working fine on the stove except for the oven
Any suggestions would help
Thanks
Did you turn the gas back on and is the cord plugged back in? Verify you have power by making sure the clock works on the oven. To verify the gas try starting a burner on the stove top (which also verifies the electricity because it has an electric ignition system). If I were you, I would verify that the igniter is glowing when you turn on the oven by opening the door after turning it on. Let me know what you find.
Does the igniter glow when you turn on the oven? You can open the door and just watch it.
I replaced my igniter & over still will not turn on any suggestions
I replaced the igniter and oven does not work any other suggestions
I changed the ignitor on my oven and things went pretty well. It now heats up, however it blows a TON of hot air out of the top vent and this was not the case before. What went wrong?
Noble, thank you for the question… Without physically being there to examine your oven I will have to speculate as to what is going on but I have a guess. There is a vent on the front side of the back of the range top which will naturally allow hot air to flow up and out of the back of the oven. I usually don't even notice this is the case on our oven but if I have a pan sitting on the range top with its handle pointing over toward the back, with the oven on as well, the handle will get VERY hot. I think this is the natural operation of the oven and there is no fan, which would cause air to "blow" up out of that vent. It is just the natural convection that occurs when hot air rises between the metal shell of the oven and the inner metal box that contains the oven and it rises and flows out that vent. Let me know if this describes what is going on with your oven. It has nothing to do specifically with the igniter, if the oven is lighting fine, etc.
John,
Thanks for your speedy reply! Yes your answer makes sense and at various times I have noticed a hot pan on the back when the range was on like you said. So it sounds like this is just a normal venting situation and should not be a concern. Probably I am just more in tune with it now that I just had the oven taken apart and want to be sure I didnt break it! lol
Thanks again for your help!
I know how that is. It is especially true for me when I work on my Toyota Sienna. After I'm done I hear things I think I've never heard before, engine noises, etc and I'm paranoid something else is messed up. I'm glad you were able to DIY, save a lot of money, and get your oven back in business again.
my oven has two one on top one on bottom would it work only if you replaced the bottom
The top one is for the broiler and the bottom is the one that lights the oven in the normal bake mode. They work independently. If you are trying to bake and the oven won't light then it is the bottom one you'll need to replace. If your oven bakes fine but won't broil then it's the top one you need to replace.
If you have a round ignitor for GE XL44 oven, this is my fresh experience from today:
It was not hard but not as easy as some websites and U-Tube videos claim. Some said that it takes only one screw to disconnect a burner and then lift a shelf/cover, but there was more to it.
I am not a tech. or really handy, but it took me some 1/2 hr. to replace it.
That's how I did it (please do not ask for more details):
1. UNPLUG THE OVEN AND SHUT THE GAS.
2. Shut the gas valve on the pipe (on the same wall as outlet).
3. Remove the door by opening it some 30 degrees and pulling/lifting it up.
4. Remove the screw holding the closer end of the burner (tube).
5. Remove screws holding the cover under the burner (on the sides – just carefully find them all). There are also a couple hand crews in the back. Lift the back of the cover, then pull it out (figure it out).
6. Remove the heat shield (a layered and hollow plate under the cover). You may do w/o removing it, but I did remove it – more freedom of movement.
7. Remove 2 screws holding the back end of the burner to the back wall of the oven.
8. Disconnect 2 ignitor wires (do not let them drop inside the back oven wall – somehow clamp/hold them).
9. Pull out the burner.
10. Remove the old ignitor (2 screws) from the burner and install the new one in its place.
11. Re-install the burner with new ignitor back the same way it was there.
12. Reconnect the wires. You may have to strip them and securely connect with ceramic heat resistant wire nuts (insulate).
13. Plug electricity and turn on gas.
14. Turn on the oven and check/try if it ignites.
15. UNPLUG THE OVEN AND SHUT THE GAS AGAIN.
15. Re-install all shelves back the same way.
16. Plug the power and turn on the gas.
DOUBLE-CHECK EVERYTHING.
Start.
No claims, please. I just shared my experience.
Good luck.
I just replaced my ignitor and everything seemed fine. Now it blows REALLY hot air right out of the top vent. This was not the case before and Im wondering what I did wrong. Can this be fixed?