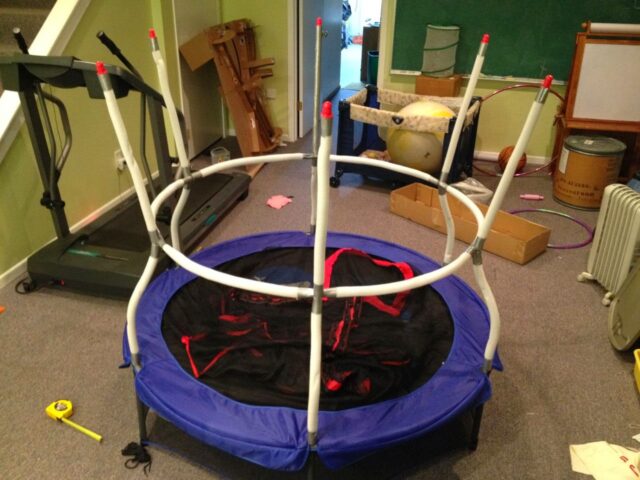
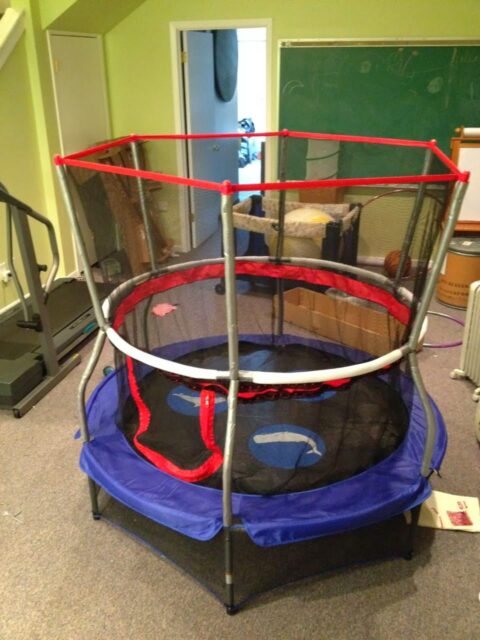
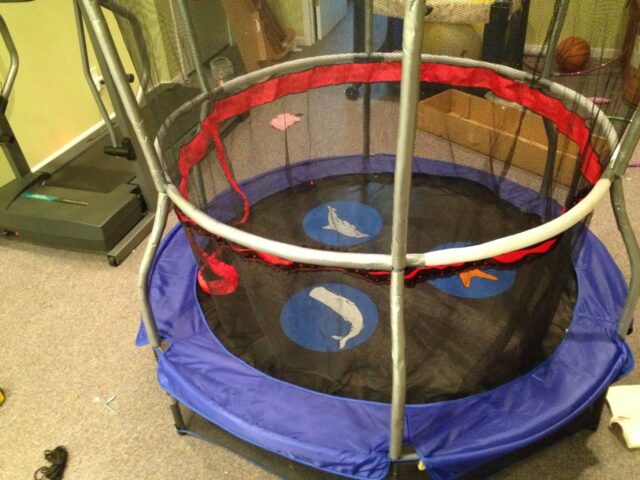
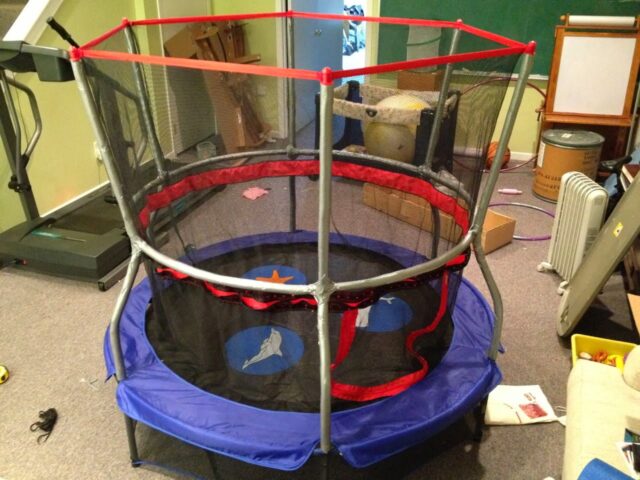
This post is an off-shoot of another post I wrote where I detail the assembly instructions for the Skywalker Trampolines 60 Inch Round Seaside Adventure Bouncer with Enclosure. Once I had installed the vertical side rail standards and the horizontal side rail loop I had seen enough of the cheap foam they had lined the thing with to know that it wasn’t going to last long. I wanted to share how to Make Skywalker Trampolines 60 Inch Round Seaside Adventure Bouncer with Enclosure Last Longer With Duct Tape. I think you’ll want to follow my example because some of the foam didn’t even survive the shipping:
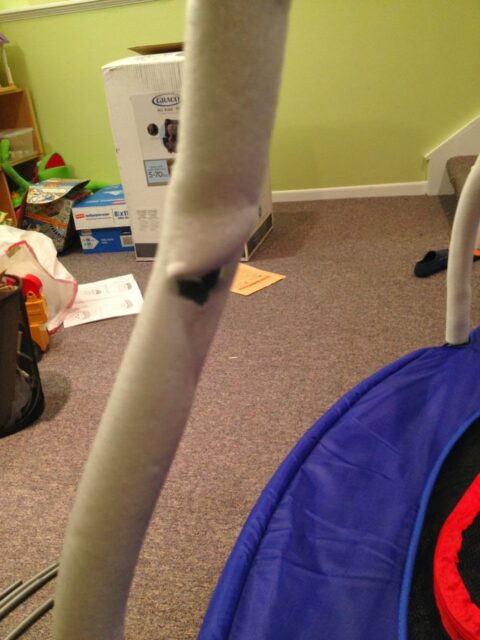 |
| Damaged foam from shipping |
I decided to upgrade it by adding a layer of duct tape. This is how I did it…
How to Make Skywalker Trampolines 60 Inch Round Seaside Adventure Bouncer with Enclosure Last Longer With Duct Tape
Hardware:
Step 1: Put a single wrap of tape around each end of the foam.
I found if you tore off a bunch of 4-inch pieces the process went a lot faster. 4 inches is the perfect length. Tear them off in advance:
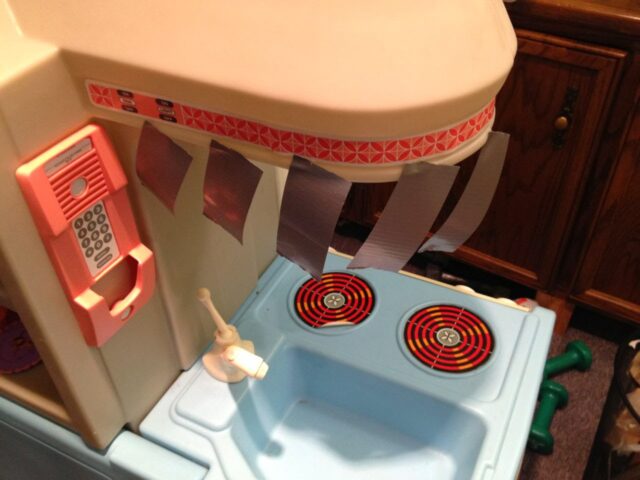 |
| Duct tape ready to be deployed 🙂 |
Wrap every end on the vertical pieces and the horizontal side rail loop too.
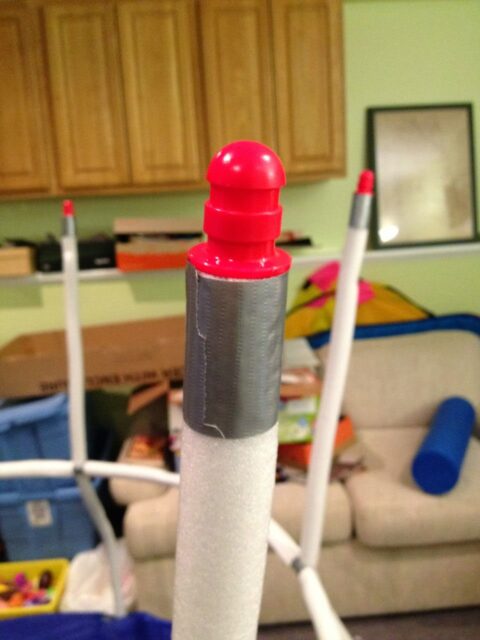 |
| The top wrapped |
 |
| Wrapping the ends |
 |
| Here I have all the ends wrapped |
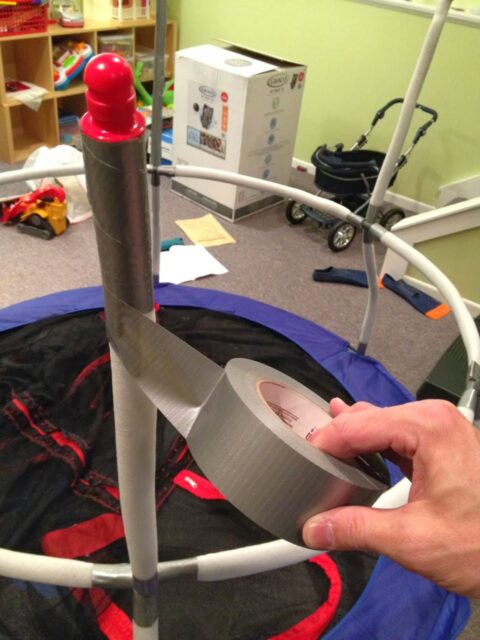
Step 2: Now wrap all the foam of the Vertical Standards FIRST at an angle to cover its entire surface with duct tape.
Do the vertical bars first so you can put on the screen (which will hold the horizontal loop together when you are tying it all in place with tape. You’ll need to play around with the angle when you wrap the foam because if you go at too big of an angle you’ll miss a strip but if you do too tight of an angle you overlap too much. This is about the perfect angle:
 |
| In search of the perfect angle |
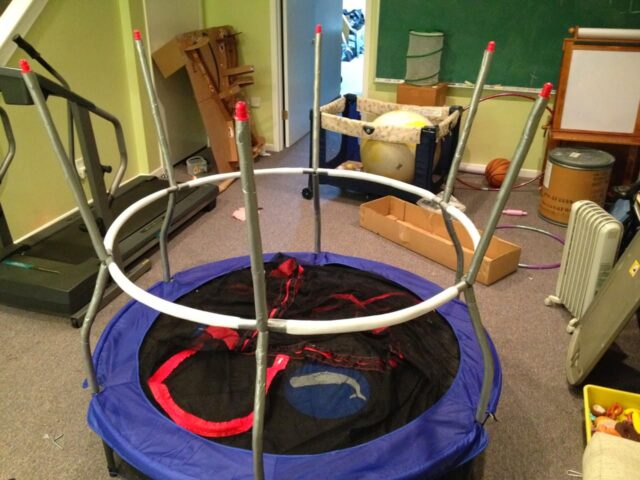 |
| All the vertical standards wrapped up |
Step 3: Reinstall the screen on the top caps before you proceed.
By doing this you hold the horizontal loop together. You don’t want it coming apart when you are taping it together and you don’t want to tape the bars if they are not fitting together tight either.
 |
| The screen reinstalled on the top caps |
Step 4: Wrap the horizontal side rail loop sections.
Now that you have the netting installed all the joints ought to be held tightly together.
 |
| Wrapping up the horizontal side rail loop |
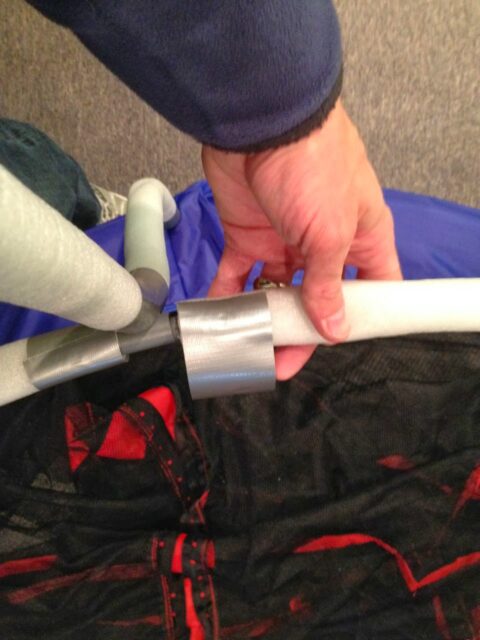
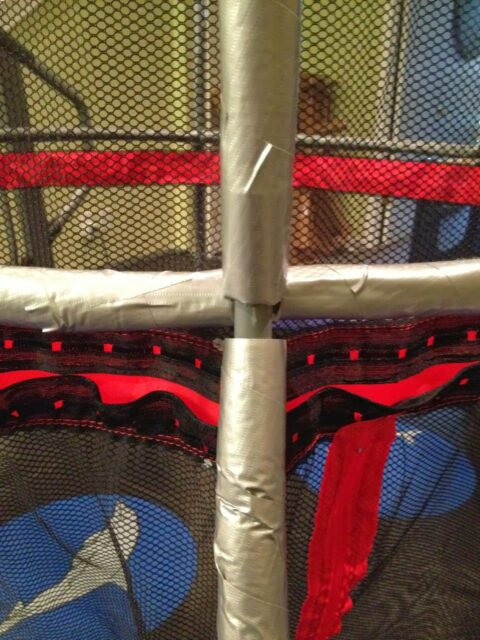
Step 5: Wrap the intersections.
I put two wraps of tape around each of the 6 intersections:
 |
| The intersections need tape too 🙂 |
Wrap diagonally one direction:
 |
| Wrapping diagonally the first direction |
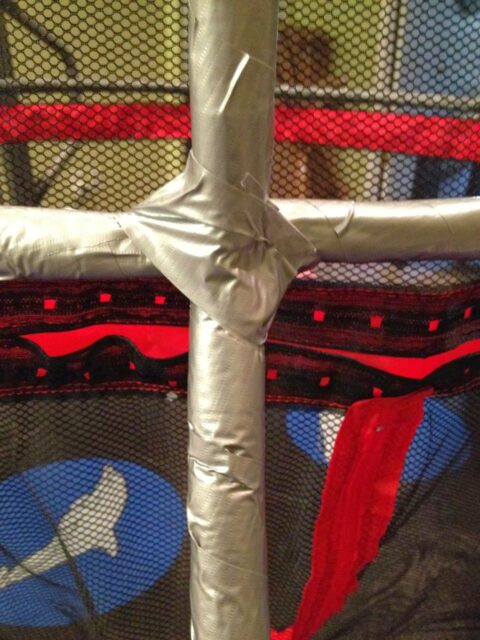
Now wrap diagonally the other direction to complete the intersection:
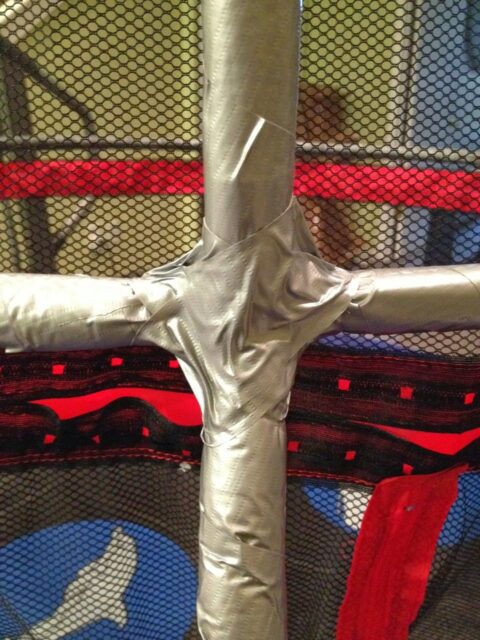 |
| The finished product–a wrapped up intersection |
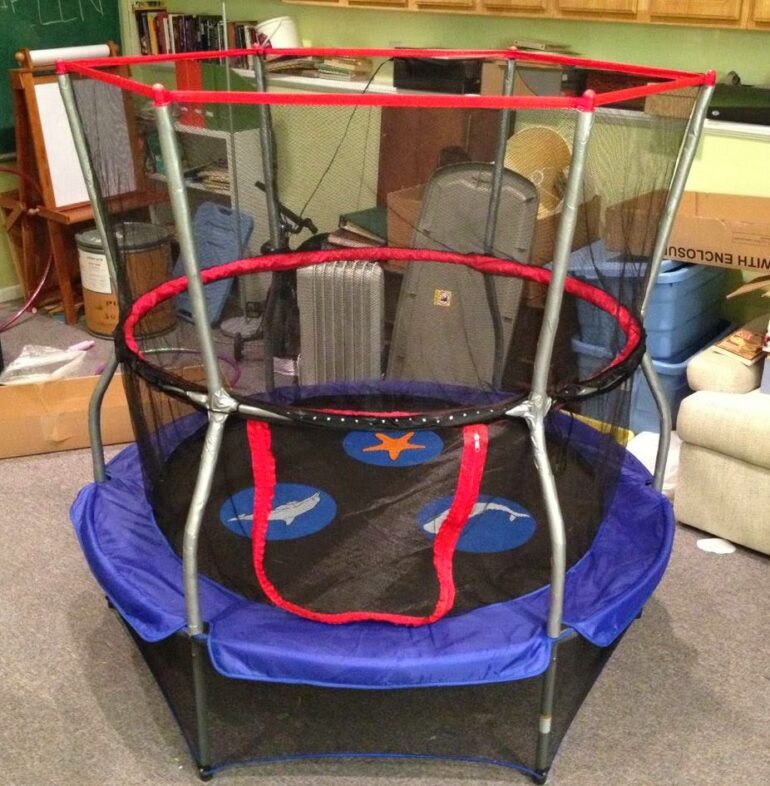
 |
| Now I have applied duct tape to all the foam–the trampoline’s lifetime (and quality) has been increased |
In case you were wondering how much duct tape this actually took, you can see what the roll looked like before and after I was done:
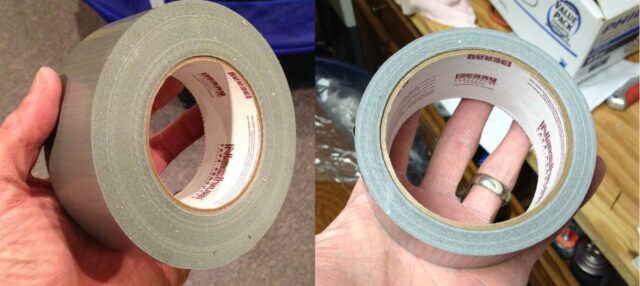 |
| Left, before I started, right, when I was done |
Now you’ve added months if not years more life to your trampoline and maybe spared your kid a bruise or two.
Amazon Associate Disclosure: As an Amazon Associate I earn from qualifying purchases. This means if you click on an affiliate link and purchase the item, I will receive an affiliate commission. The price of the item is the same whether it is an affiliate link or not. Regardless, I only recommend products or services I believe will add value to Share Your Repair readers. By using the affiliate links, you are helping support Share Your Repair, and I genuinely appreciate your support.
Related
or 3 Pack of Duct Tape
to make it not look like duct tape 🙂