I like to interact with my WordPress theme developers and often they will send an updated version to me directly via email. But how do you manually update your WordPress theme when they email you a zip file with the theme update? I have learned a good way to do it without more than a second or two of disruption to your website…
How to Manually Update WordPress Theme
Step 1: Set up a ftp account to your website host.
Now this is going to differ in many ways depending on your host but if you contact them they will be able to help you create an ftp account. The information you are going to need is:
- ftp login name: for example username@ftp.yoursite.com
- ftp password: make it good so people don’t guess it
- ftp ptotocol: ftp or sftp (ask your host)
- ftp port: for example, 21
- ftp encryption: Only use plain, require implicit FTP over TLS, require explicit FTP over TLS, etc (ask you host how to configure this)
You will also need to get a ftp program to do the work. I currently use Filezilla. It is free and widely supported by most hosts and often they have a downloadable configuration file.
Step 2: Create a temporary folder inside your WordPress theme folder for your theme update.
Your installed themes are located in the following directory:
/wp-content/themes/
Create a temporary folder inside that folder with a name like “themename-update”, which will give you this:
/wp-content/themes/themename-update/
You’ll then have a /themename folder in your /wp-content/ folder AND a /themename-update folder as well, like this;
/wp-content/themes/themename/
/wp-content/themes/themename-update/
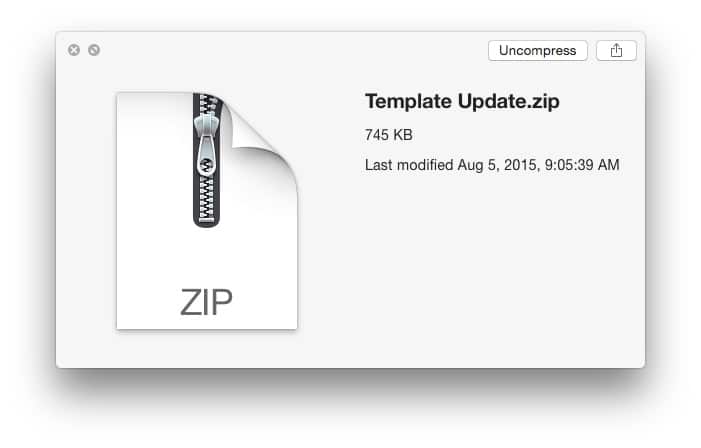
Step 3: Extract the contents of your theme update on your local hard drive.
You need the theme files outside of the zip file in order to upload them.
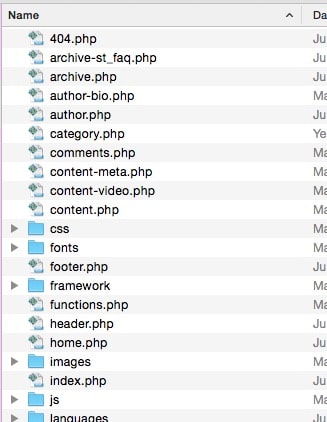
Step 4: Upload the contents of your theme update to the temporary folder (themename-update) you created in Step 2 using your ftp program.
Uploading them in advance of de-activating your old theme cuts down the time it takes to make the switch. Also, if you have problems uploading you are not keeping people from viewing your website while you resolve your ftp issues. The contents of the themename-update folder should look similar to this, when sorted by name (it should NOT have one folder inside it by the name of your theme–if you have that then you’ve done it incorrectly):
Step 5: Rename your current theme’s folder as “themename-old”
So rename the folder:
/wp-content/themes/themename/
to:
/wp-content/themes/themename-old/
And then immediately move to step 6.
Step 6: Rename the updated theme’s folder from “themename-update” to “themename”
rename the folder:
/wp-content/themes/themename-update/
to:
/wp-content/themes/themename/
That’s it, you’re done. Now you’ve updated your theme manually and it only interrupted your site for a couple seconds!
Amazon Associate Disclosure: As an Amazon Associate I earn from qualifying purchases. This means if you click on an affiliate link and purchase the item, I will receive an affiliate commission. The price of the item is the same whether it is an affiliate link or not. Regardless, I only recommend products or services I believe will add value to Share Your Repair readers. By using the affiliate links, you are helping support Share Your Repair, and I genuinely appreciate your support.