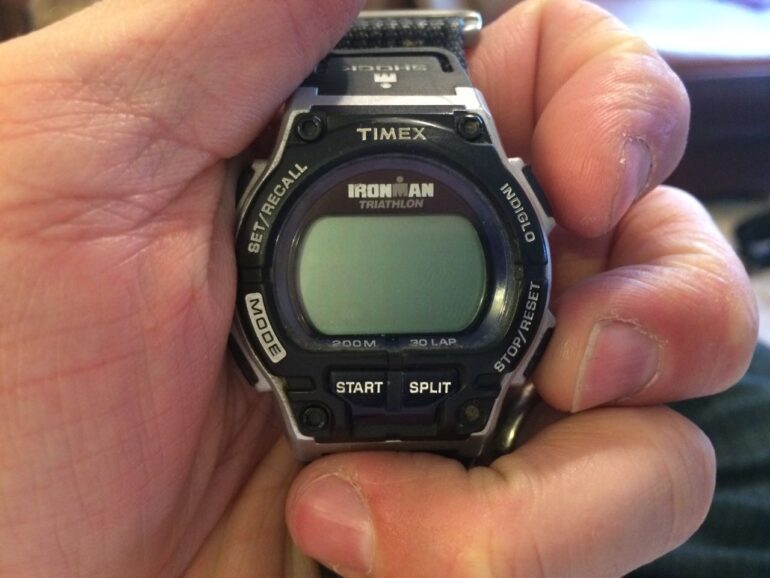
My trusty Ironman Triathlon began getting dim on me about a week ago and then it was acting strangely–finally it went blank on me. Time for another repair.
How to Replace Battery on Timex Ironman Triathlon Watch
Hardware
Tools Needed
Parts Needed
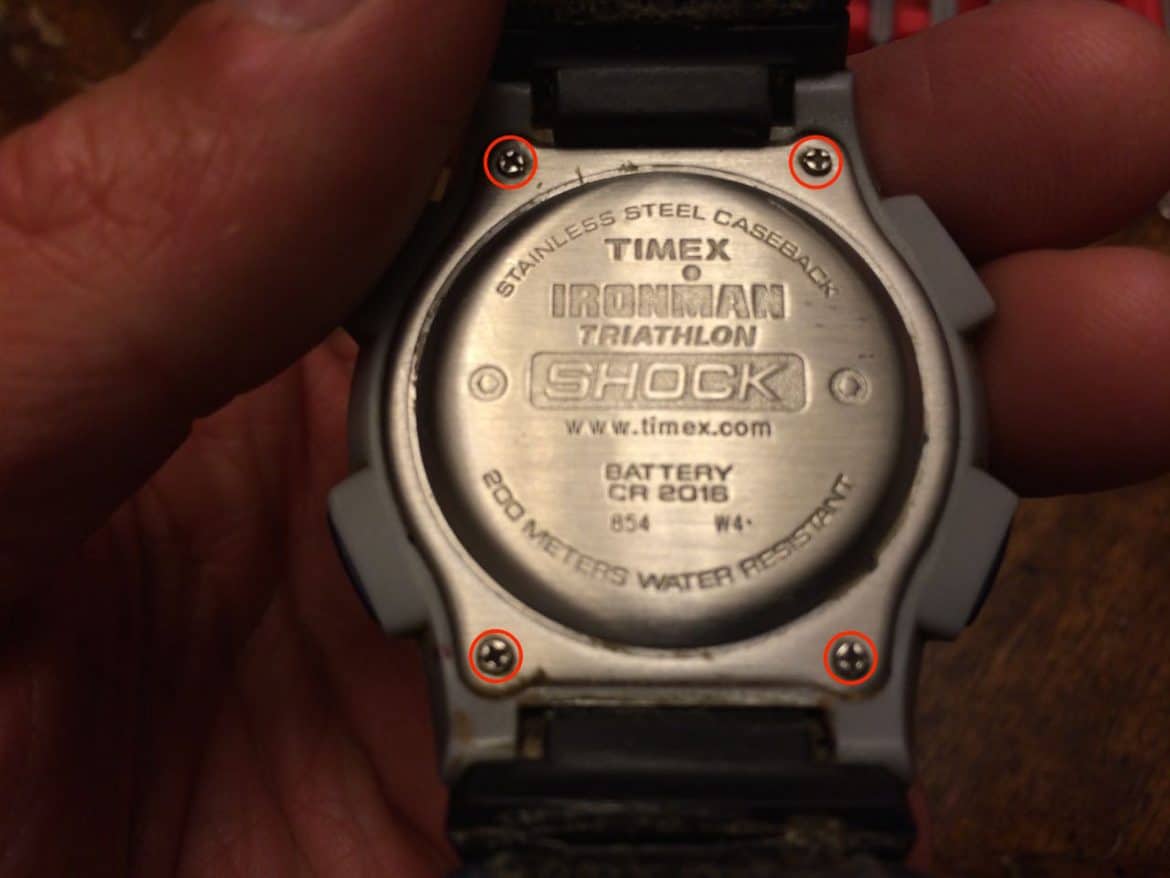
Step 1: Unscrew the four phillips screws on the back of the watch.
I have a set of precision screwdrivers like the set I have linked in the “Tools Needed” section and the smallest phillips screwdriver works fine. The screws are small so make sure to set them aside where you are not going to loose them.
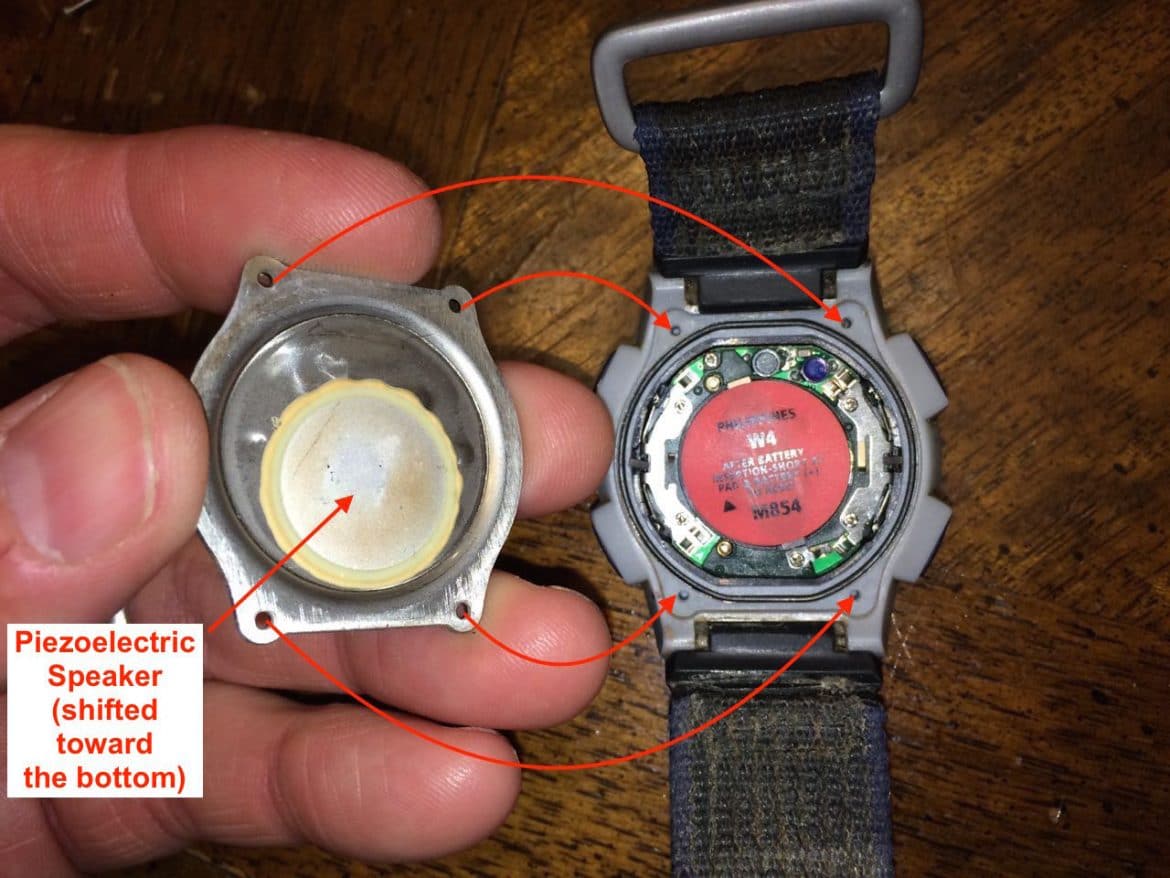
Step 2: Remove the back.
There are springs the push on the back for the piezoelectric speaker so the back will want to come off. I used a small flat screw driver and gently nudged up on the edge and the back popped up.
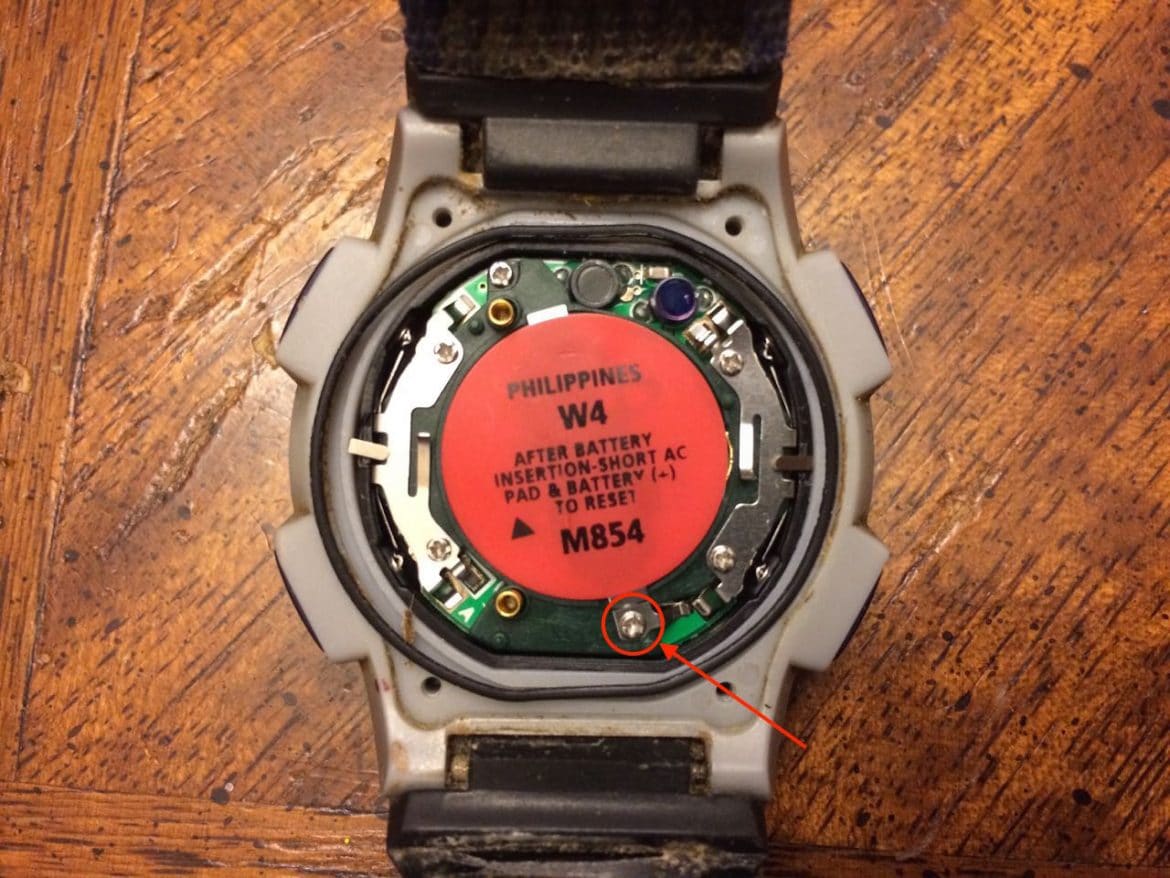
Step 3: Remove the battery cover screw and lift off the battery cover.
There is one screw that holds a metal shield down over the battery. Remove that screw:
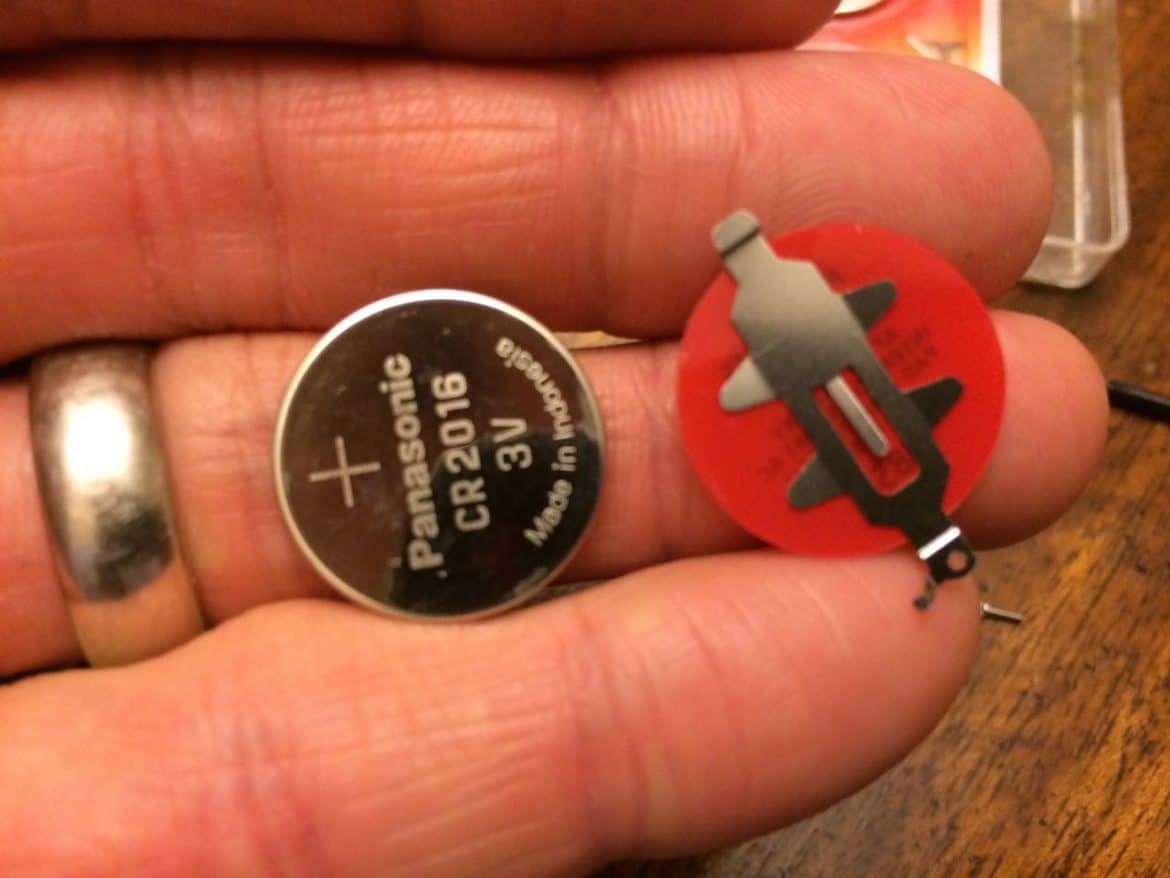
The battery cover tucks in on the top edge so lift from the bottom side (the end where you removed the screw). The battery cover will stick to the battery because of that red sticker and when you lift up the battery cover the battery will lift out as well. You do not want to remove the watch internals or you will make the job more difficult (like I did). Peal the battery cover off the battery and you will have something that looks like this (pardon the slightly out-of-focus image):
Step 4: Insert a new battery into the watch.
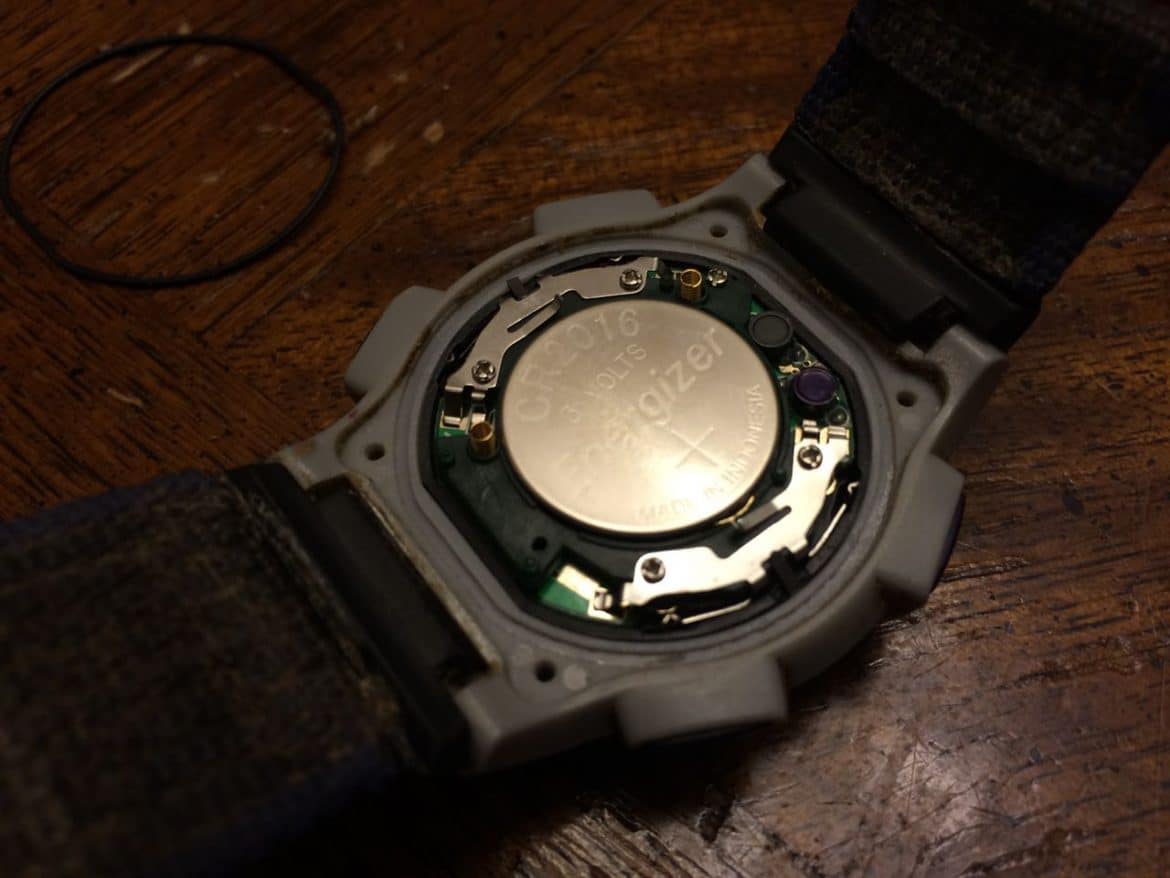
Lay the battery with the button end down like this with the positive (+) side up:
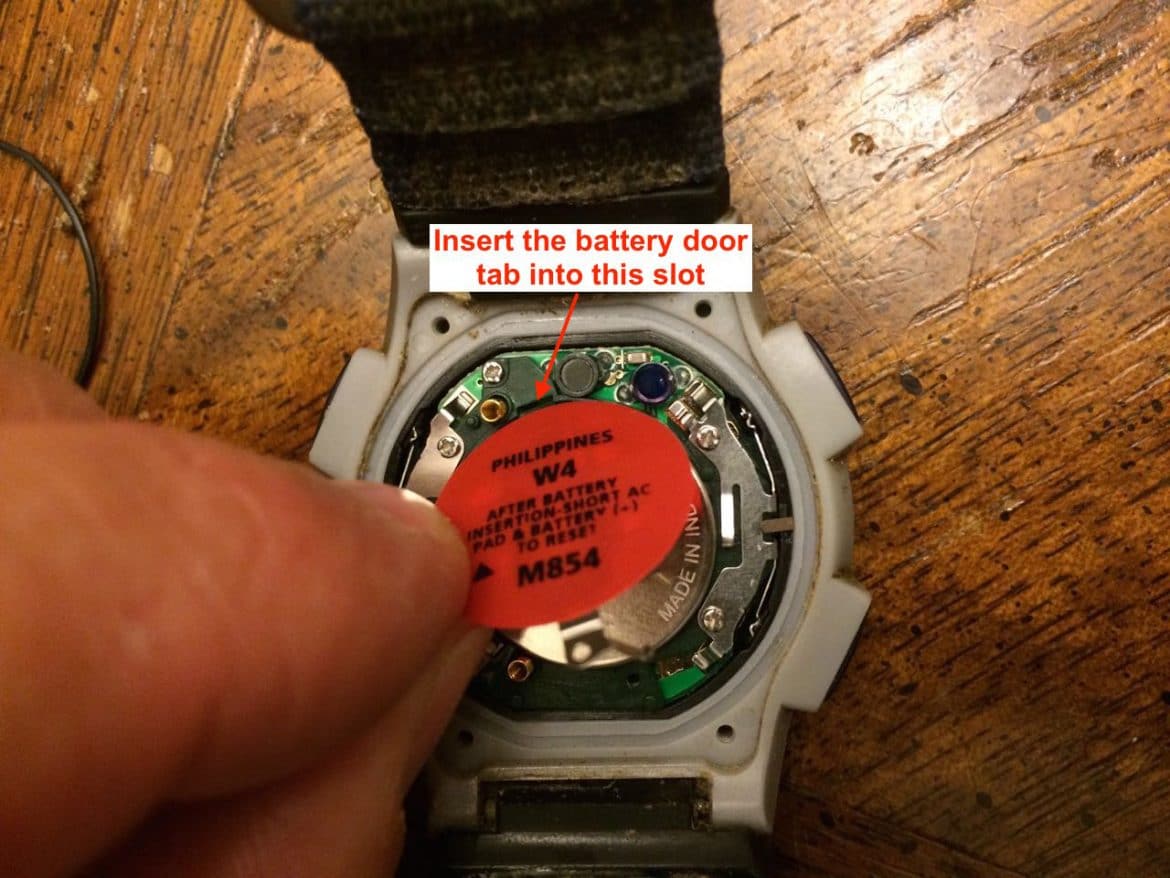
Step 5: Reinstall the battery cover.
Start by hooking the top of the battery cover in its slot and then lay the battery cover down, centering it over the battery and lining up the hole where the screw will be inserted:
Then reinstall the battery door screw:

Step 6: Reinstall the waterproofing gasket
Chances are, the rubber gasket that keeps water out of the watch will jump out of its channel when you take the back off. I completely removed the gasket and cleaned any debris off of it:

Insert the gasket back into its channel as seen below:
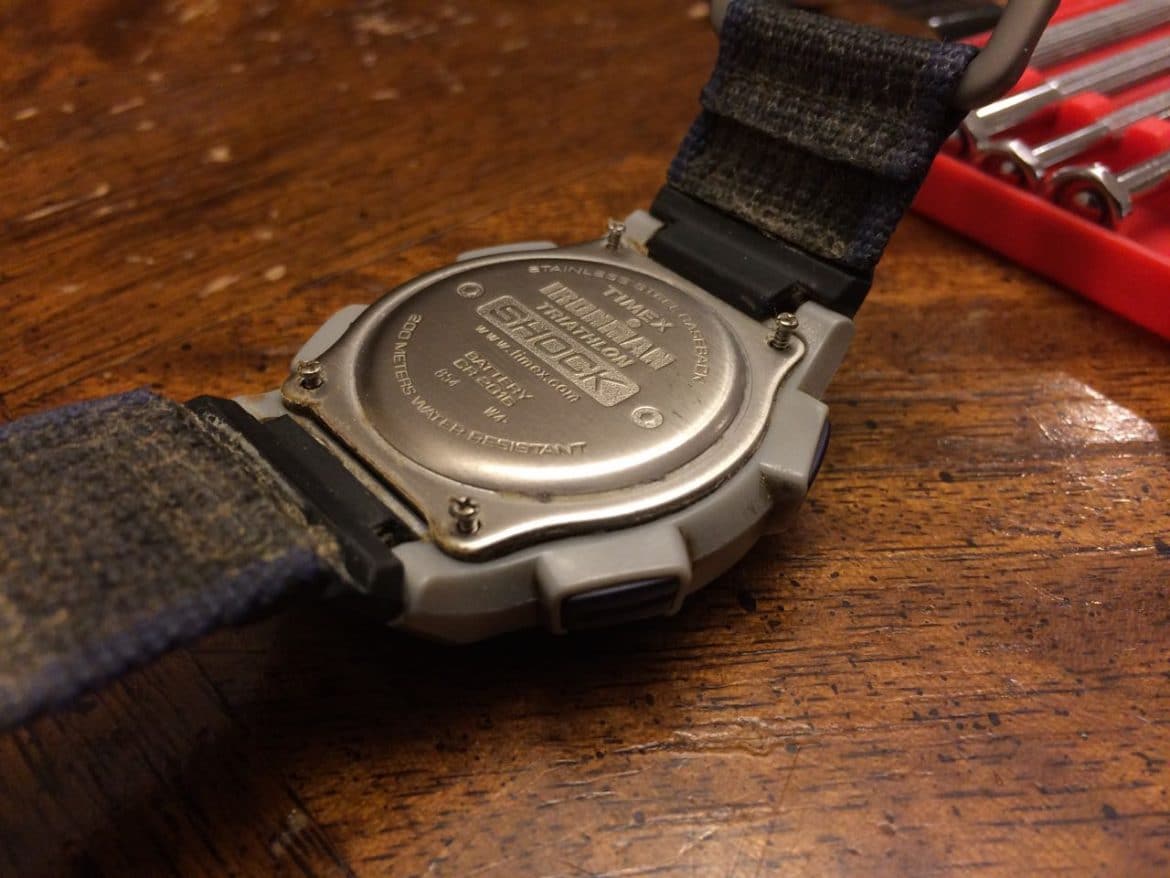
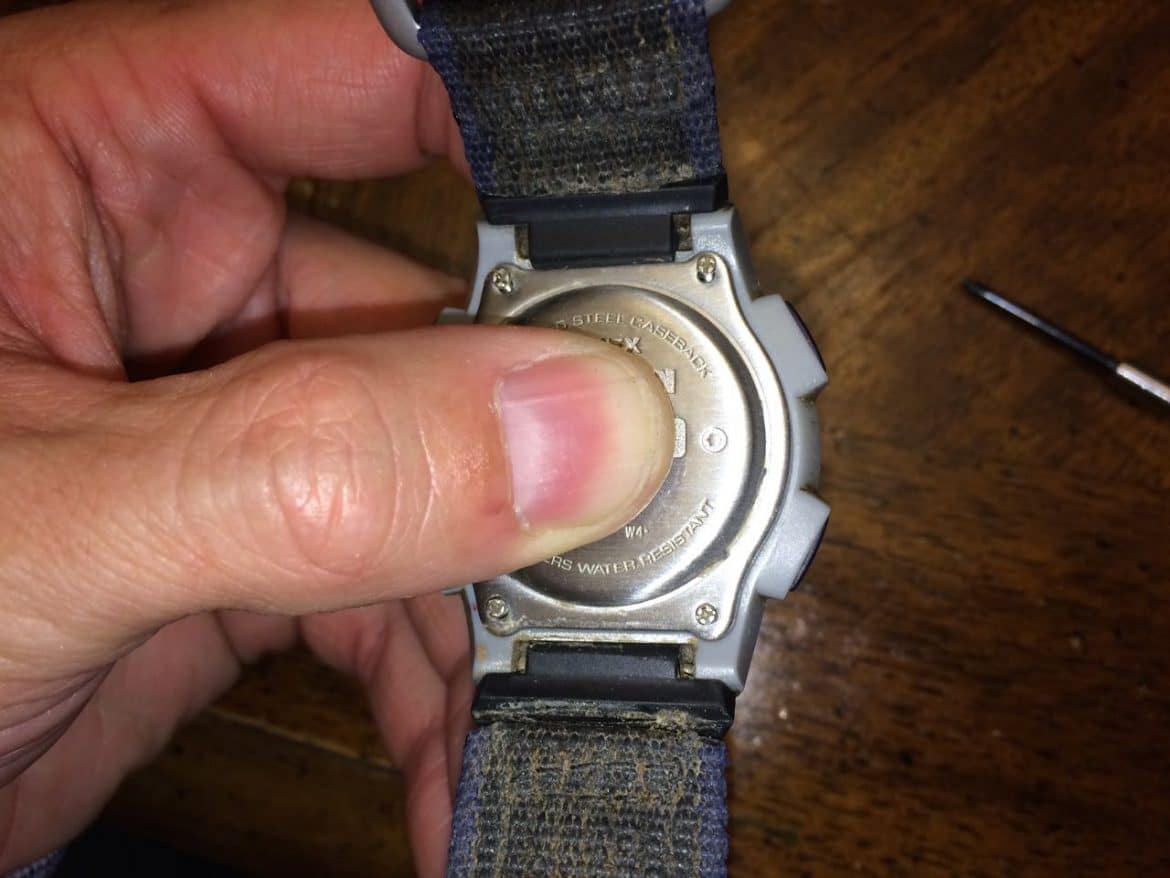
Step 7: Reinstall the back
With the top of the watch at the top, reinstall the back so the lettering imprinted in the back of the watch is right-side up:
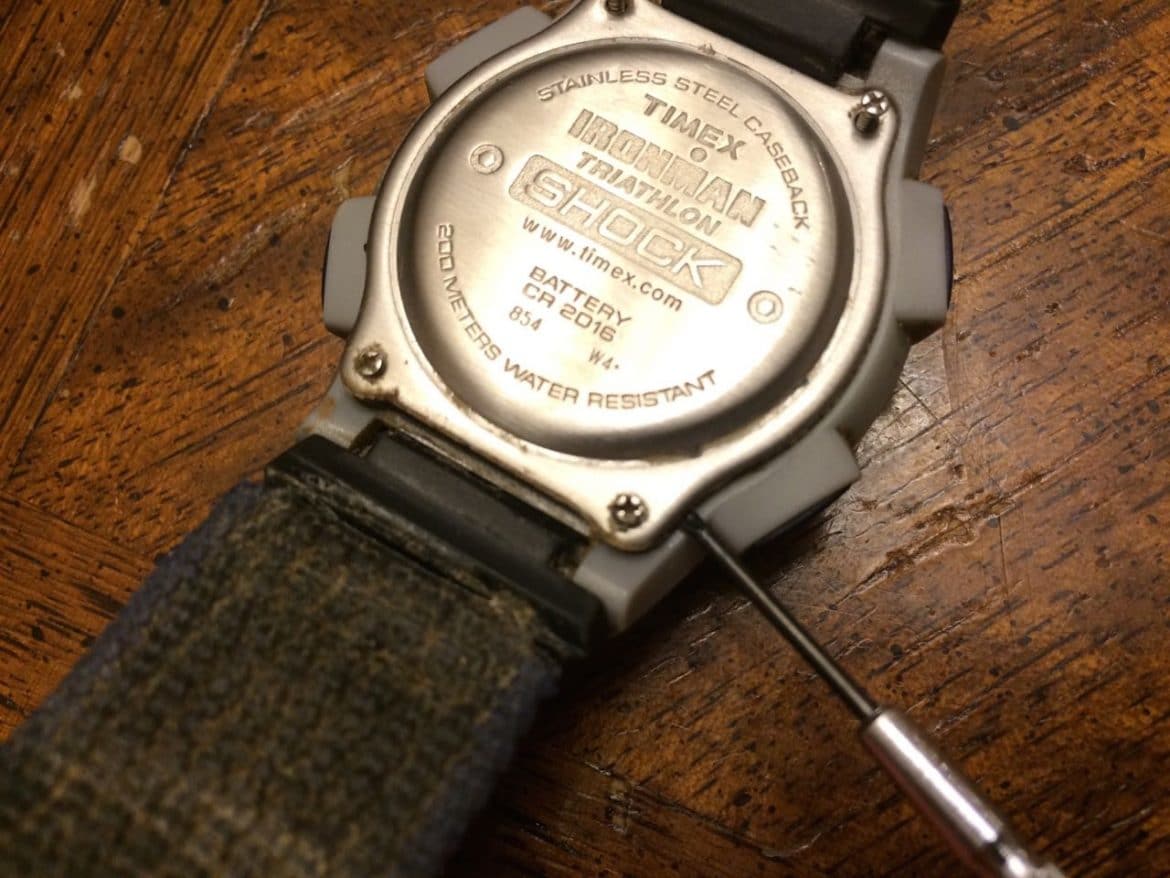
Reinstall the four screws. I held the back on tightly as I screwed them in:
Step 8: Set the Time
The on-screen instructions are pretty good compared to digital watches of yesteryear. Use the START/SPLIT button to increase the number, use the STOP/RESET button to decrease the number, use the MODE button to advance to the next setting and the SET/RECALL button for Done.
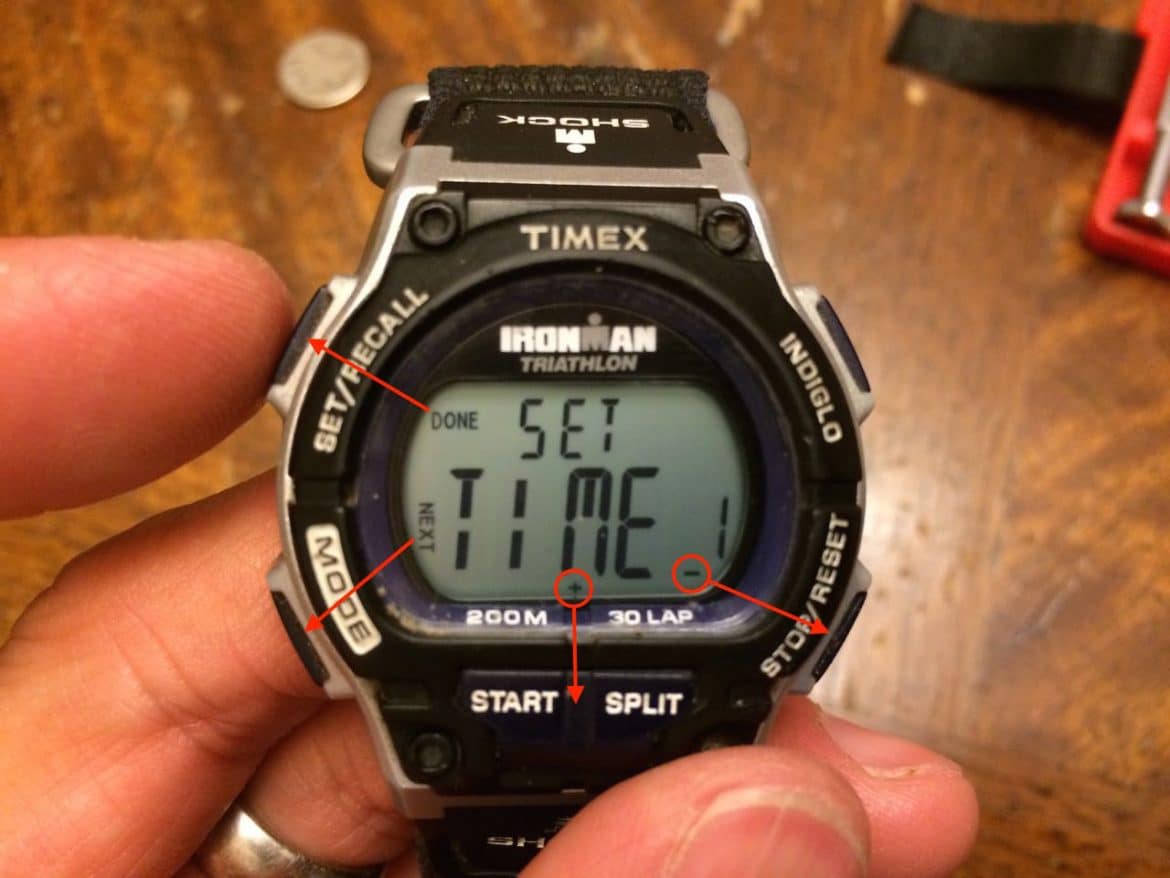
The Date, Day, and time are set:

Troubleshooting
If buttons don’t work
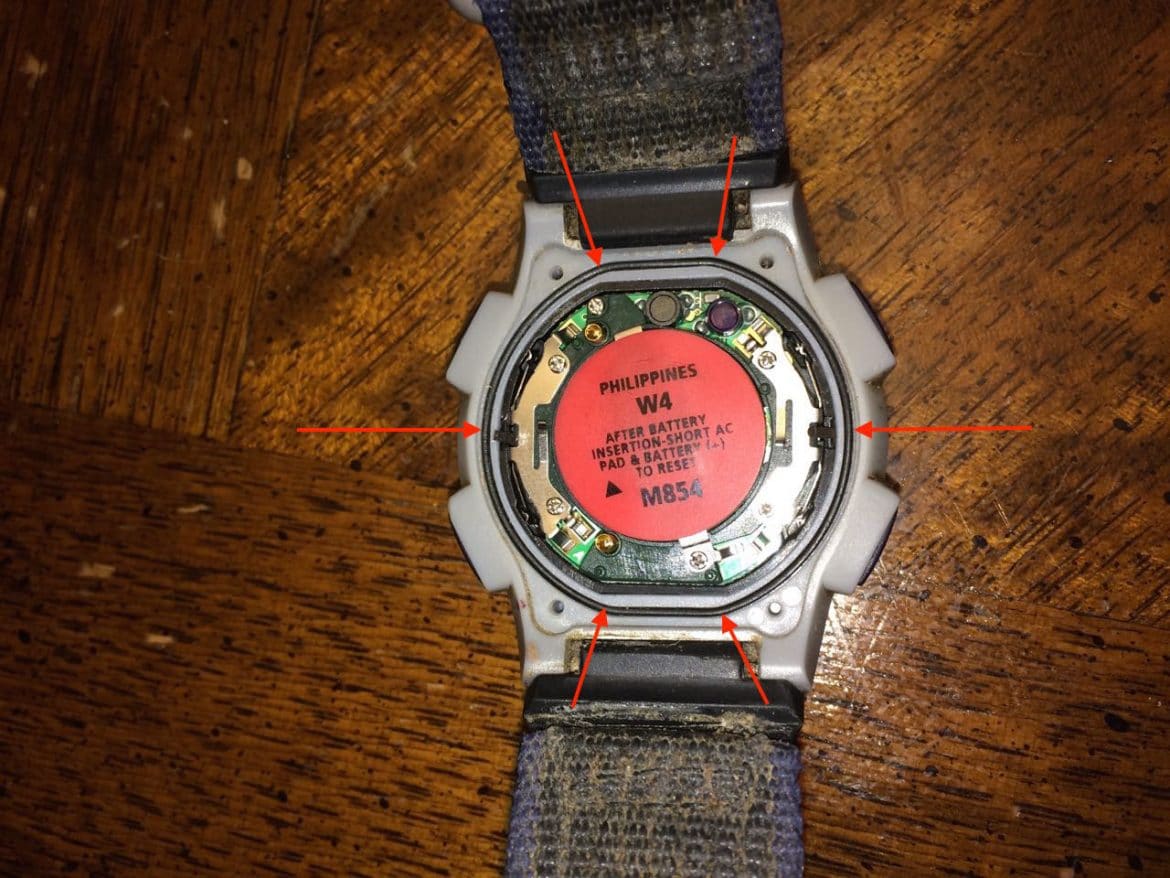
The first time I reassembled the watch the STOP/RESET button didn’t work. I had to take it apart and in doing so I realized that the entire watch insides were not quite lined up with the buttons. Make sure the metal tab at the right and the left are not tucked under and make sure the buttons line up with the arched part of the spring arms as indicated in the image below:
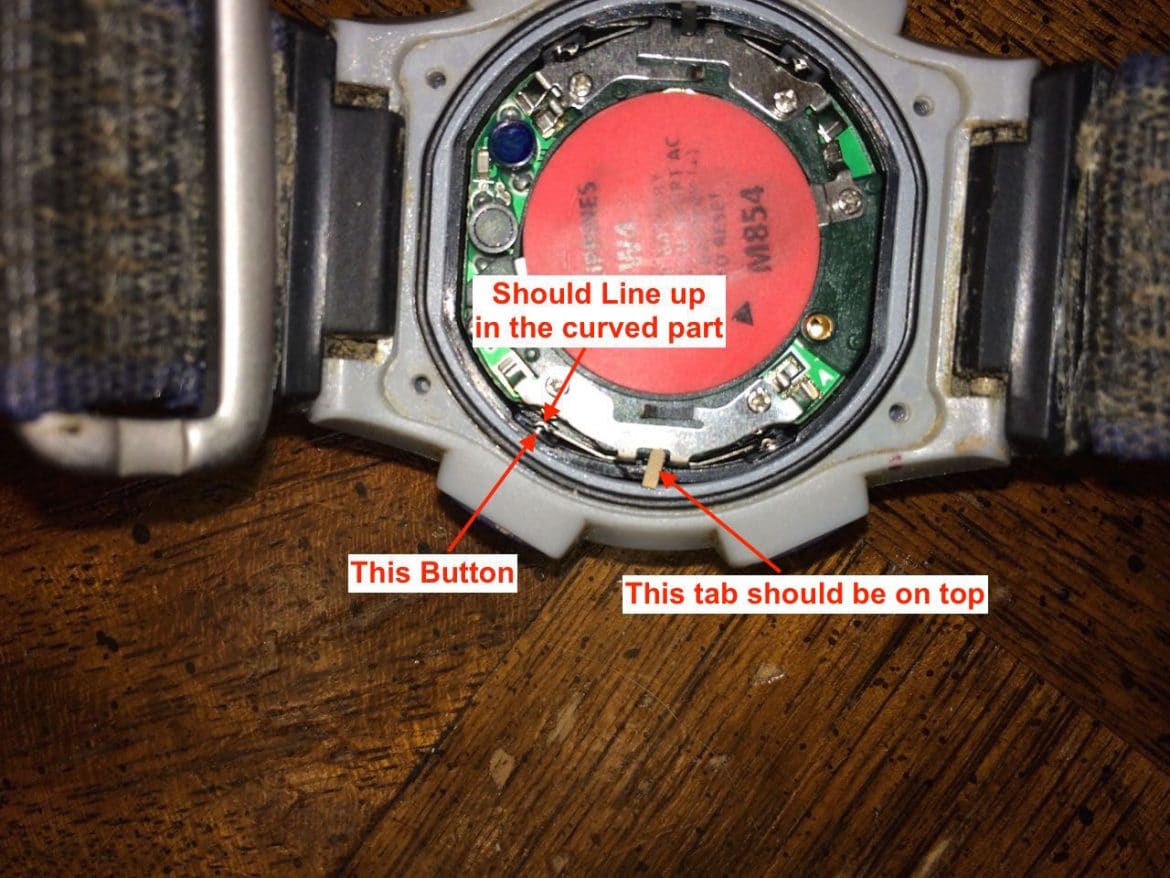
There are two buttons on each side that needs to line up with the curved metal spring piece and one metal tab that should be on top.
Amazon Associate Disclosure: As an Amazon Associate I earn from qualifying purchases. This means if you click on an affiliate link and purchase the item, I will receive an affiliate commission. The price of the item is the same whether it is an affiliate link or not. Regardless, I only recommend products or services I believe will add value to Share Your Repair readers. By using the affiliate links, you are helping support Share Your Repair, and I genuinely appreciate your support.
I lost a screw. Do you know what the screw size is for this watch?
Jake, I’m sorry but I have no idea. Try timex.com or if you lost it in carpet try using a magnet to locate it.
Nice instructions! Thank you!
The battery cover on my watch does not have a screw. Instead the sticker says “unlatch to remove battery” and “after battery insertion-short pads to reset”. No clue what that means. There appear to be clips at 12 and 6 o’clock that hold the battery in place. I can’t tell how they work or would “unlatch”. Impenetrable what “short pads to reset’ might signify. I gather it is a translation from another language. It’s just a cheap watch (and cheap batteries), so this looks like replace and not repair. After this experience, probably would not buy another Times Ironman Triathlon shock.
I wouldn’t worry about that Dirk. You would only need to reset the watch if it was having an issue other than a dead battery (like rebooting a computer). On mine I can see that it says “short AC pad and battery (+).” The positive terminal of the battery is the outside side (+) and the arrow on that sticker points to a “pad” on the circuit board labeled “A”. I’m guessing they are saying that if the watch has a battery in it you can reset the watch (reboot it) by connecting the + side of the battery to that pad on the circuit board. I didn’t do this and I don’t think you need to. To do it though, you would do something like take a tweezers and touch one prong on the back of the battery and momentarily touch the other prong on that pad. I hope this helps. Let me know if you have any other questions.