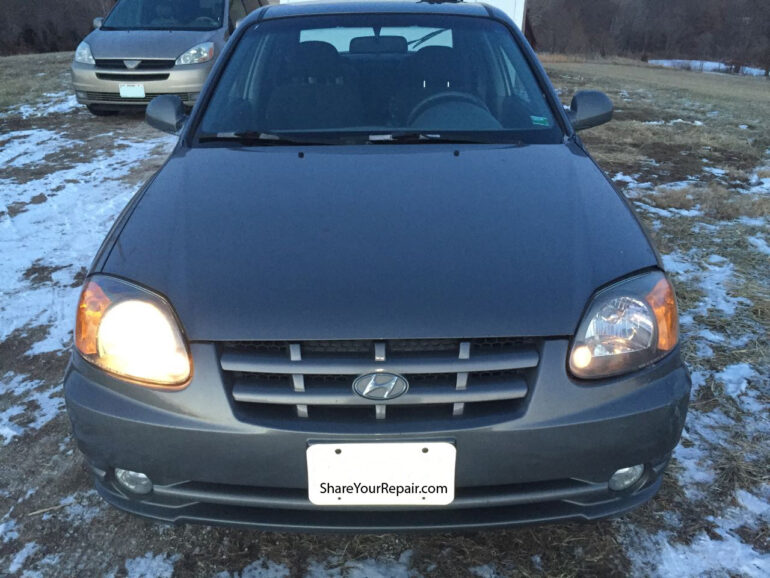
I just noticed that the driver’s side headlight was not working on my 2005 Hyundai Accent GT. Time for another repair. I purchased the replacement bulb at a local auto parts store and tried to install it in the parking lot but could not figure it out how to do it without any tools. Follow along to learn how I figured out how to change Hyundai Accent headlight bulb.
Equipment:
Parts Needed:
Tools Needed:
How to Change Hyundai Accent Headlight Bulb
Step 1: Pop the hood.
The hood pop latch is located near the driver’s left knee under the dash. You will need to slide the safety latch to the left under the hood to be able to lift the hood up.
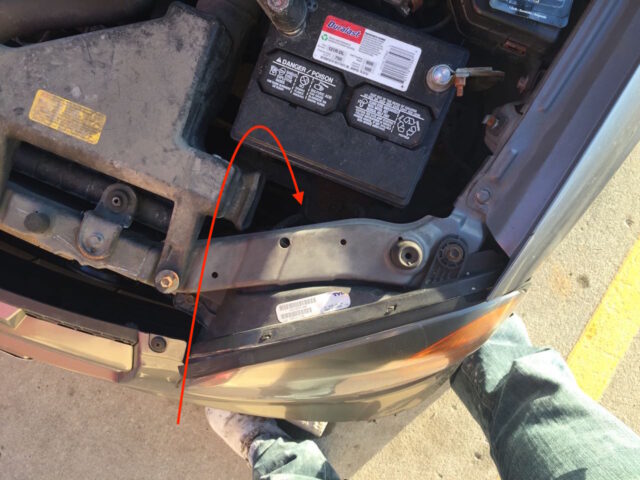
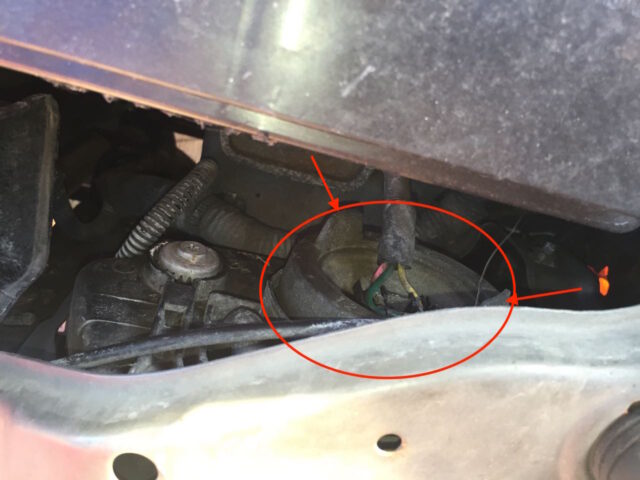
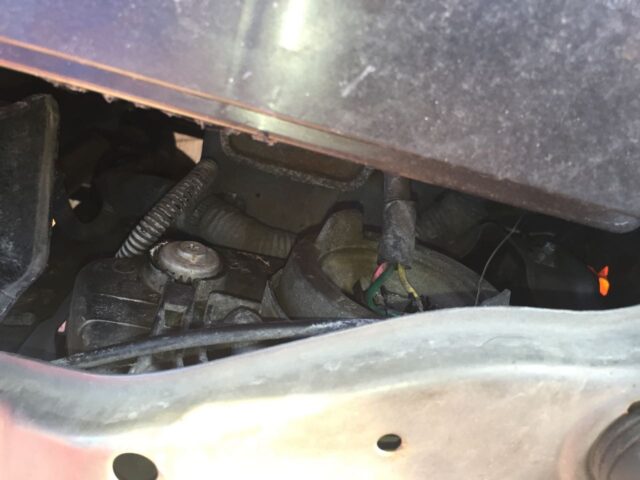
Step 2: Locate the place where you access the back of the headlight.
Step 2: Disconnect the headlight electrical connector.
If you look down between the metal frame of the car and the battery you will see the electrical connector on the back of the headlight. My connector is missing the back plastic piece that snaps on the top of the wires. It is in the middle of a round rubber piece on the back of the headlight:
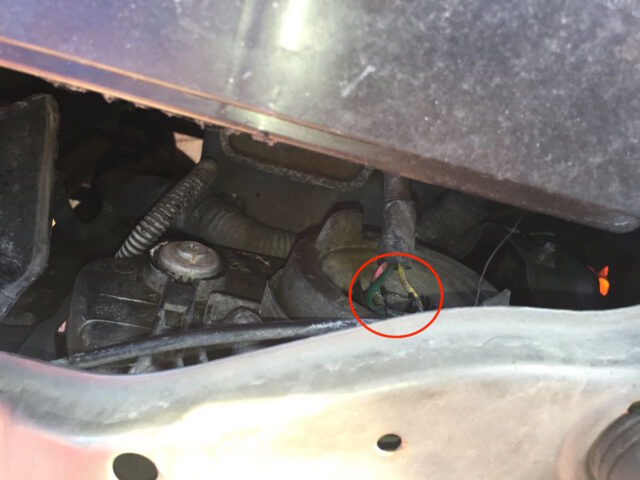
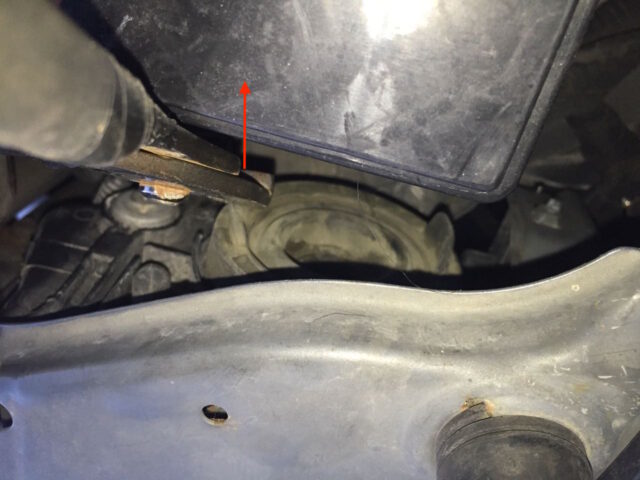
Do your best to grasp the plastic connector (versus the wires) and pull the electrical connector straight off the back of the headlight. It pulls straight off and there’s nothing but friction holding it on. This is what it looks like removed:
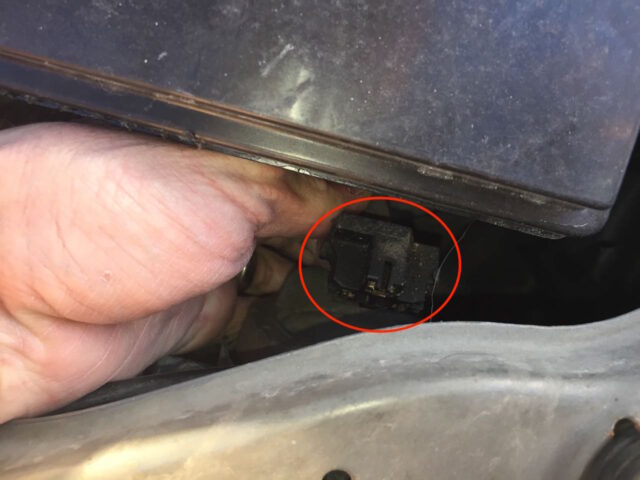
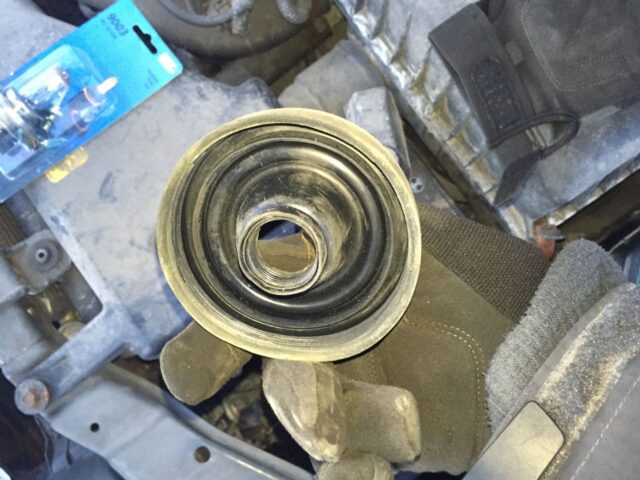
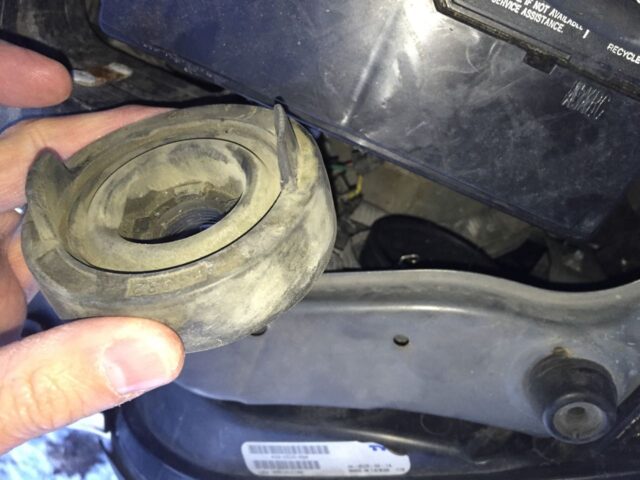
Step 3: Remove the headlight’s rubber boot.
The boot is the rubber piece that the headlight electrical connector was surrounded by. It has two “ears” that stick out, indicated by the arrows below:
The rubber boot pulls straight off but I was not able to do it with my bare hands. It kind of snaps on the back like a Tupperware lid. Grab one of the ears with a pliers and pull it straight off. You may need to pull one ear a bit and then the other.
This is what it looks like removed:

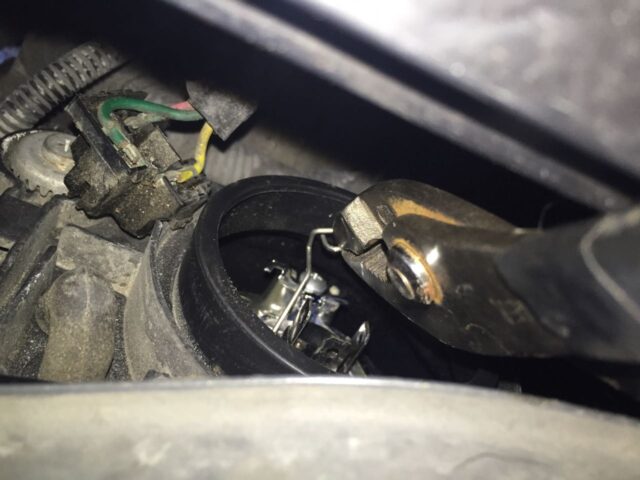
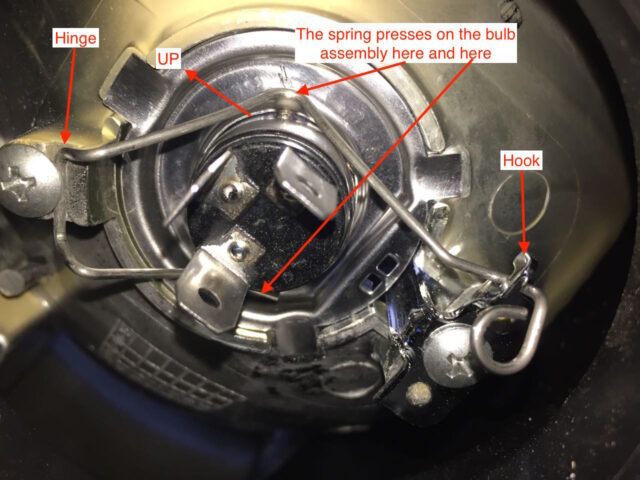
Step 4: Unlatch the headlight bulb and remove the burnt out bulb.
The headlight bulb is held in place by a hinged spring clip. The hinge was on the upper outside corner and the spring hooked under the lower inside corner:
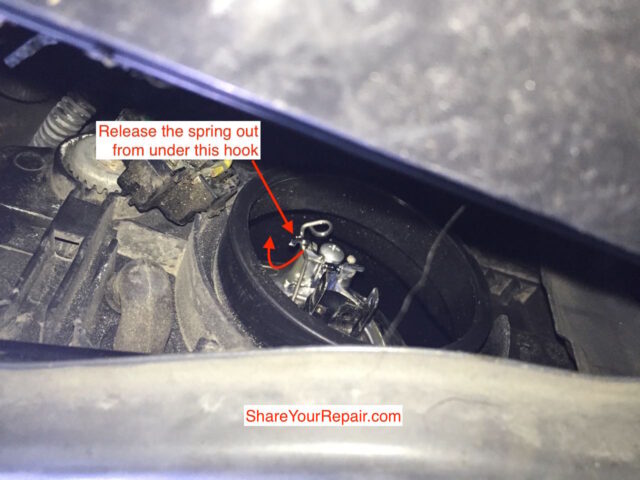
Once you have the spring unhooked you can see how it is hinged on the other end and you can rotate it up and out of the way. Here I am rotating it back in a series of pictures:

With it rotated up and out of the way you can pull the headlight bulb straight out:

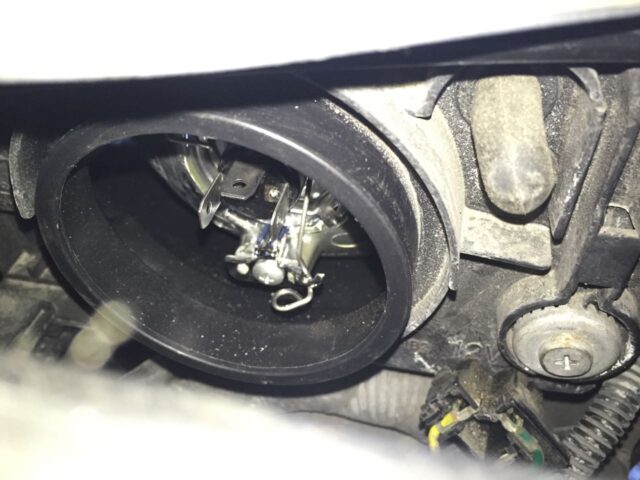
Step 5: Install the new headlight bulb.
Be careful to not touch the glass of the new bulb because the oil on your hands will cause the life of the bulb to be shortened. The bulb has three tabs on it that fit into slots in the headlight and the single electrical tab will be oriented at the top of the bulb when installed. Here is a good picture of my new bulb installed and locked in place (note the arrow pointing up, the picture was actually taken at an angle):
Step 6: Reinstall the rubber boot.
The rubber boot just snaps back in place. There’s really no orientation to it.

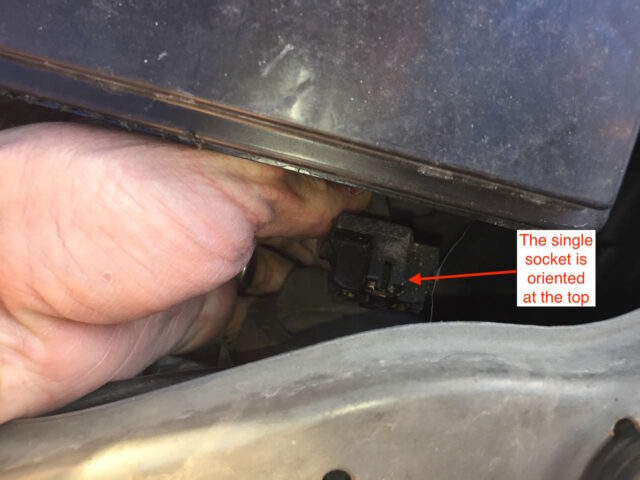
Step 7: Reconnect the electrical connector.
The single prong is at the top. The connector just pushes straight on:
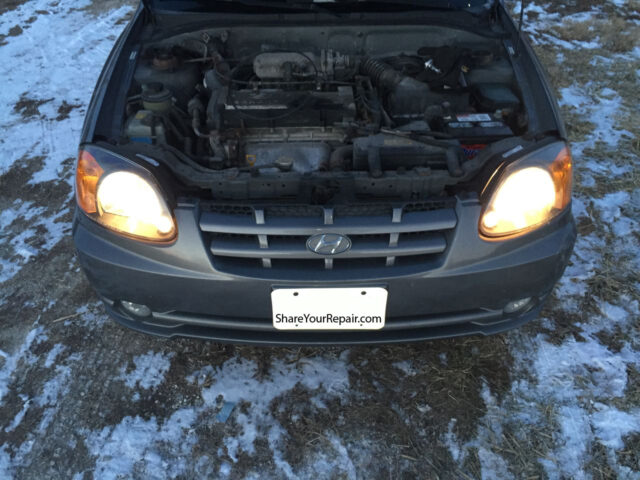
Step 8: Test your headlights.
Before you close everything up you should test out your headlights.
Amazon Associate Disclosure: As an Amazon Associate I earn from qualifying purchases. This means if you click on an affiliate link and purchase the item, I will receive an affiliate commission. The price of the item is the same whether it is an affiliate link or not. Regardless, I only recommend products or services I believe will add value to Share Your Repair readers. By using the affiliate links, you are helping support Share Your Repair, and I genuinely appreciate your support.