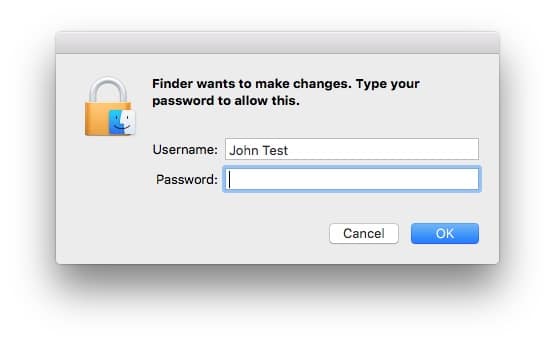
I was tagging files while logged into OS X as a temporary user and when I changed a file a window popped up saying, “Finder wants to make changes. Type your password to allow this.” I figured out the reason I was getting this-my temporary user did not have write permissions on the files I was trying to change. I could change the permissions one file at a time but I wanted to change permissions on all the files and folders inside. I figured out how and follow along as I show you how to recursively assign permissions in OS X…
Hardware:
- Any Mac Running OS X
Software:
- OS X 10.X
How to Recursively Assign Permissions in OS X
This article is a result of me trying to solve a problem of the Finder lagging and giving me the beach ball when I would tag files. You can read that article here: How to Fix Finder Hangs When tagging Files in OS X. If you want to learn how to change all the permissions in a folder, follow along…
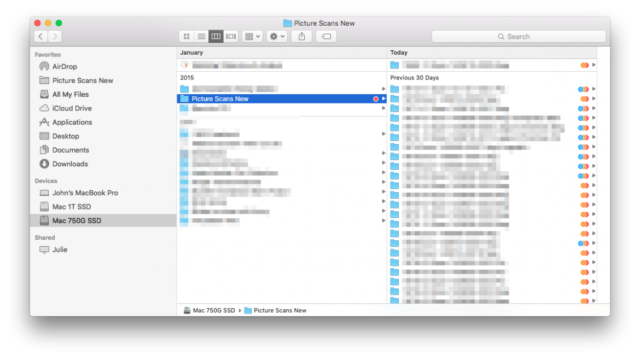
Step 1: Select the Folder you want to change the permissions in Finder.
For me I waned to add my temporary user with read and write access to every file and folder inside the folder called “Picture Scans New.” Here you can see that I’ve selected that folder in the Finder:
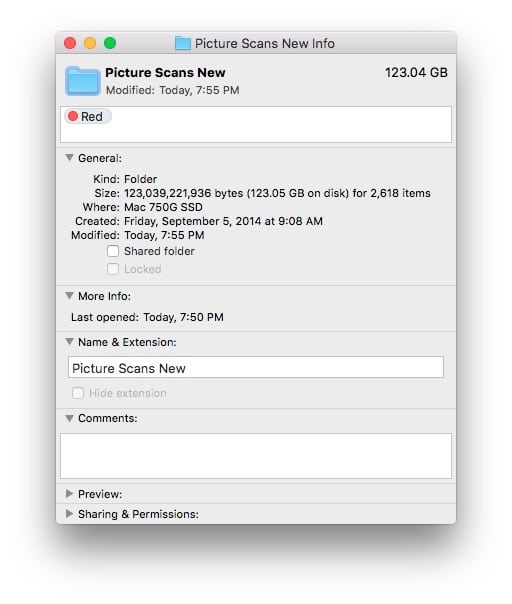
Step 2: Get Info on the selected folder.
The easiest way to “Get Info” on a file is to use the keyboard shortcut command-i.
Step 3: Click on the arrow to expand the “Sharing & Permissions:” section.
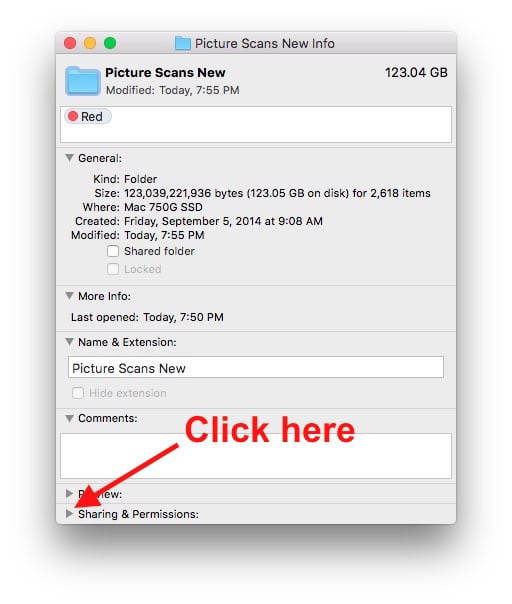
Now you will see the permissions section:
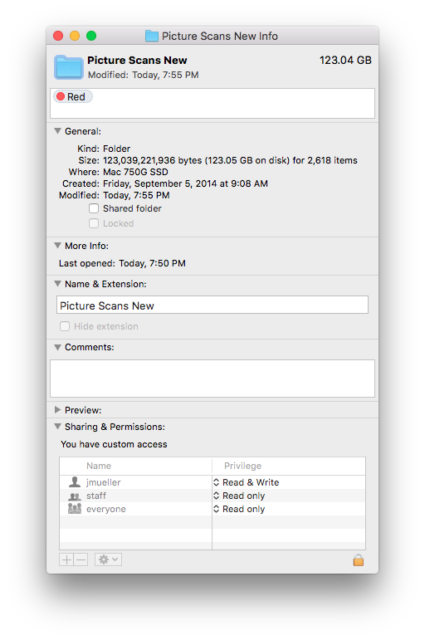
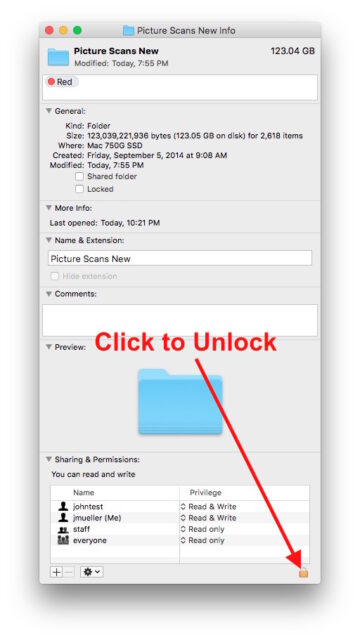
Step 4: Unlock the settings.
Click on the “lock” icon and enter your password to unlock the “Sharing & Permissions” section.
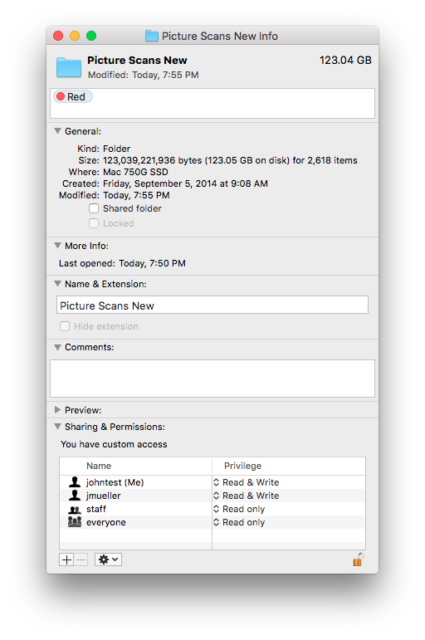
Step 5: Add your user to the Sharing & Permissions section.
(5a) Click the + icon in the lower left corner of the window and (5b) select your user. (5c) Click the “Select” button to add the username to the preferences.

Step 6: Add Write privileges to your username.
Click on the privilege next to your username and select “Read & Write” from the drop-down list.
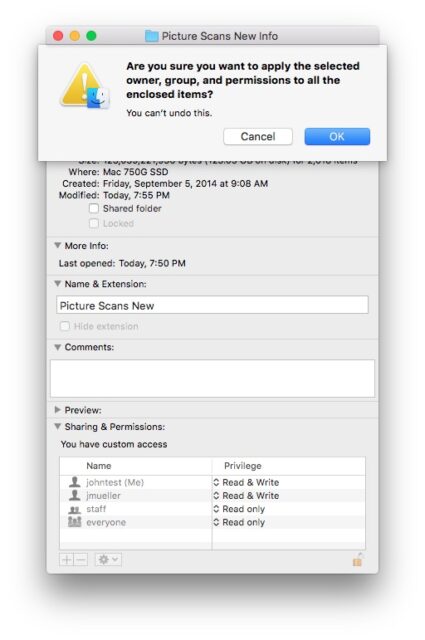
Step 7: Apply these permissions to all the files and folders inside the folder.
Click on the gear icon at the bottom of the window and select “Apply to enclosed items…”

You will then get the menu pictured below. Click “Ok” to apply the selected owner, group, and permissions to all the enclosed items…
Now you will not get the authentication menu every time you try changing one of the files in this folder.
Amazon Associate Disclosure: As an Amazon Associate I earn from qualifying purchases. This means if you click on an affiliate link and purchase the item, I will receive an affiliate commission. The price of the item is the same whether it is an affiliate link or not. Regardless, I only recommend products or services I believe will add value to Share Your Repair readers. By using the affiliate links, you are helping support Share Your Repair, and I genuinely appreciate your support.