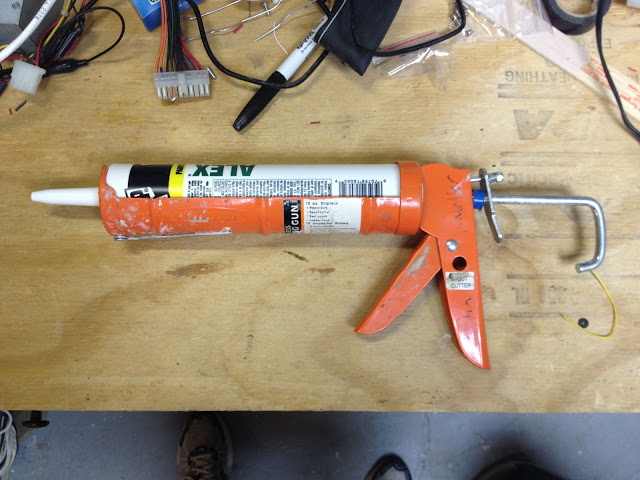
Hardware:
- painter’s caulk
- caulk gun
I just read a quote (that wasn’t attributed to anyone) but it fit this topic perfectly:
A little putty and a little paint makes a carpenter what he ain’t.
This post is about how easy it is to fix imperfections in your drywall and trim woodwork with painter’s caulk. It works miracles when you are painting and makes a huge difference and it’s real cheap. You can get it at Home Depot, Menards, or whatever your favorite hardware store. This is the brand I used:
Just so you can get a feel for the difference it makes, here are some before/after pics.
Before:
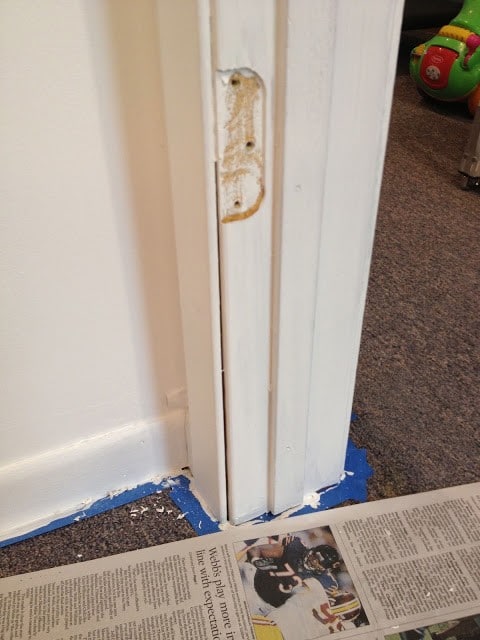 |
| Note the gap between the trim and the doorframe |
After:
 |
| No seam no more 🙂 |
If you get real good at this, which I am not, you can do with a lot less caulk but I usually tend to put too much down, BUT it’s water soluble and it wipes off easy with a wet fingertip so it’s real forgiving. PainHere’s an example of a gap that needs to be filled. Our house is about 12 years old and over the years this board on the top of the foundation wall in our basement isn’t sitting down on the piece of quarter round, so painter’s caulk to the rescue.
Shoot yourself a bead along the gap:
I tend to put too much down but the stuff’s cheap and I always keep a wet paper towel with me when I’m putting it down. Run your clean damp finger tip down the seam to smooth out the caulk and wipe off any excess (which was a lot in this case). You don’t want a bead along there at all; the goal is that it looks like the trim pieces fit together flush–so you should apply a lot of pressure when you wipe it off with your finger as to only leave what is necessary to fill the gap and remove everything else. That’s especially the case in the doorframe I pictured first.
Here’s what it looks like when primed–a million times better:
Another thing that painter’s caulk is good for is covering up the holes left from the trim nails.
Some things to note about painter’s caulk:
- you cannot sand it (very well) because it is rubbery SO make sure you like the texture of whatever caulking job you let dry because that is what you’ll see through the paint
- you need to paint over it because it is slightly porous and will collect dirt.
Example: The gap between white window frames and the white sill paint. You don’t want to get paint on the plastic so I didn’t cover the caulk with paint in all the places and now it looks bad and you can’t clean it.
Amazon Associate Disclosure: As an Amazon Associate I earn from qualifying purchases. This means if you click on an affiliate link and purchase the item, I will receive an affiliate commission. The price of the item is the same whether it is an affiliate link or not. Regardless, I only recommend products or services I believe will add value to Share Your Repair readers. By using the affiliate links, you are helping support Share Your Repair, and I genuinely appreciate your support.
Related


.JPG)