How to Scan Odd-Size Negatives on a HP Scanjet 4850
Hardware:
A Note About Newton’s Rings
I scanned a bunch of color negatives in the way I describe below and some of the scans show a feature called Newton’s rings. It was only later that I learned what was causing the rings to show up in the scans. Newton’s rings show up on the pictures because light is passing through two different types of mediums that are touching–the negative film and the glass. Here is an example:
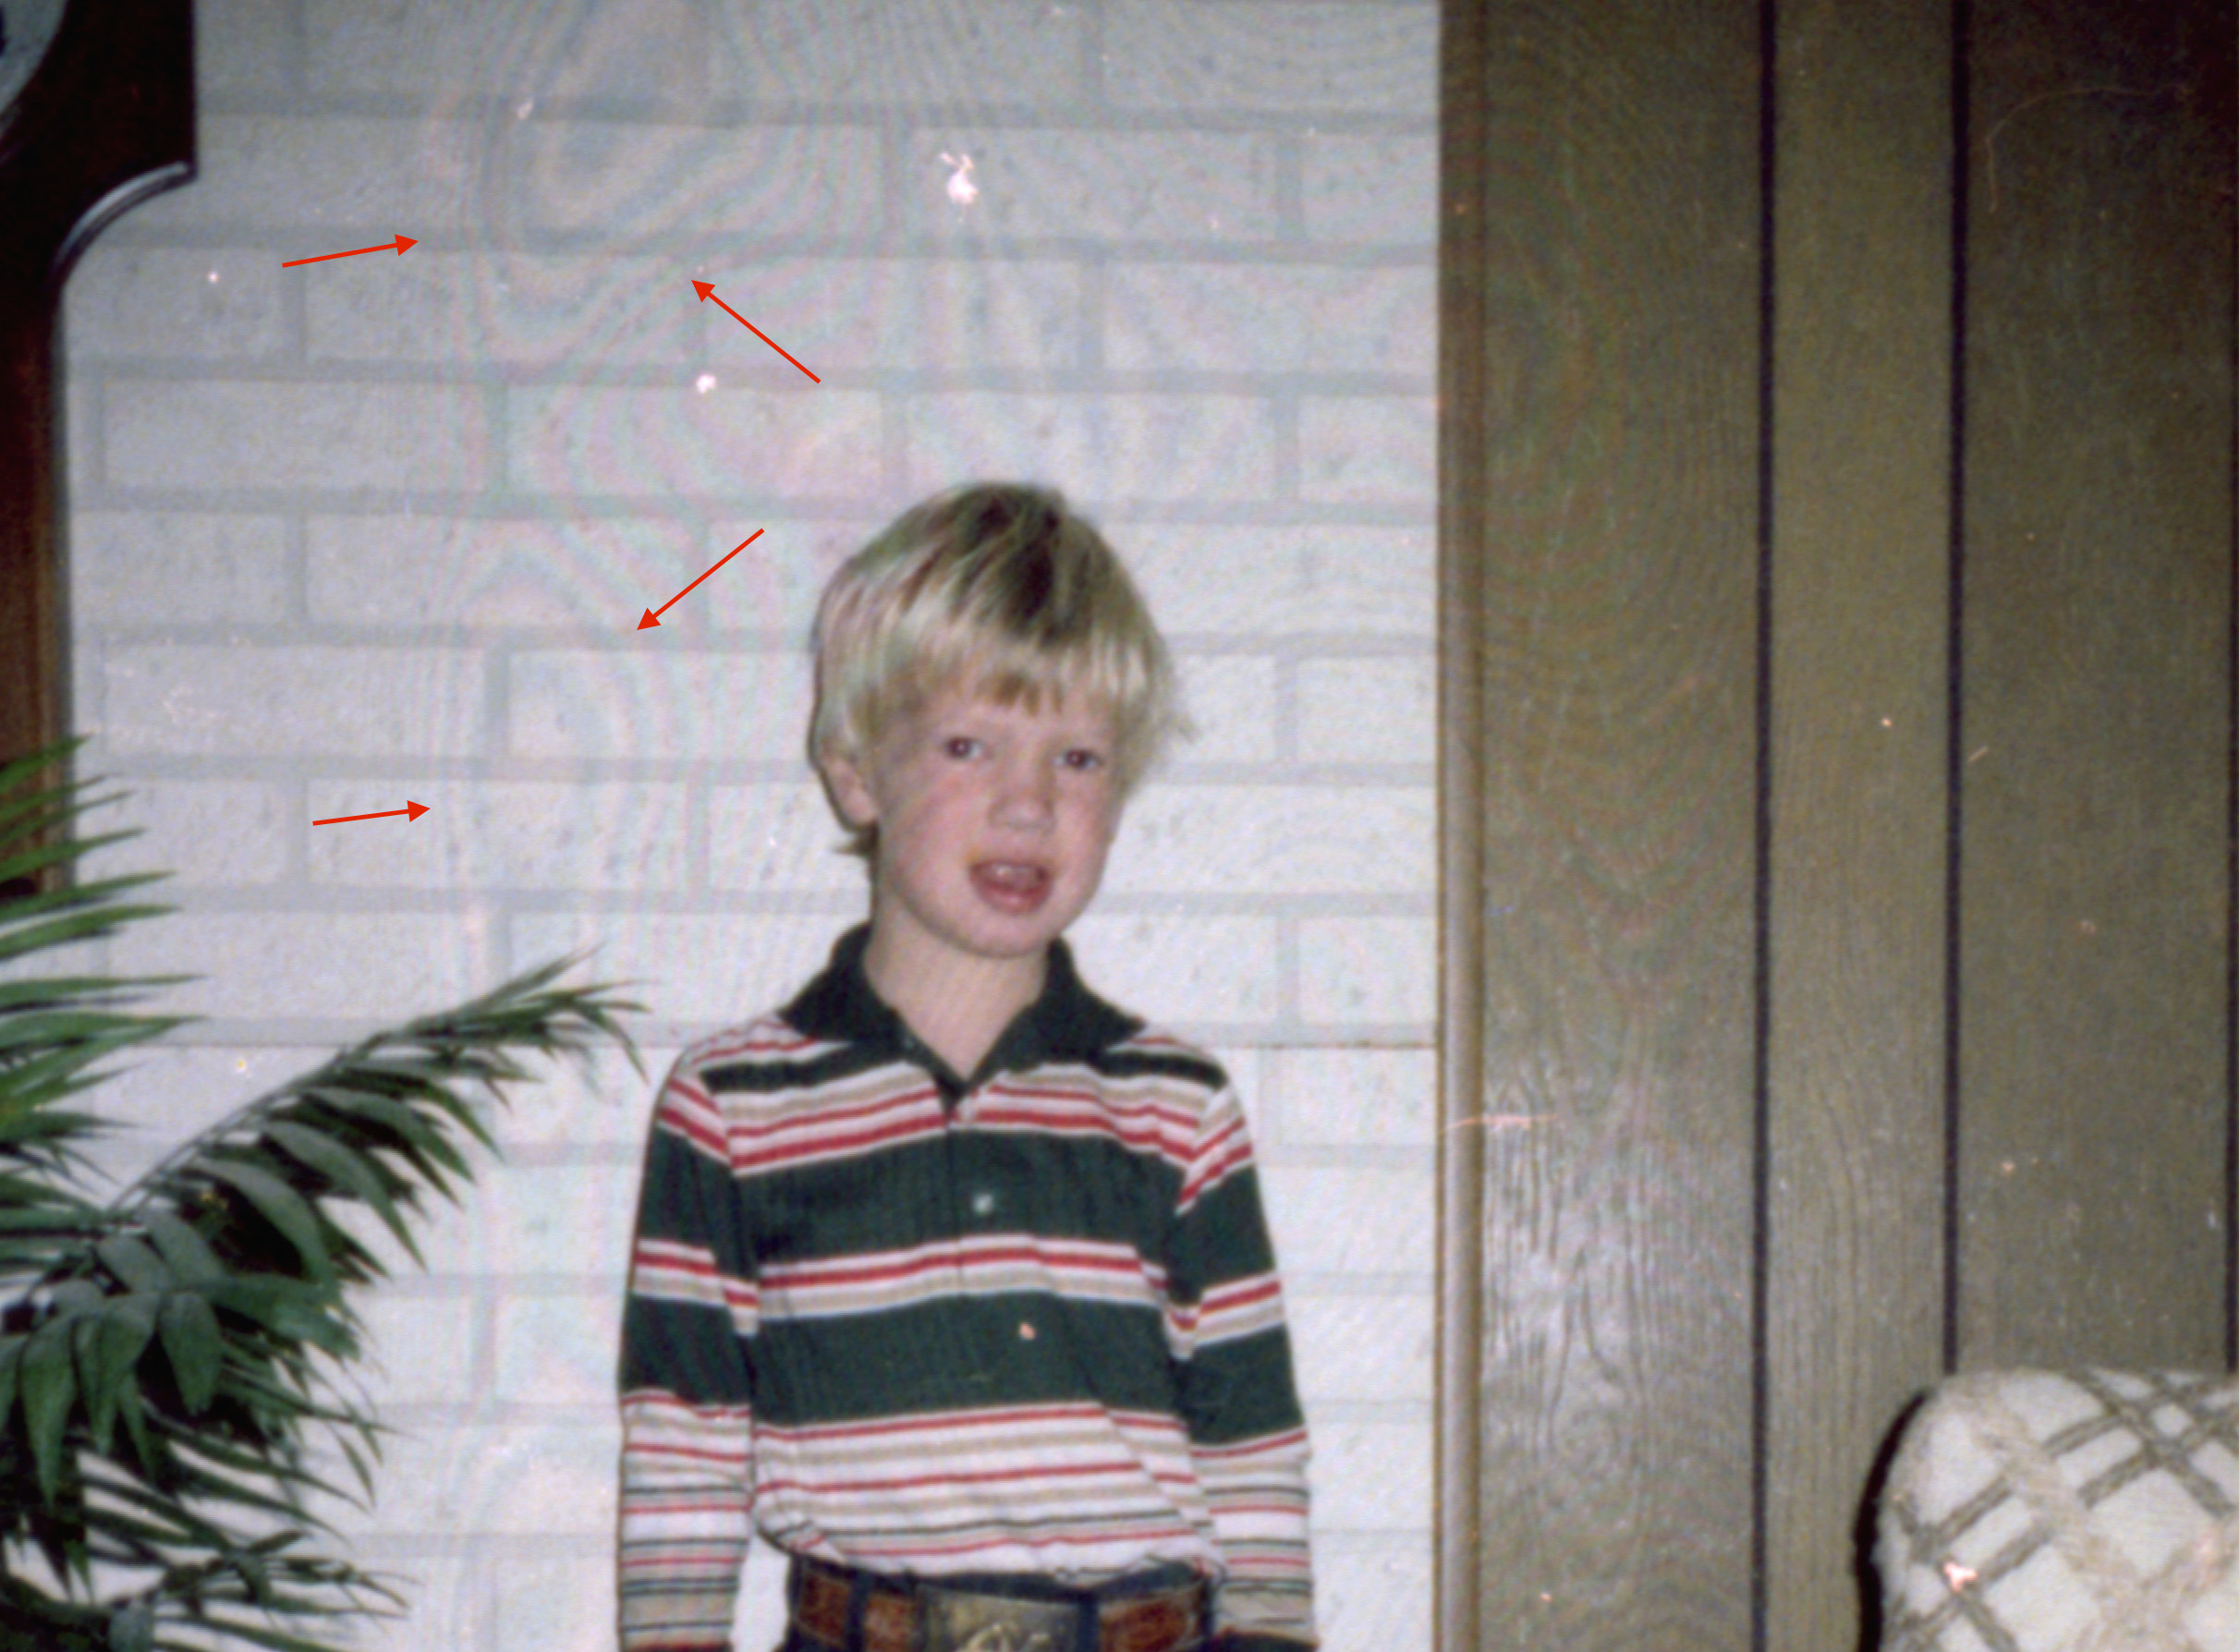
This is reason why 34-mm slides are held in cardboard and not laid down on glass to be projected. Ideally you should have film suspended in the air to make a scan. Many of my negatives were curled quite a bit, which required pressing them between the plate glass and the scanner’s glass top. I was happy to have recovered all these lost memories and can handle a few rings on my pictures.
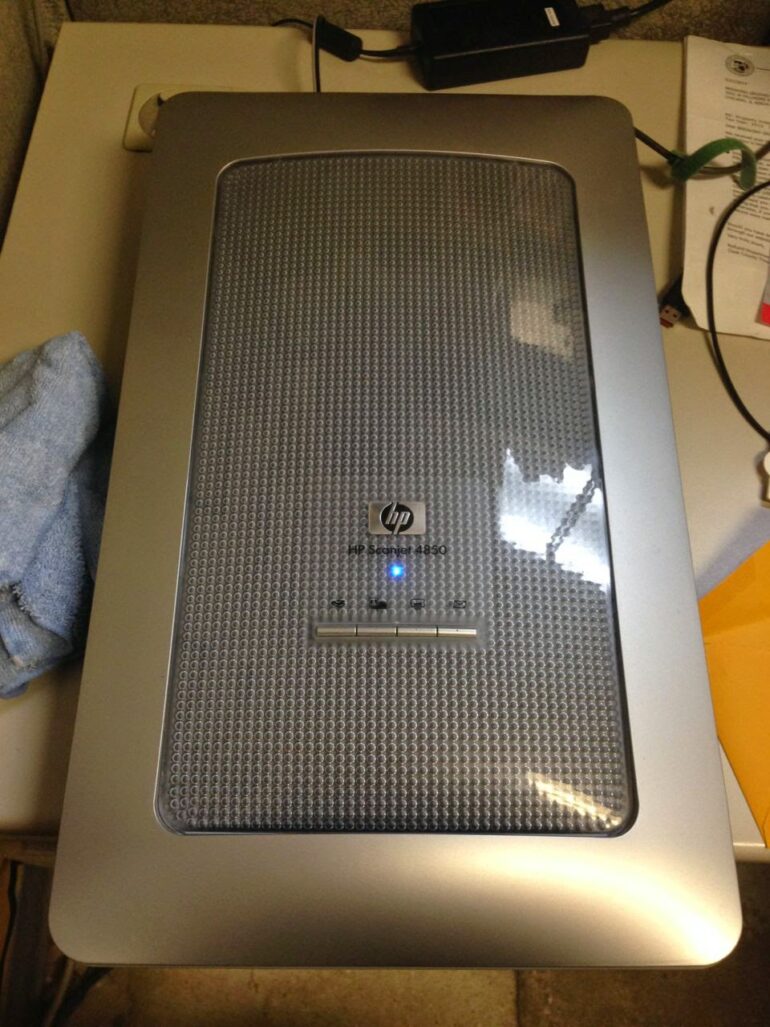
The HP Scanjet 4850 was designed to easily scan 35mm negatives. This is great if you don’t have a bunch of old negatives like me. Below shows the 126 negatives (top) compared a standard width 35mm negative (below):
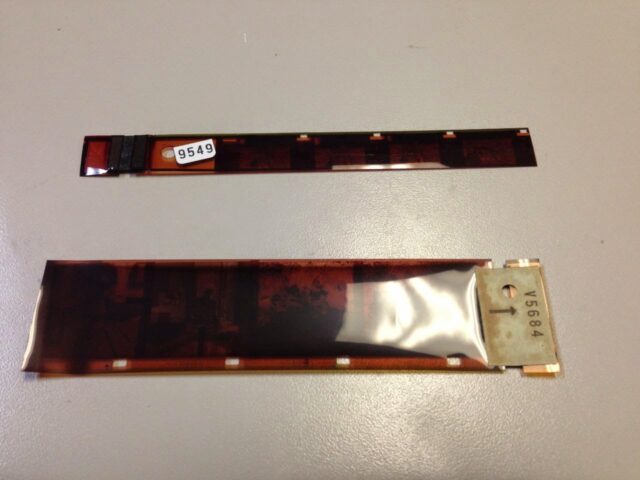 |
| 35mm negative (bottom) verses 126 narrow negative (top) |
You can still scan these narrow negatives on an HP Scanjet 4950 and here is how you can do it:
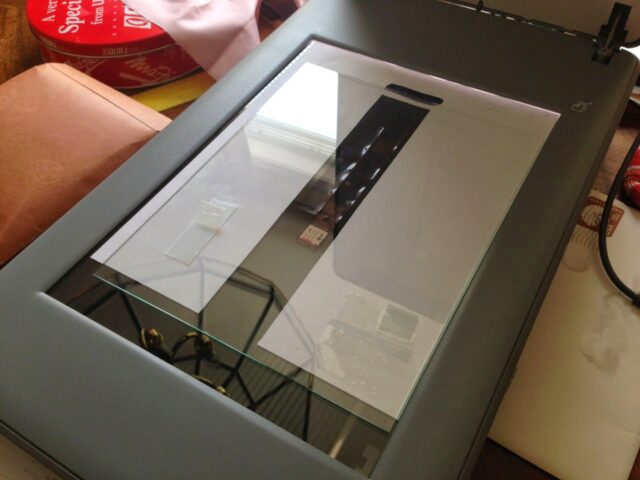
Step 1: Create a template to show you where the backlit area is on the scanning deck.
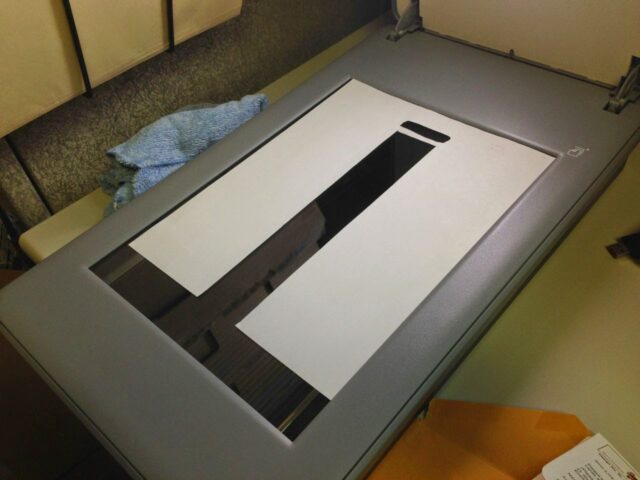 |
| Paper Template exposing backlit scanning area and calibration zone |
Step 2: Lay your negatives in the opening.
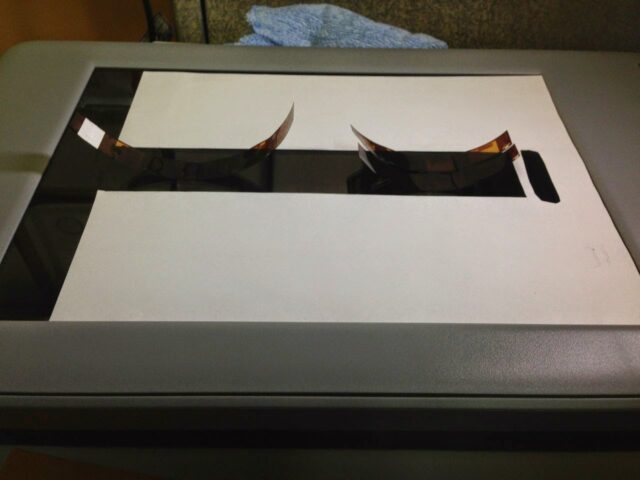 |
| Curled negatives |
 |
| Using the glass from a picture frame to press the negatives flat |
Be careful not to gouge the scanner glass with the corner of the glass you use.
Step 3: Scan using the (color) negative setting.
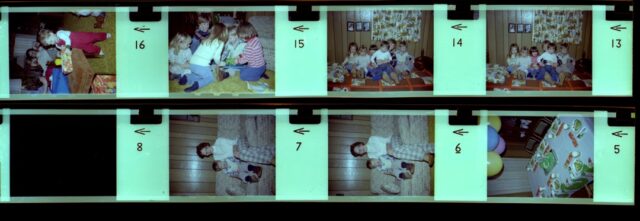 |
| Example negatives I scanned |
Step 4: Crop and color correct with your favorite photo editing software.
Other Tips
- Re-clean the scanner glass each time before you lay down the negatives. It is easier to clean the glass than to edit a face that has a speck of dust on it.
All my film/negative scanning posts:
- How to Archive and Store 35-mm Slides
- How to Fix Braun Paximat Multimag Compact Magazine Jamming on Slide Number 25
- How to Scan Slides on a Pacific Image PowerSlide 5000 With VueScan on a Mac
- How to Scan Odd-Sized Negatives on an Epson Perfection V700 Scanner Model J221A
- How to Scan Odd-Size Negatives on a HP Scanjet 4850 (this post)
- Scanning Slides With a Braun Multimag SlideScan 4000 Diascanner, same as Pacific Image ProSlide 3650
Amazon Associate Disclosure: As an Amazon Associate I earn from qualifying purchases. This means if you click on an affiliate link and purchase the item, I will receive an affiliate commission. The price of the item is the same whether it is an affiliate link or not. Regardless, I only recommend products or services I believe will add value to Share Your Repair readers. By using the affiliate links, you are helping support Share Your Repair, and I genuinely appreciate your support.