I purchased an Epson V700 Scanner so I could scan some large format negatives that were taken by my grandparents back in the 1940’s, some were even taken on the battlefield of WWII. Another reason I purchased the V700 is to avoid an issue called “Newton Rings,” which you can get if your negatives are not suspended in the air, which was the case on my HP scanner. The Epson V700 comes with 4 different film holders for the more common negative types…
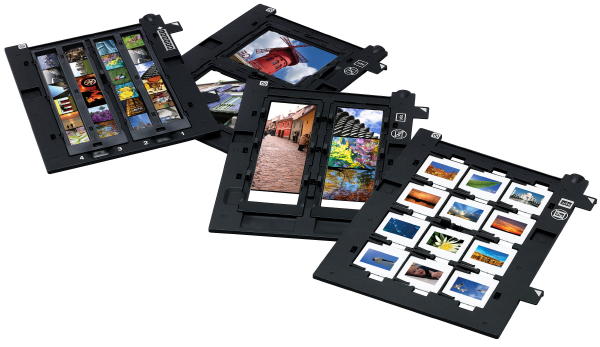 |
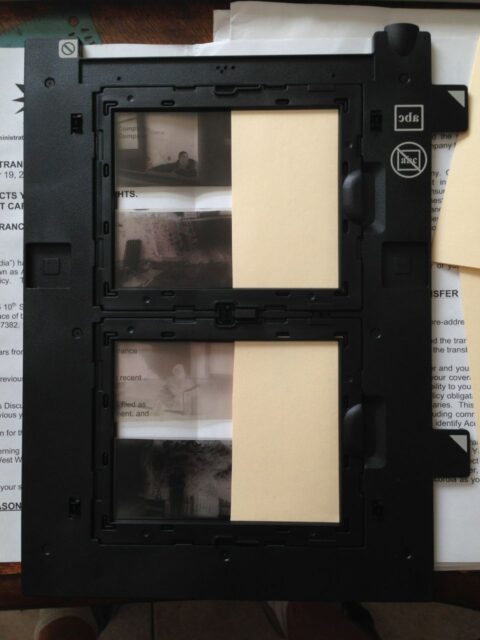
| Epson’s stock film templates (which ironically have pictures, not negatives framed in each one for photo purposes) |
…but many of the negatives I have are too big for the one size film holder and too small for the larger one. There are some third party companies that are making custom film holders and in the case of 126 film negatives, I’d encourage you to buy one. But in this case I was able to easily make a cardboard template to adapt the large film holder to hold these smaller negatives. Here’s how…
How to Scan Odd-Sized Negatives on Epson Perfection V700 Scanner Model J221A
Hardware:
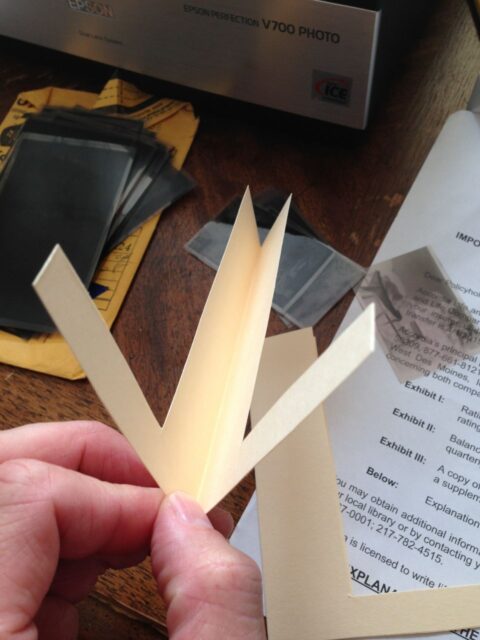
Step 1: Find some cardboard to use.
It needs to be more like thick paper versus corrugated cardboard, which will be too thick. I used a file folder, which turns out to be a perfect thickness–but you could use poster board too.
Step 2: Open up the film holder and determine how to cut the cardboard.
You’ll have to play around with it. I had to re-cut them and then trim a millimeter off here and there but the nice thing is that if you mess up you can just easily do it over again.
 |
| Cardboard negative film adapter |
Place the film in the corner and place marks on your cardboard so the film just slightly overlaps under the cardboard. I folded the cardboard in half so the film is pinched in-between and the fold of the cardboard is on the edge like this:
 |
| First place the cardboard adapter in the tray, all they way in the corner |
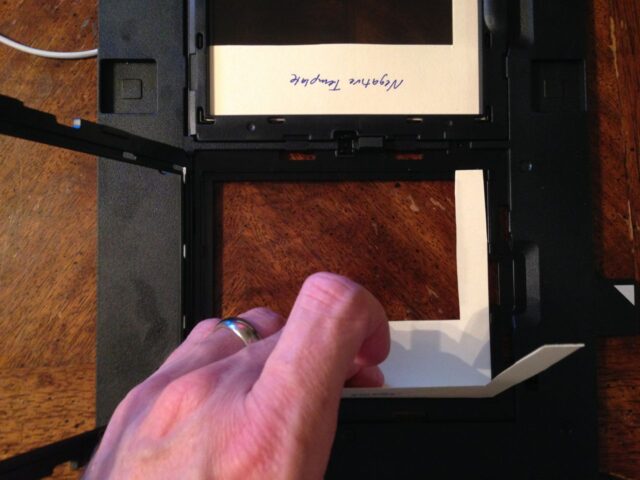
Step 3: Place the film in the holder.
Make sure your cardboard is all the way to the edge and that your negative is all the way on its side.
 |
| Then place the negative in, making sure it is in the opposite corner |
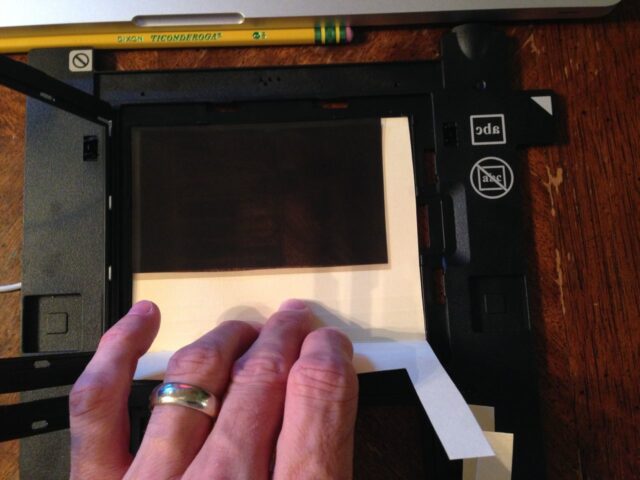
Step 4: Close the cardboard template on the negative.
I would usually reach through the plastic frame door to hold the cardboard template in place (not pictured below) so the negative doesn’t move while I’m snapping the door shut.
 |
| Closing the cardboard template on the negative |
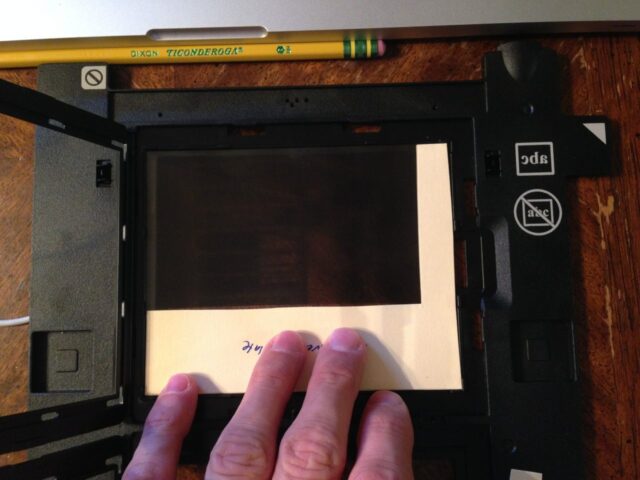
Step 5: Scan the negatives in your “adapted” frame.
 |
| Now your odd-size negatives are ready to scan! |
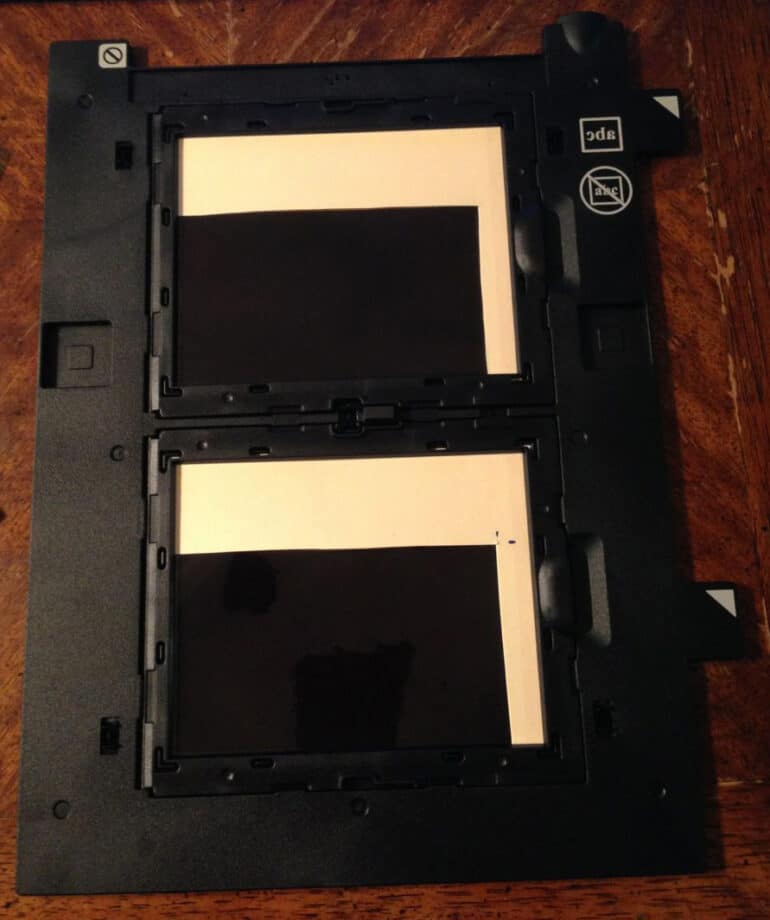
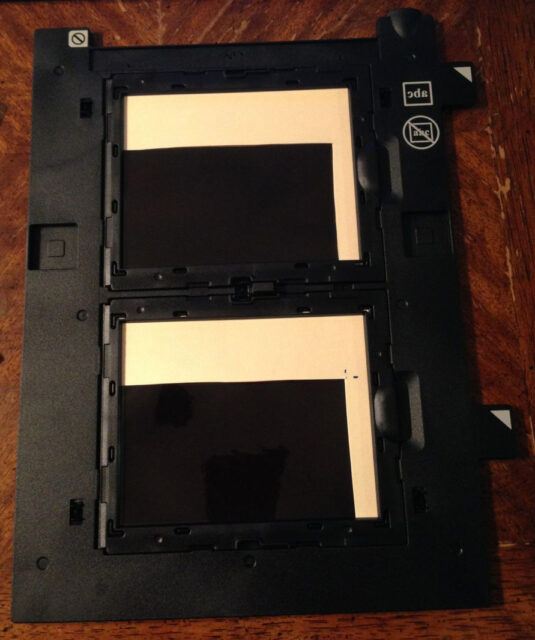
Here’s another adaptation of this method:
 |
| Two negatives in one, with another custom cardboard film holder adapter |
And here they are with the frame snapped shut. These are small enough that I can leave their one edge floating in the air and it doesn’t matter:
 |
| Fitting 4 negatives in two frames |
Epson Perfection V700 and VueScan–A Perfect Match
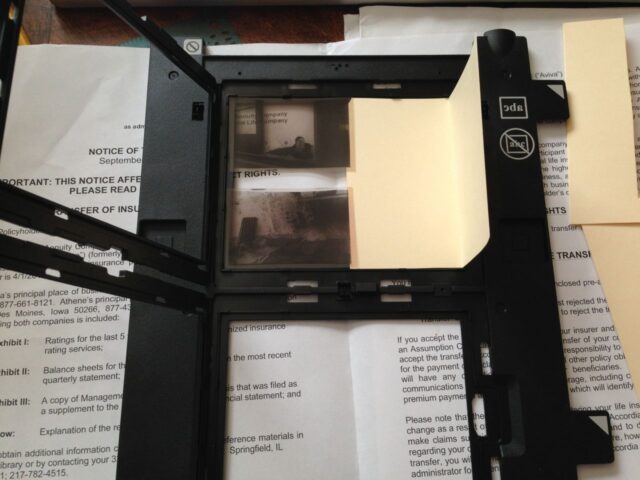
I really like the Epson Perfection V700 scanner for scanning film and I recommend using it with VueScan, which gives you a lot more control over the scanner than Epson’s scanner software (and once you learn how to run VueScan on this scanner you can use it on virtually every other scanner made. BTW: You must purchase their Pro version to do film. I purchased it over 10 years ago and it comes with lifetime updates and I’m still using it and the price hasn’t changed ($79.95)! AND, Ed Hamrick, the author answers tech support emails very quickly and even on Saturdays sometimes and has been very helpful to me. He hasn’t asked me to give a plug for his software, I just like it that much that I want to recommend it.Here’s an example of a negative I scanned in this manner:
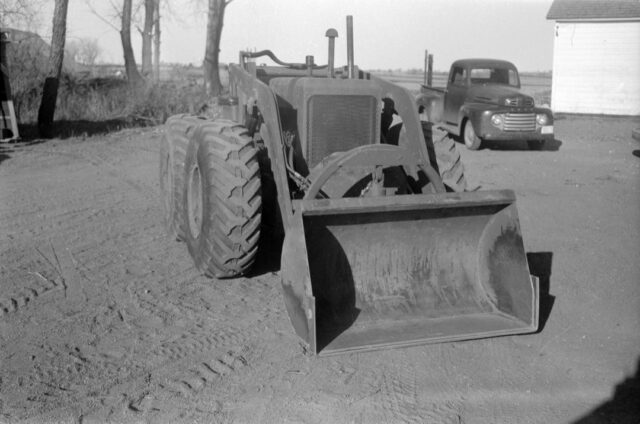 |
| Negative scanned on Epson Perfection V700 Scanner |
Please post any questions you have in the comments and I’ll get right back to you! Thanks, John.
All my film/negative scanning posts:
- How to Archive and Store 35-mm Slides
- How to Fix Braun Paximat Multimag Compact Magazine Jamming on Slide Number 25
- How to Scan Slides on a Pacific Image PowerSlide 5000 With VueScan on a Mac
- How to Scan Odd-Sized Negatives on an Epson Perfection V700 Scanner Model J221A (this post)
- How to Scan Odd-Size Negatives on a HP Scanjet 4850
- Scanning Slides With a Braun Multimag SlideScan 4000 Diascanner, same as Pacific Image ProSlide 3650
Amazon Associate Disclosure: As an Amazon Associate I earn from qualifying purchases. This means if you click on an affiliate link and purchase the item, I will receive an affiliate commission. The price of the item is the same whether it is an affiliate link or not. Regardless, I only recommend products or services I believe will add value to Share Your Repair readers. By using the affiliate links, you are helping support Share Your Repair, and I genuinely appreciate your support.

Yes I am discussing VueScan. I’ve wasted 3 days trying to move that Y padding where I needed it. So I gave up and went over to Epson Scan 2. Honestly the color is far superior than VueScan. (I clicked on every combination because I didn’t know what the film type was) But I have not found a way to increase the size of the thumbnails in Epson large enough. Also it has to rescan them every time you zoom. Anyway I needed to see something small, scanned it in VueScan, played with the settings again and voila. I was able to move the grid. You have to change the settings in a certain order or it won’t work. Today VueScan was unable to “see” a negative. I have no idea why. I was about to throw it away when I realized it was just messing up again. So I finished the 126 film project using the Epson software. I just drag a box over the negative and Im done with that. Why VueScan makes it so difficult to do a simple thing, I don’t know.
Anyway Im moving on to 35mm, 110 and disc film. Ill try it again but I just can’t waste that kind of time. VueScan is quirky at best. Yes I did contact Ed and also another blogger. If I can duplicate it, Ill write it up but Im gonna finish my project first. thanks moira
Well I was using manual but also tried auto and custom. The Y grids don’t match the 126 film. I have thousands of these, I can’t bring each of them into PS. Thank you
Have you tried Vuescan? I never use OEM scanning software but prefer Vuescan. It works with thousands of scanners.
Hi John thank you for your article. I have a v700, vuescan and a mac. I am going to make a holder for my 126 negatives but I can’t get vuescan for the life of me batch scan size 126. I can’t move the Y padding to match the different frames. It cuts off the bottom of 1st neg. Then by the end of the strip, I have half of #3 and #4 neg. I have it on custom multicrop, but the settings do not allow me to position the Y grids over the 126 frames. How did you do it? I have also tried auto and manual.
I never used any auto cropping. I just scanned the entire strip and the cropped them in Photoshop. One problem I ran into was the fact that some of these negatives were curved because of a paper tab adhered to one edge of the negative.
I already have a Epson Perfection V370 Photo scanner. Any chance I can use that? Thanks. Steve J.
You can use the V370 but its transparency backlight area is only wide enough to do 35mm film. That would not have been wide enough to do the negatives I had. If all you have is 35mm negatives or smaller, the V370 would be fine.