My kid bent the leg on our trampoline, I fixed it, and I’ll show you how you can too. I purchased a Skywalker Trampoline a couple years ago and I’m writing my third article on the assembly and maintenance of this trampoline. When purchasing the trampoline I read that the assembly instructions were awful. After purchasing the trampoline and looking at them myself I agreed that they were real bad. So I wrote up my own version of the assembly instructions, the way they should be written, and you can read them here:
I also wrote an article on how to make the styrofoam that covers the bars to last the life of the trampoline with duct tape and you can read that here (our padding is still completely in tact over a year later):
If you do my duct tape trick I’d encourage you to spice it up more than I did and use colored duct tape.
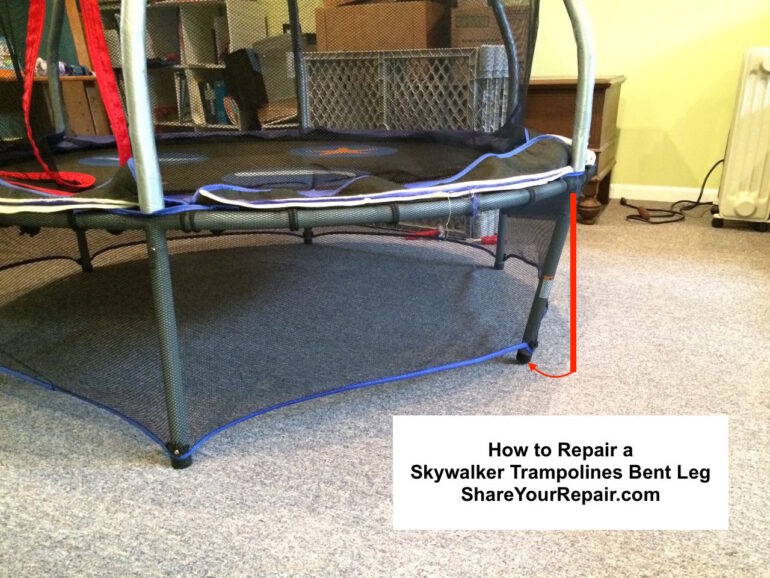
How to Fix Bent Leg on Skywalker Trampoline
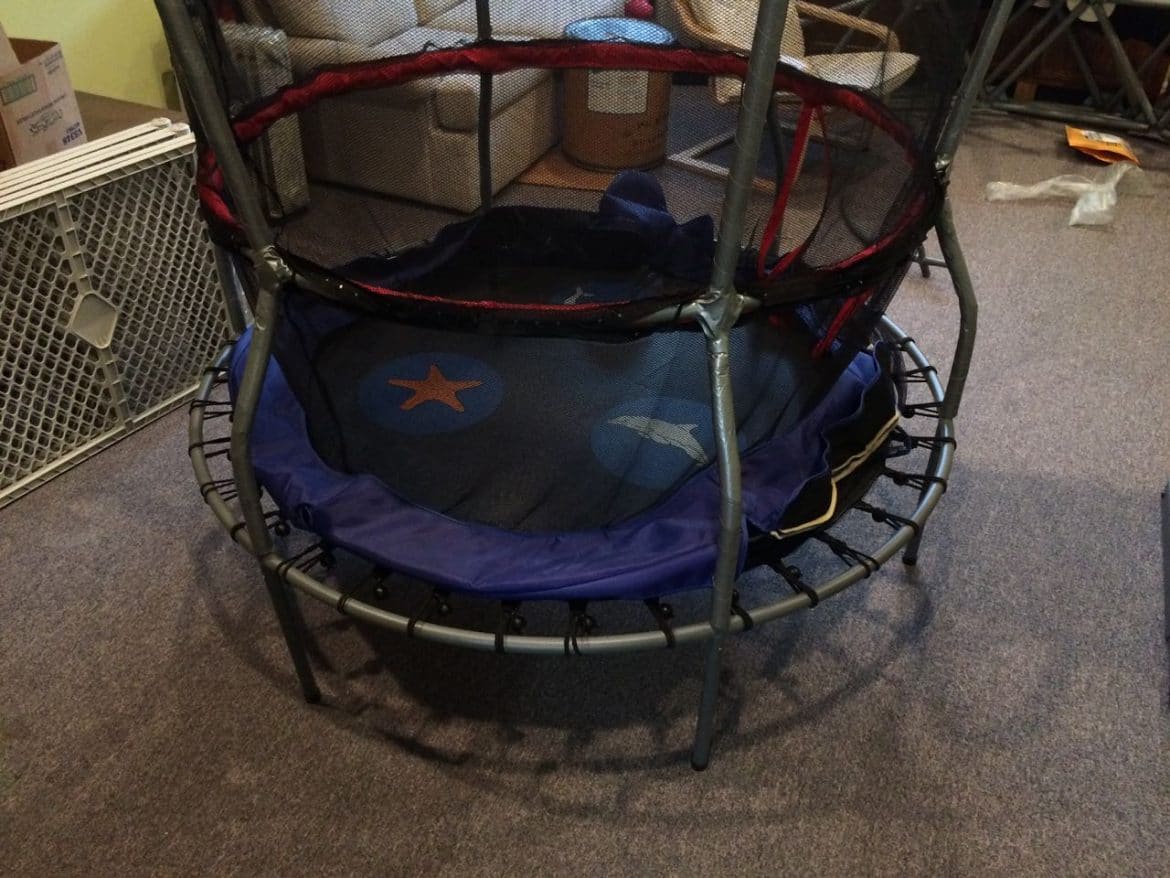
It turns out that it is not actually the leg that is bent, but the circular tubing that forms the frame for the jumping surface–this tubing crushes and then the leg bends inward. You cannot bend it back–if you try, it will be weaker than it was to start with and will break. The bent part needs to be replaced and you can do it yourself. Never-the-less, we can fix it and here is everything you need to know:
Hardware:
Parts Needed:
- Grey 60″ Mini Main Frame Top Tube w/Socket SKU 014059 (5′ trampolines by Skywalker are discontinued)
Note: If you trampoline is less than a year old, Skywalker Trampolines will honor their warranty and give you this part for free! You can call them at 1 (866) 603-5867 (their hours areMonday – Friday, 8am – 5pm MST) or email them with your receipt, model number, and a picture of the damage at customerservice@skywalkerholdings.com
Tools Needed:
- Phillips Screwdriver
(but it’s much easier if you have a cordless drill, I love my Makita
)
- #2 Phillips Bit Tip
(if you are using a cordless drill)
Step 1: Determine your Skywalker Trampolines Model Number and order the part.
If you tip your trampoline over (it’s pretty light) you can find a white tag somewhere on the edge of the bouncing surface:
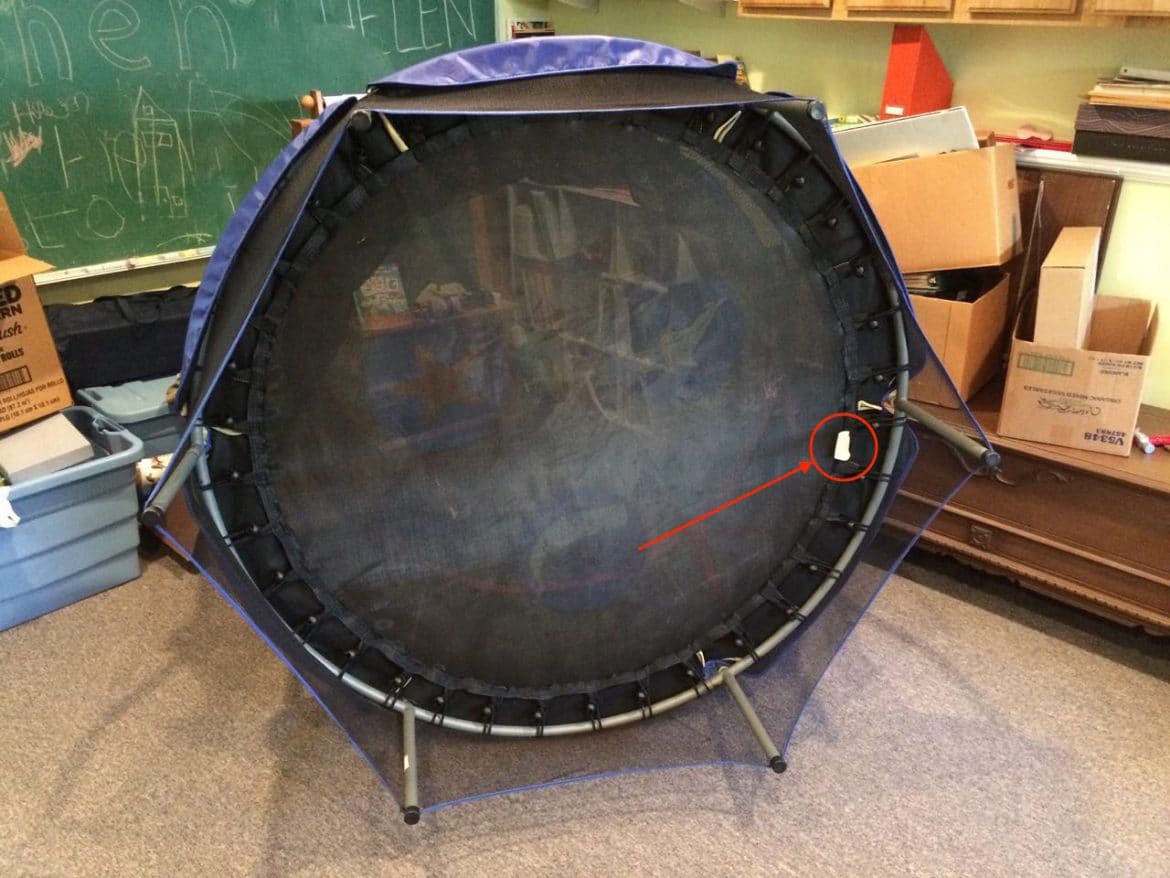
Look for the alphanumeric number at the top. The part number for my trampoline is SBT60:
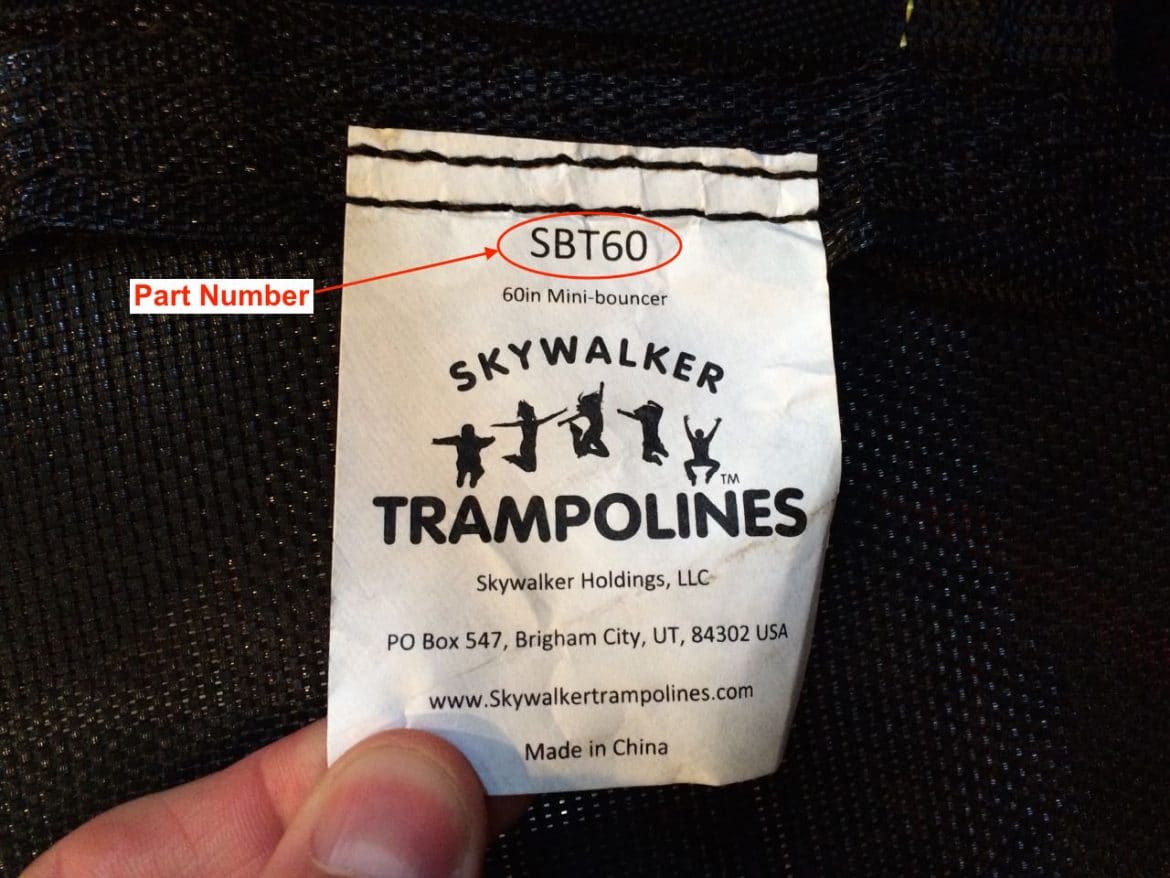
Now with that part number you can contact Skywalker Trampolines and order the part, or if it is less than a year old, receive for free, your replacement part. Once you have your part you can move on to Step 2…
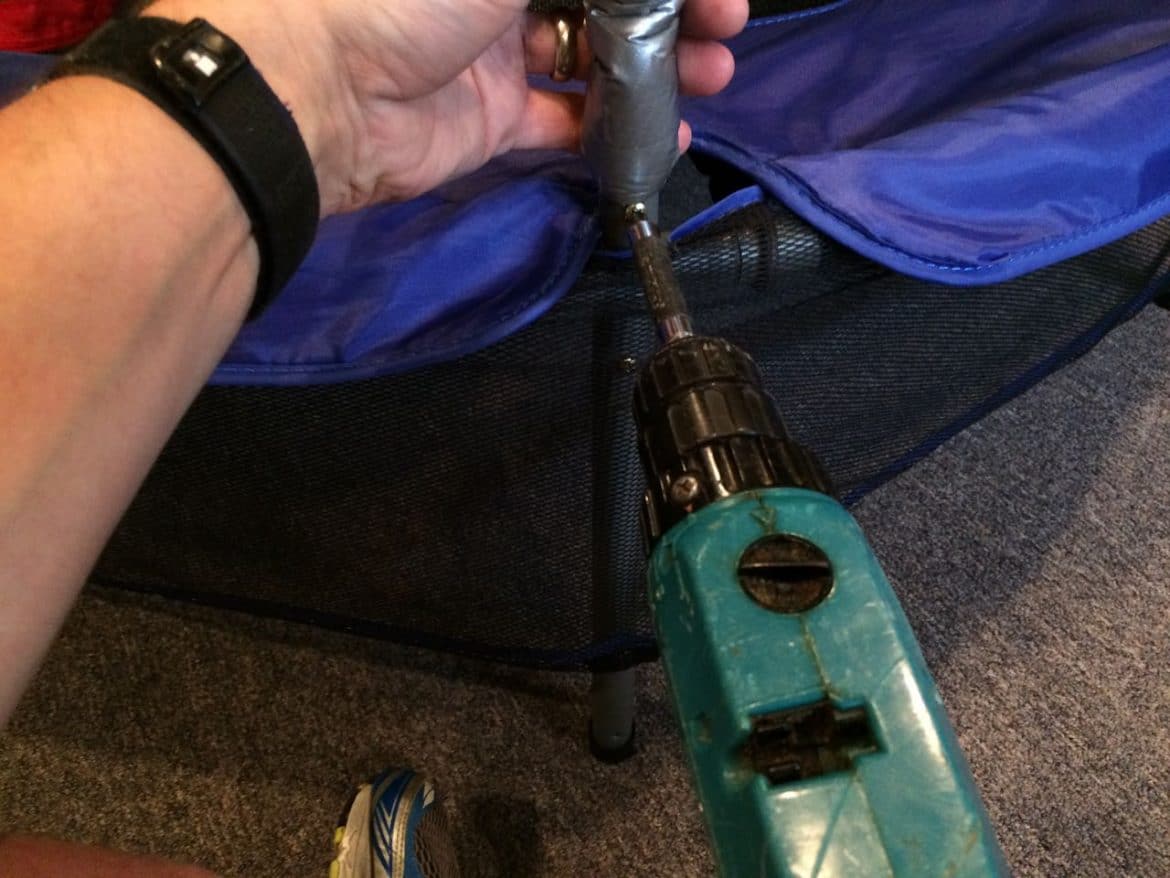
Step 2: Remove the screw from the skirt on the bottom of each of the six legs.
We are going to need to get under the skirt to replace the leg. Carefully remove all six screws from the legs:

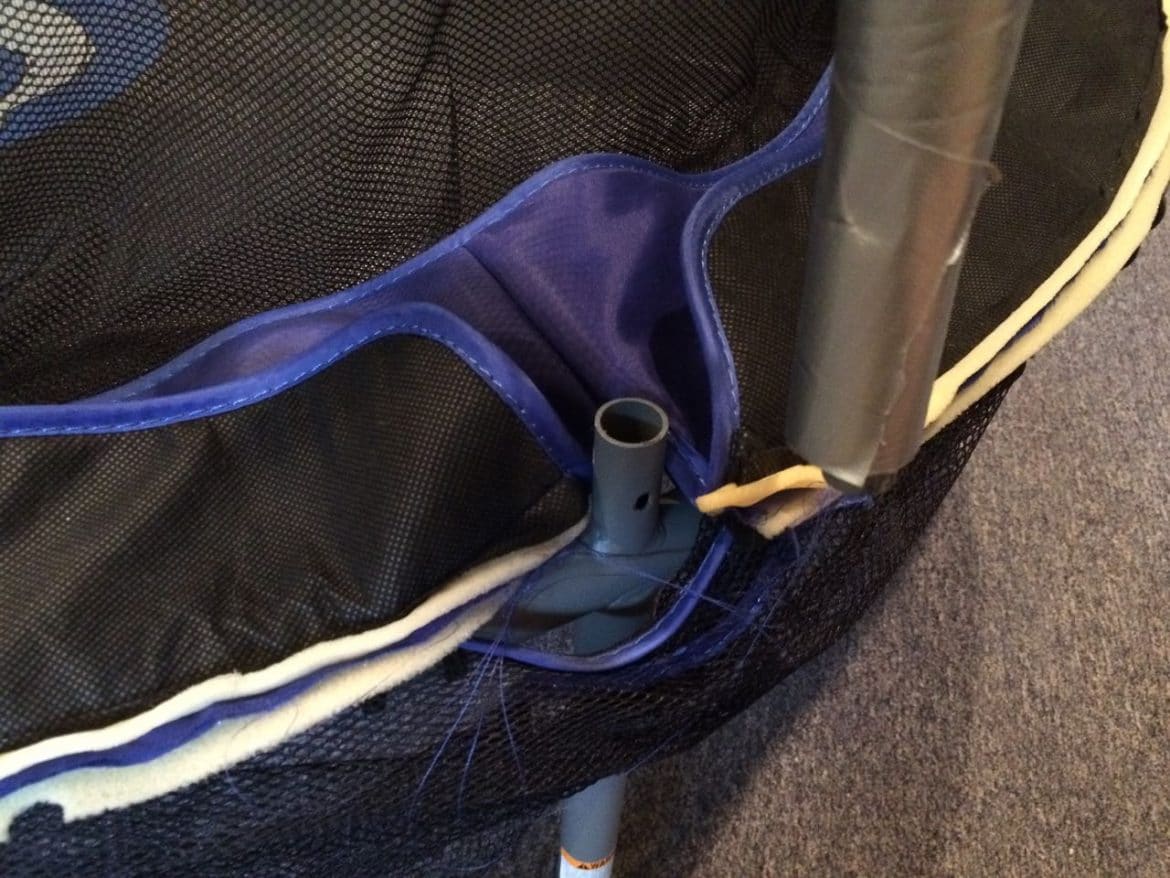
Step 3: Remove the screw from the bottom of each of the six side poles.
You will need to lift up the padding (if your padding even still exists). As you can see, I put a layer of duct tape on mine and the padding is still in perfect shape, and protecting my kids:
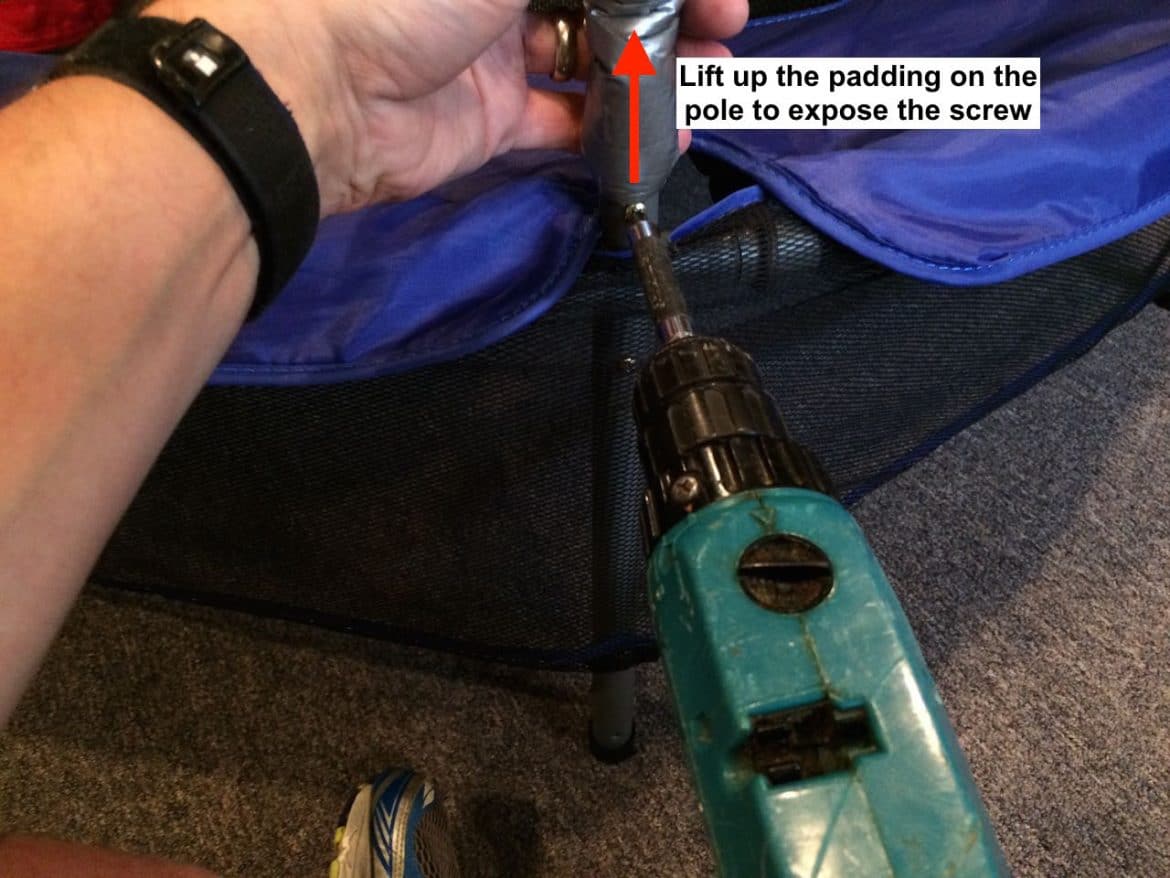
I opted to not remove the poles from their sockets at this point because the poles give the main hoop and legs support and it will get all twisted up with all the bungee cords on it if you remove the poles at this point.
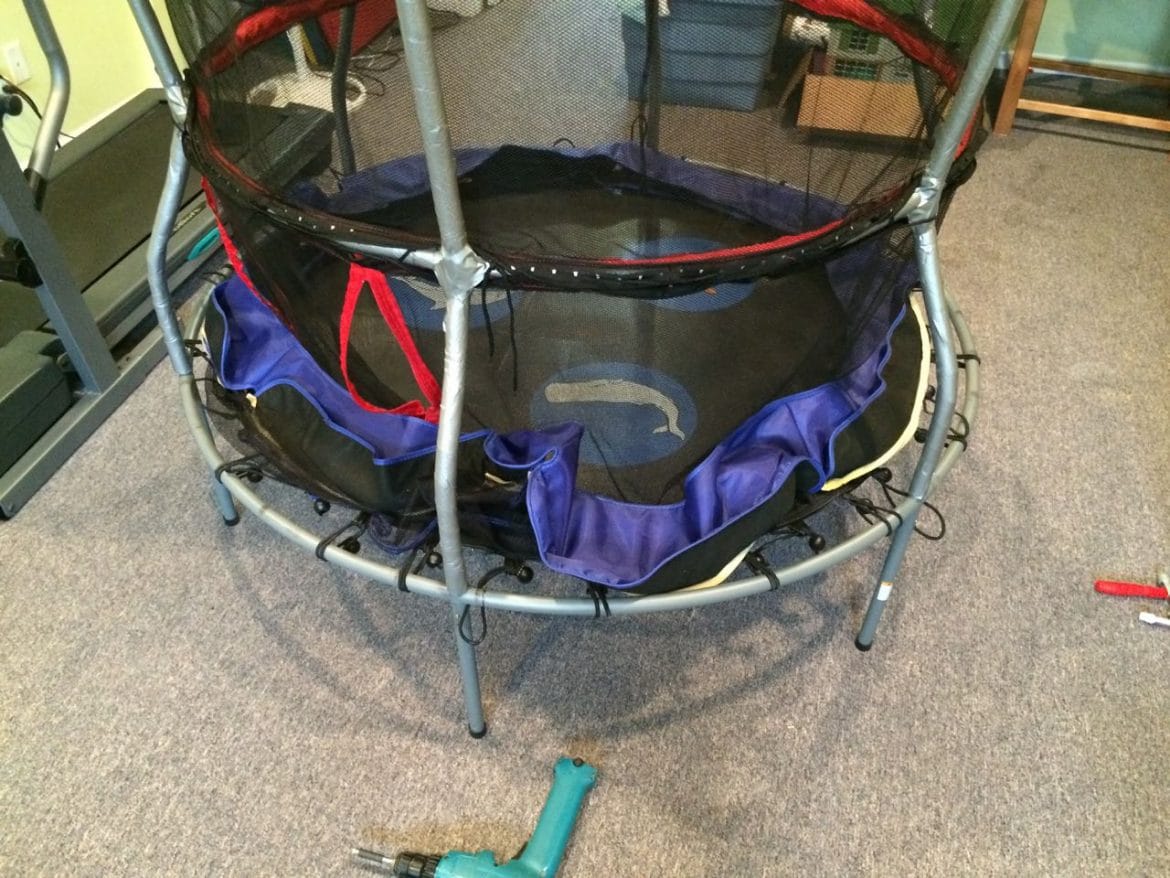
Step 4: Lift the skirt up and over the edge of the circular hoop.
I removed each side pole, one at a time, and lifted the side-skirt up and over the edge:
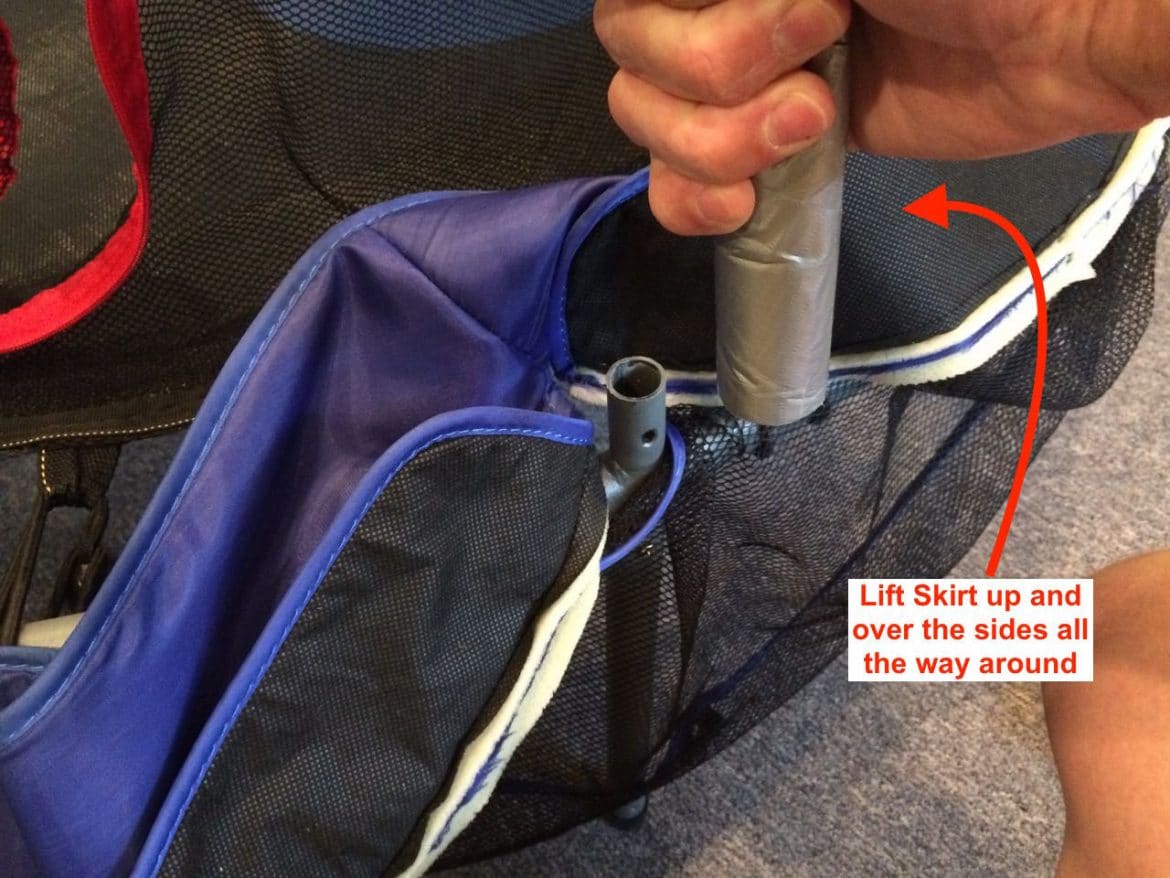
The reason I’m leaving the poles in at the moment is because they give the main hoop stability when all the bungees are connected:

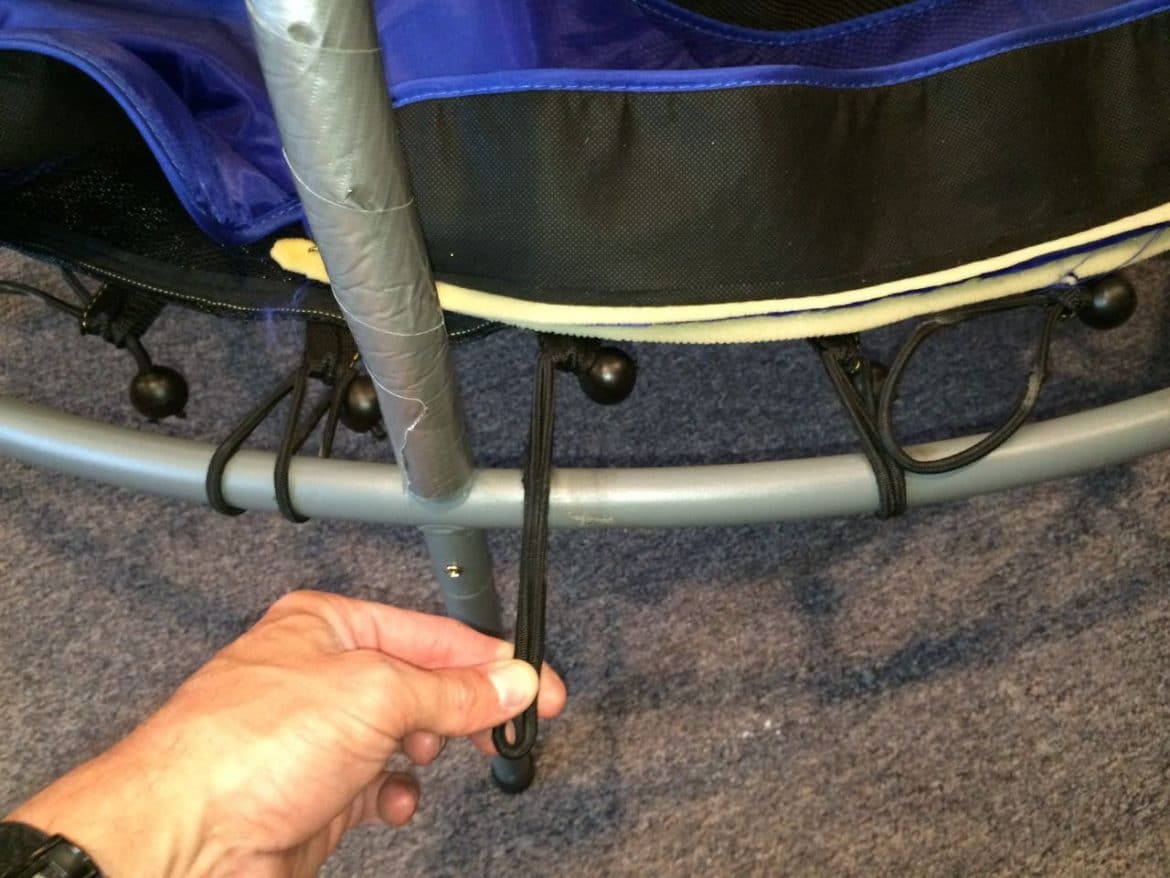
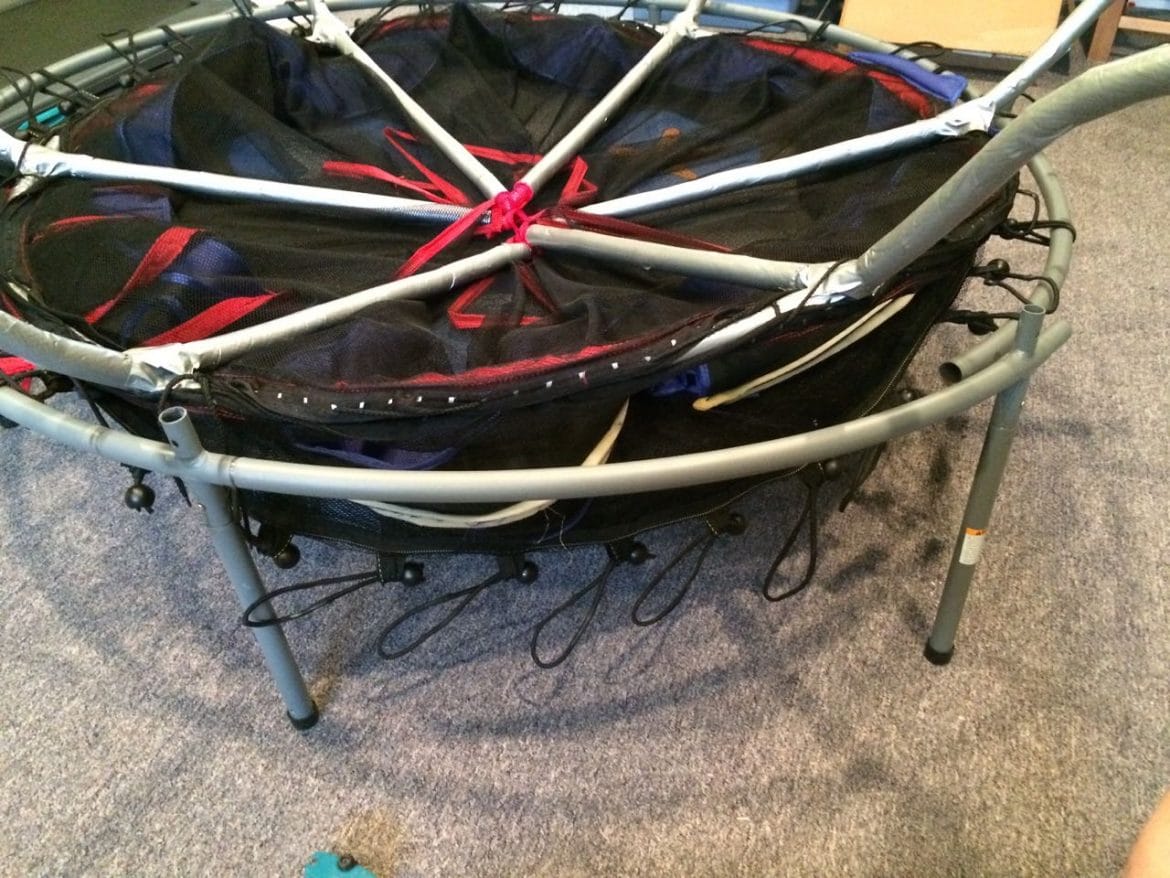
Step 5: Remove every other bungee cord holding the jumping surface.
We are doing this to relieve some stress from the outer hoop so we can take it apart. Is NOT necessary to remove all of them. There’s an odd number of bungee cords so when you work your way around removing every other one you’ll end up either taking two off in a row or leaving two at the end and it doesn’t matter that much.
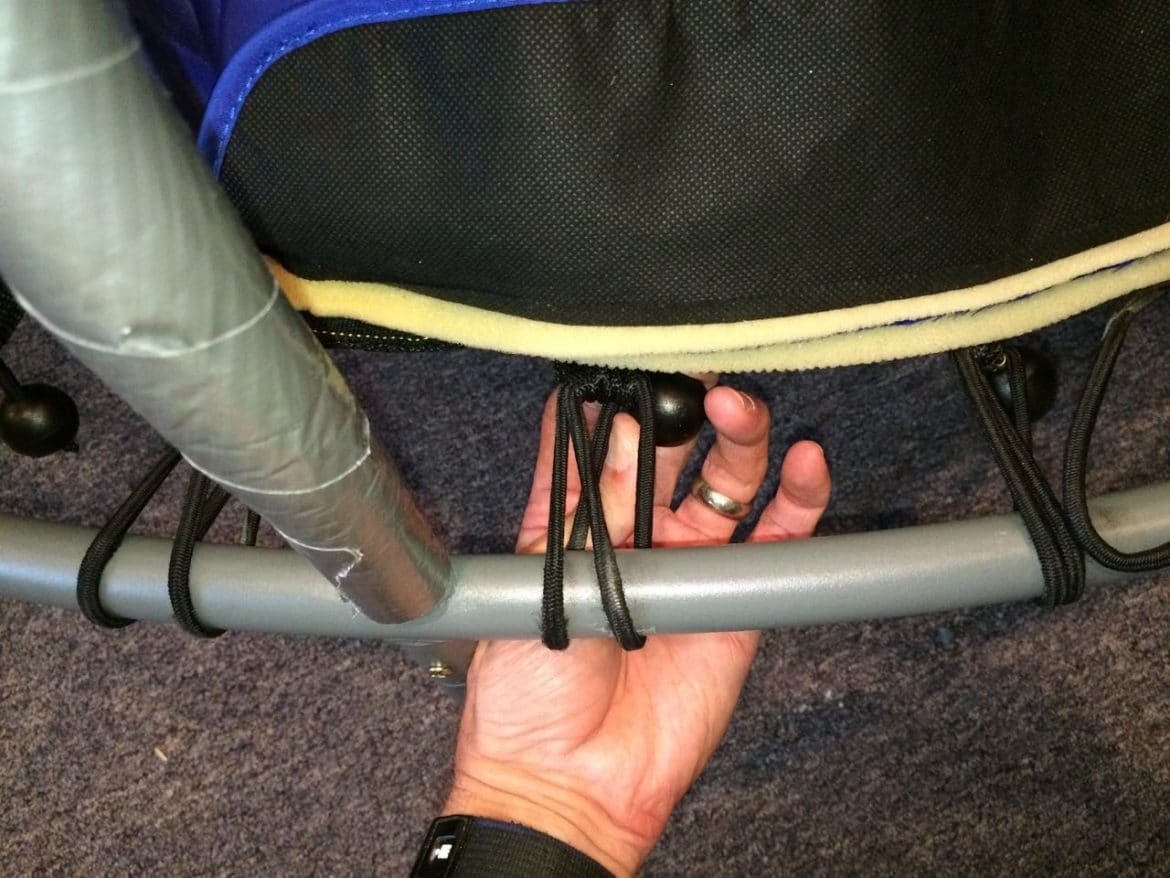
Leave the bungee running through the loop:
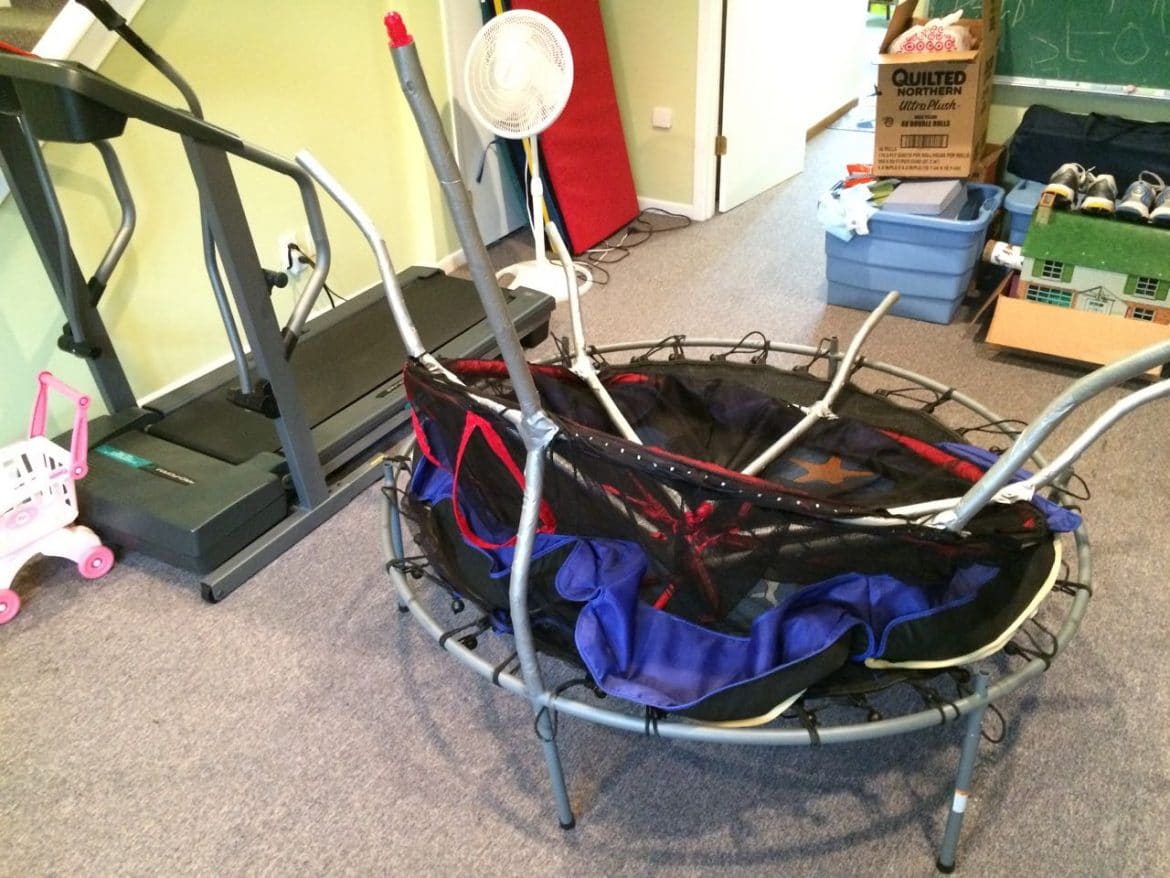
Step 6: Pull out the side bars and fold the safety netting sides inward.
Disconnect all the top loops on the side bars:
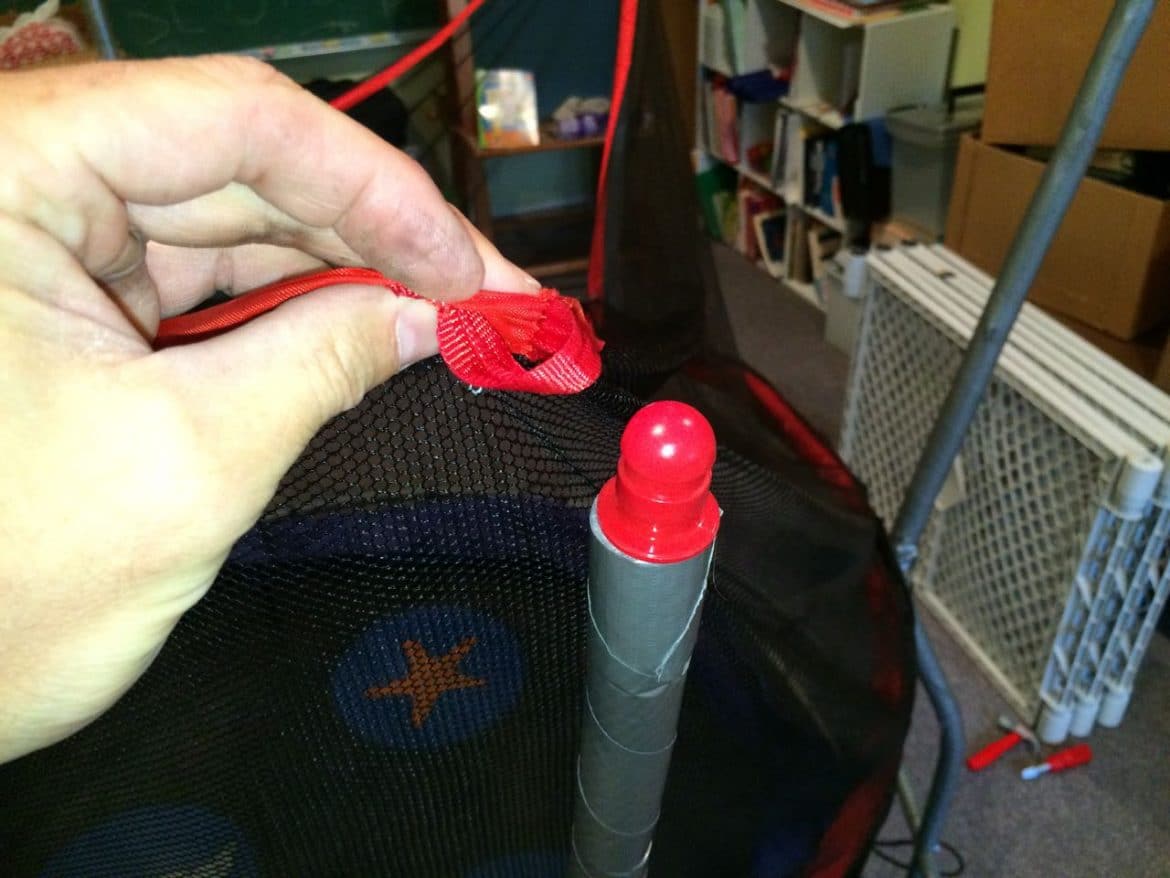
Pull each bar up and out of their sockets:

Then lay the top of each sidebar in towards the middle. Here I have one left to do:
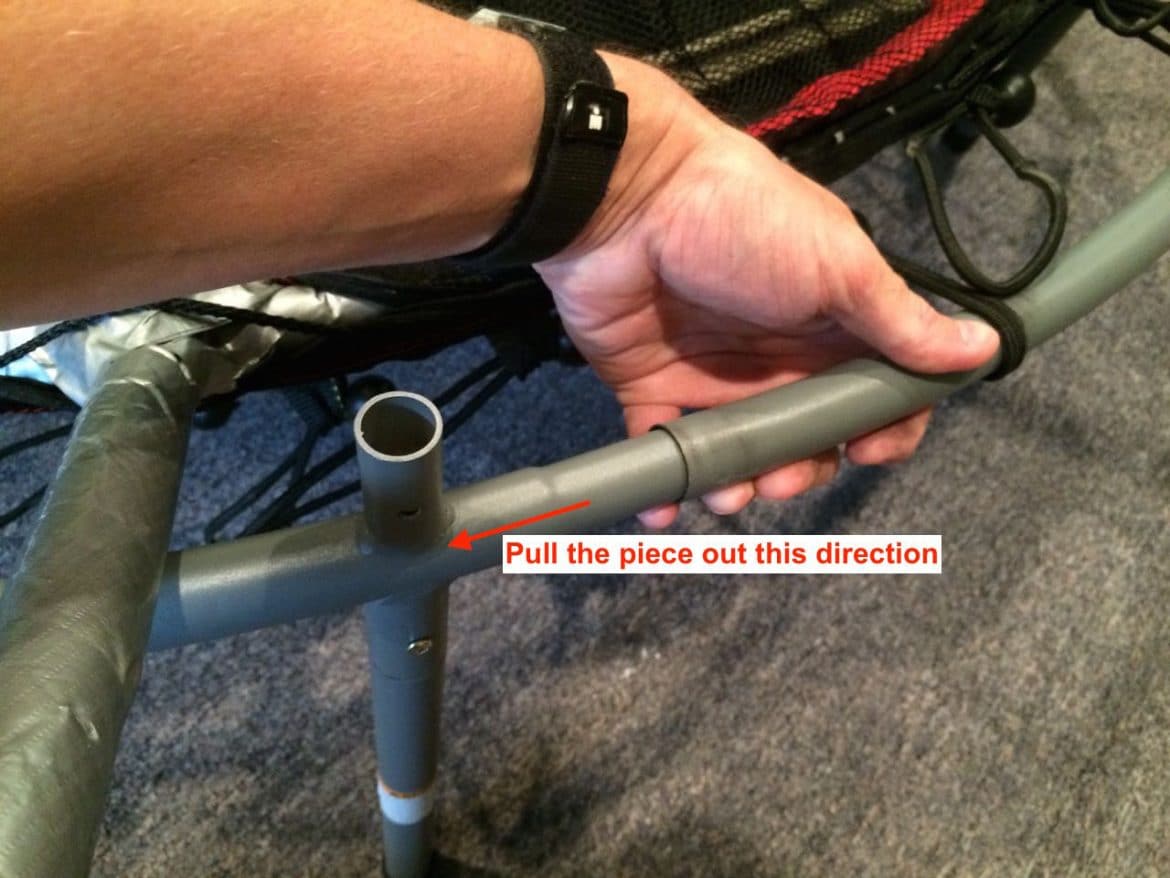
Step 7: Remove the bent section of the main hoop.
Find the section that is physically part of the bent leg and disconnect the sockets on each end of the piece:
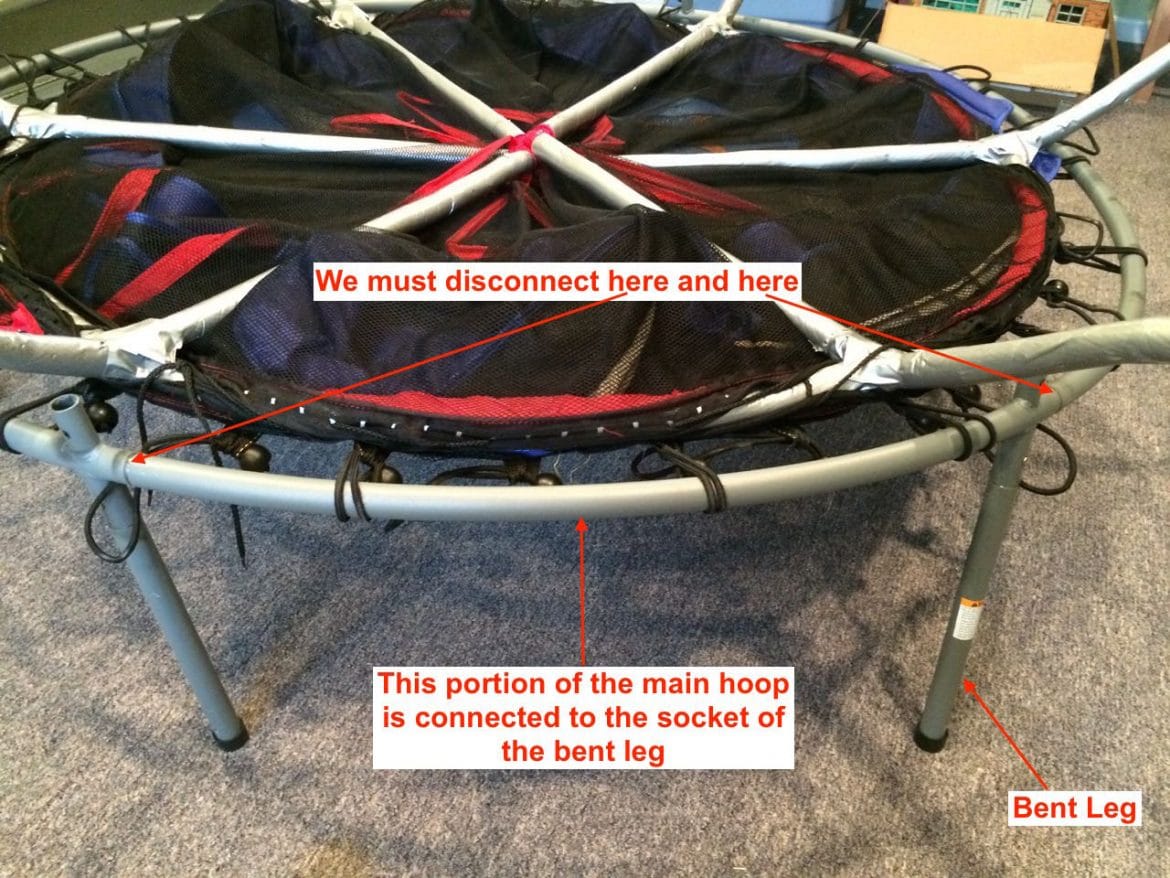
First disconnect one end of the bent section. Here I am disconnecting the right end:
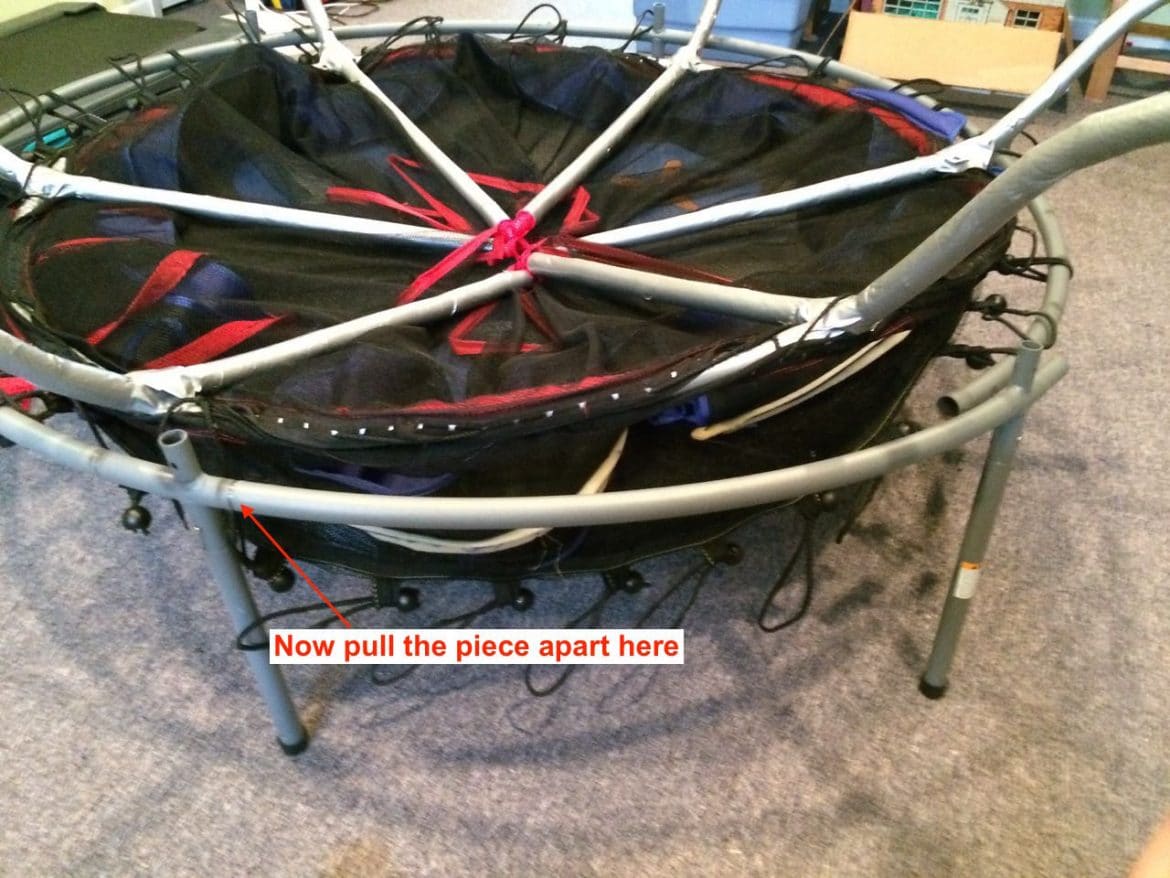
Now pull the left end apart:
The bent part is out:
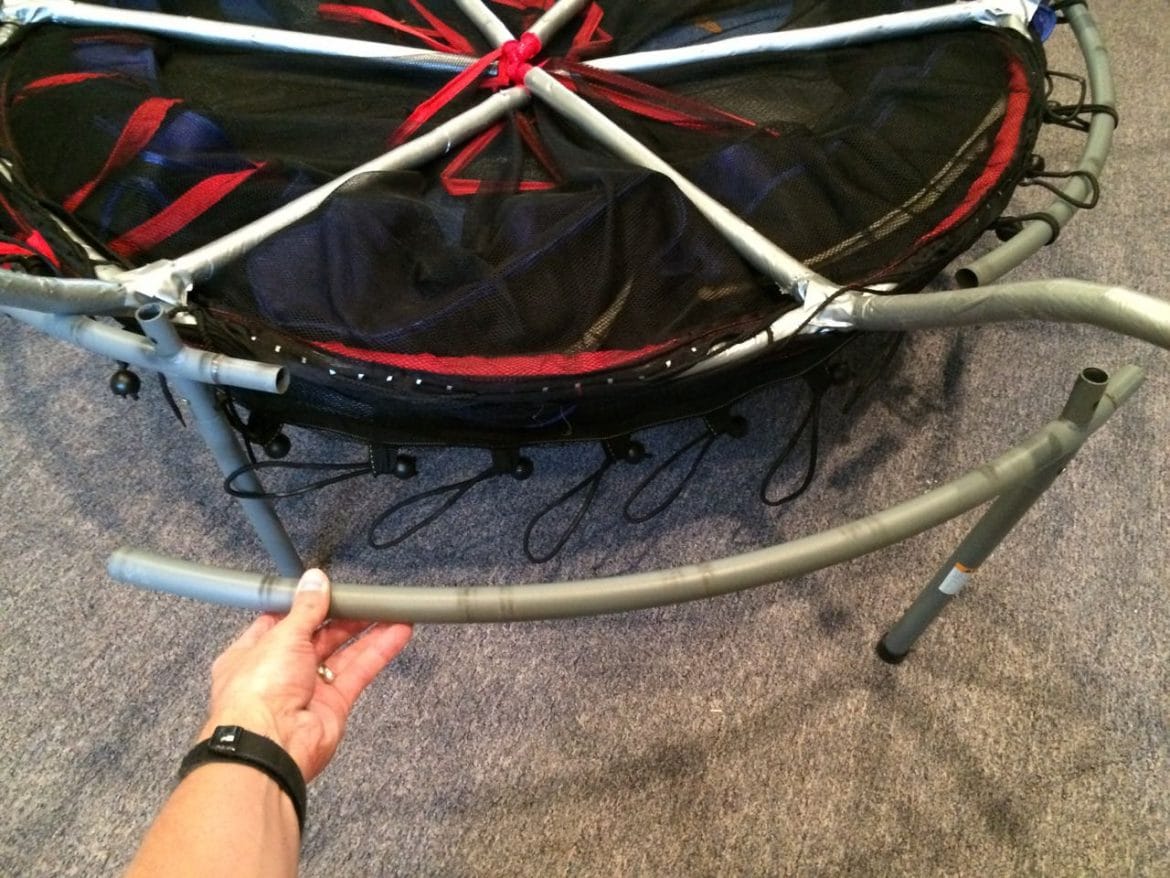
Here you can see how the main hoop crushes, causing the leg to bend inward:
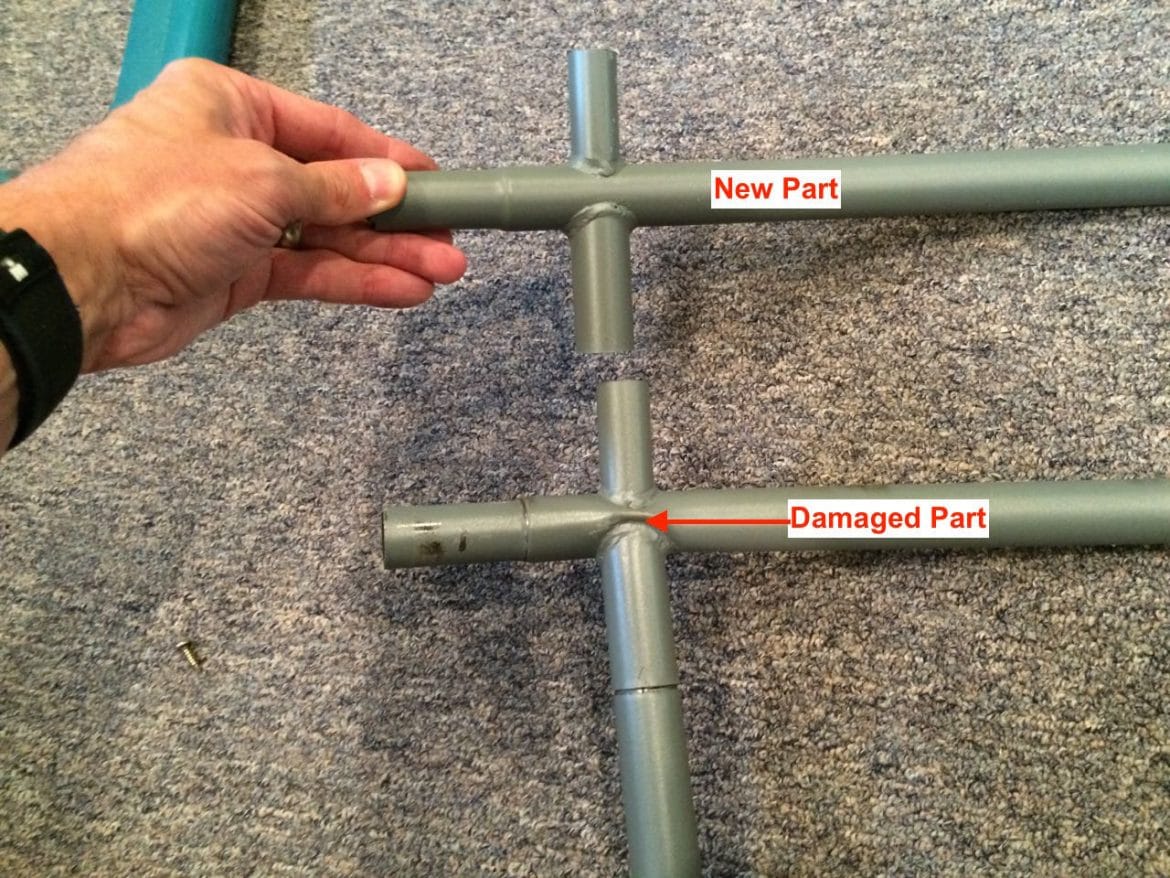
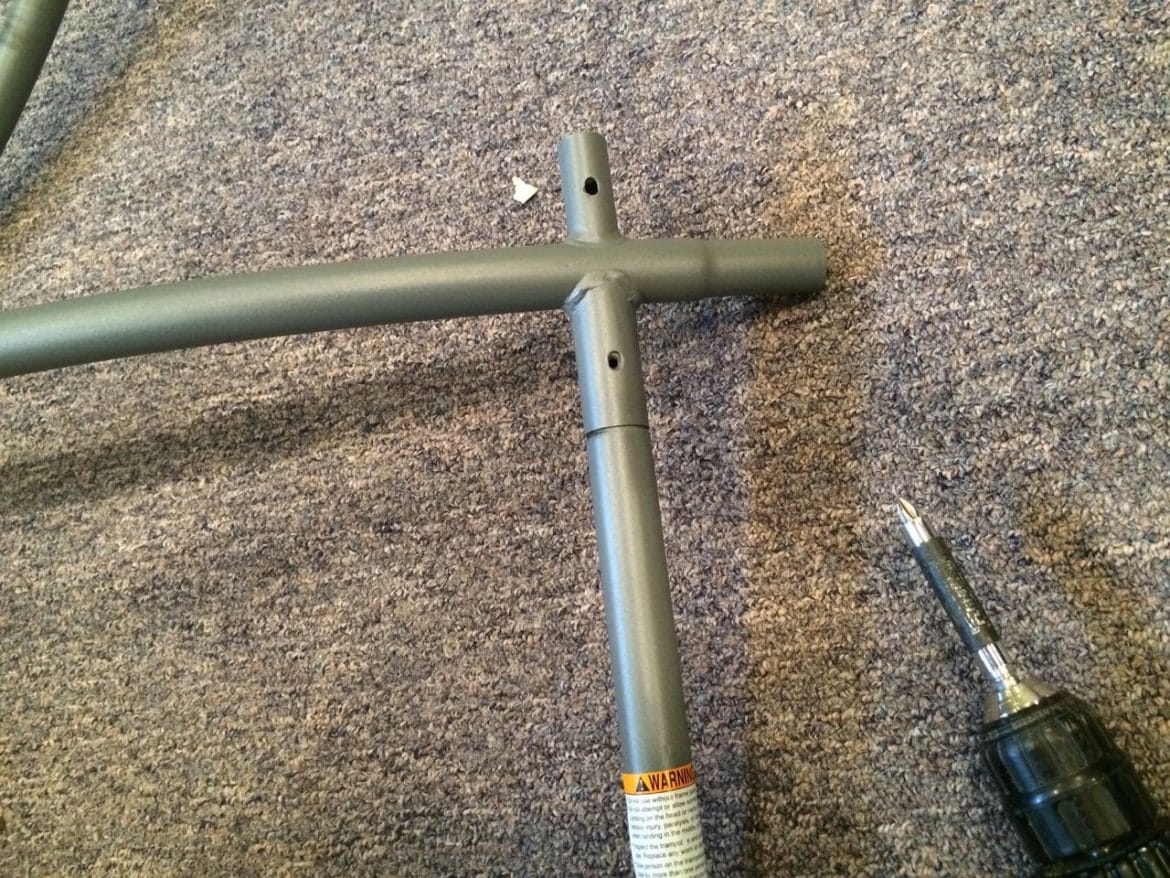
Step 8: Transfer the leg post on the new replacement hoop piece.
Remove the one screw on the outside of the hoop to remove the leg post:
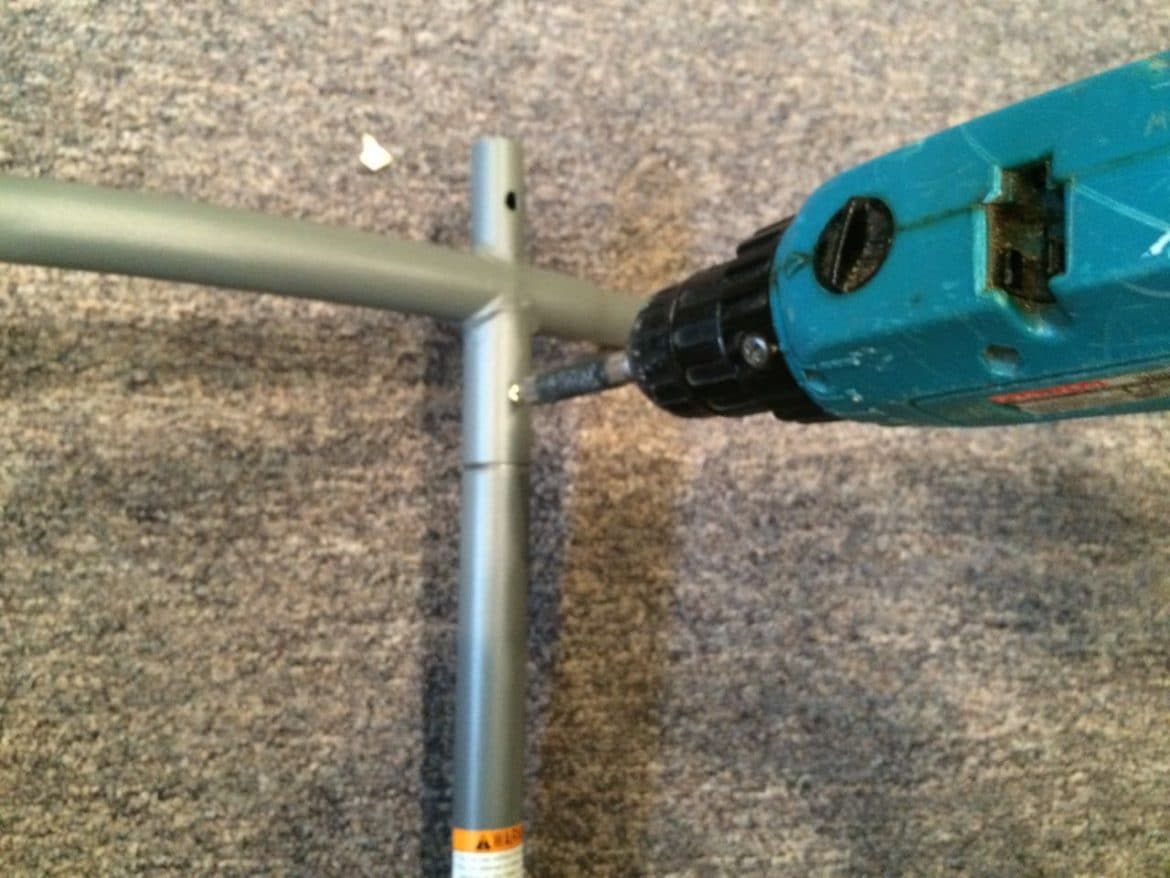
Reinstall the leg pipe on the replacement part, line up the screw hole in the leg, and reinstall the screw:
Step 9: Reinstall the new hoop piece and leg back onto the trampoline.
The first end will be really easy. Slide the piece onto the main hoop:
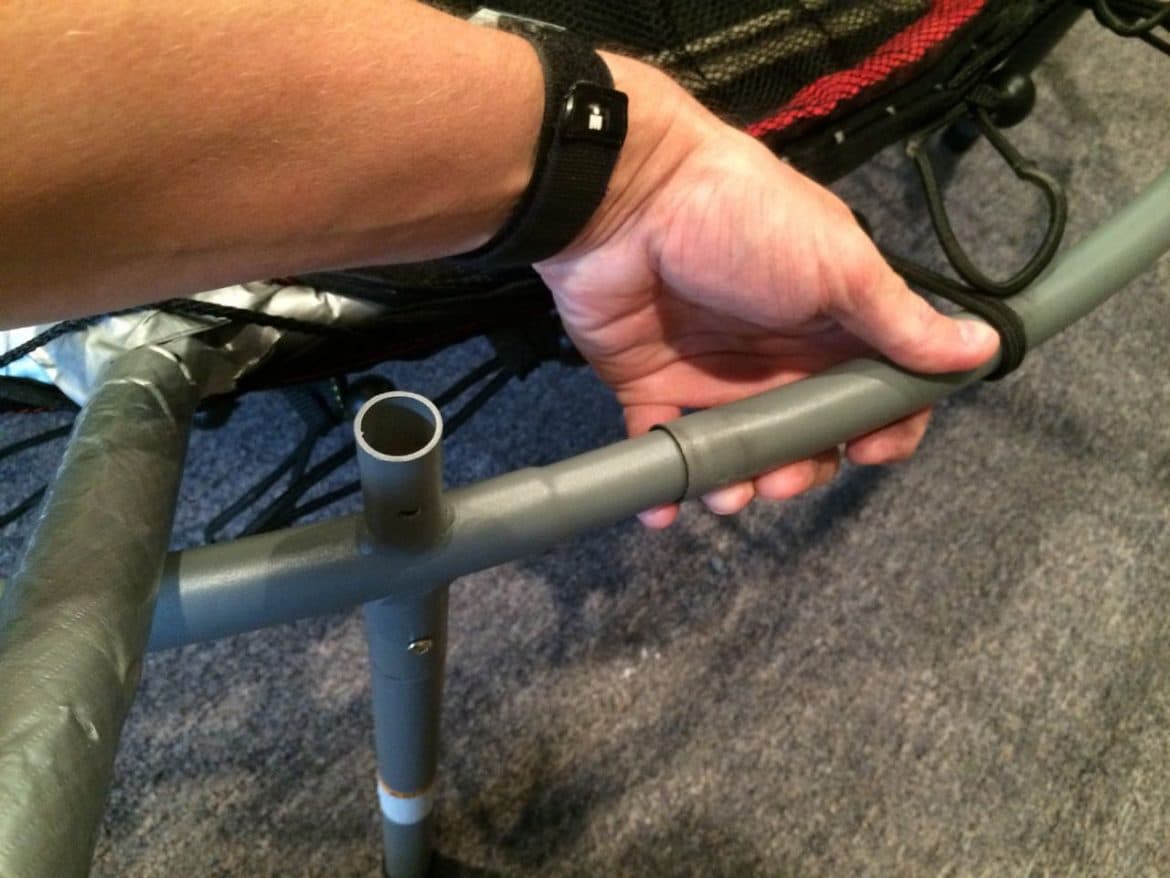
Then you will need to spread the hoop open in order to put the other end on and therefore join the circle:
Step 10: Reinstall all the bungees.
I suggest pulling the bungee through the loop on the trampoline mat, then go OVER the pipe, down under the pipe and then slip the loop over the bar like I demonstrate in this video:
So then you’ll have all the bungees reinstalled like this:
Step 11: Pull the skirt down all the way around.
You will need to pull out each side-rail pipe, one at a time, so you can feed the pipe through the hole in the skirt:

Step 12: Reinstall the side pipe screws.
Lift up the styrofoam, adjust the pipe so the holes line up, and then reinstall the screw at the bottom of each of the six side pipes:
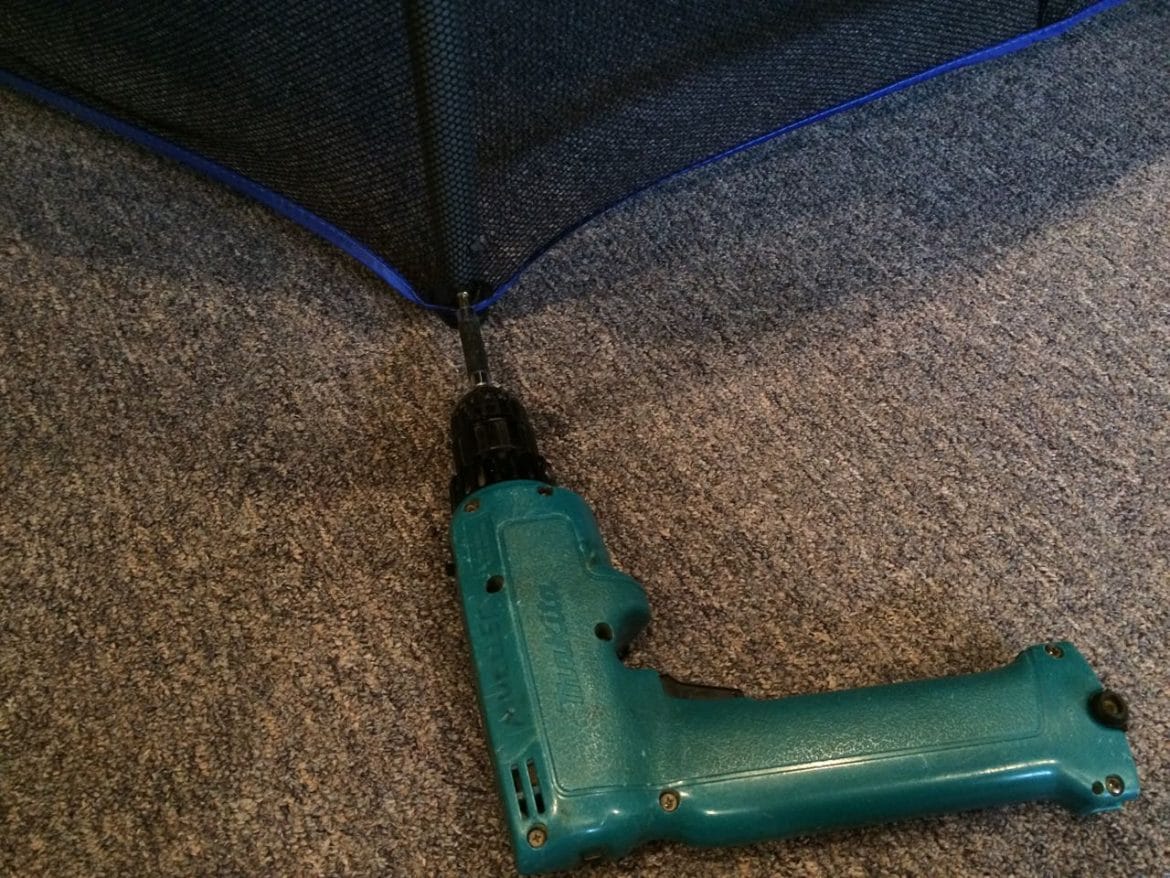
Step 13: Reinstall the lower skirt screws.
Stretch the skirt down so the eyelets line up and reinstall the skirt screw at the bottom of each of the 6 legs. Be careful not to torque the screw tight too much because the screw will catch the eyelet and twist the skirt and possibly tear it.
Now you are done! Your kids will be happy to be jumping and you’ll be happy that they burnt off that extra energy in a healthy way.
Amazon Associate Disclosure: As an Amazon Associate I earn from qualifying purchases. This means if you click on an affiliate link and purchase the item, I will receive an affiliate commission. The price of the item is the same whether it is an affiliate link or not. Regardless, I only recommend products or services I believe will add value to Share Your Repair readers. By using the affiliate links, you are helping support Share Your Repair, and I genuinely appreciate your support.