When I switched to OS 10.9 Mavericks my shortcuts to the Windows Server 2003 shared network domain drives did not function properly. I was able to view files but couldn’t change file names or save to the disk. I learned that Apple changed the SMB driver they used and this really messed up my workflow. I had saved some aliases to network drives but, although they would connect when I would click on them, I could not use the drives like necessary. I wrote a posting on how connecting to these new drives as a CIFS (Common Internet File System) drive instead of a SMB (Server Message Block) drive:
How to Copy Files to a Windows Network Drive Using Mavericks OS 10.9
Since then I’ve been using the Finder to manually connect to these drives but I’ve wanted to automate it of course.
How to Use Automator and Applescript to Automate Connecting to a Specific SMB Drive
Here’s how you can use Apple’s Automator program to connect to a specific drive on your SMB share and connect via CIFS so you don’t loose any functionality because of Apple’s changes in Mavericks:
Step 1: Launch Automator.
You can find it in the Applications folder of your Mac’s HD.
 |
| Apple Automator |
Step 2: Choose “Application” from the document type menu that pops up when you launch Automator and click the “Choose” button (or just double-click on the Application icon).
This will create an executable file you can run to mount the drives and you can place it in your dock.
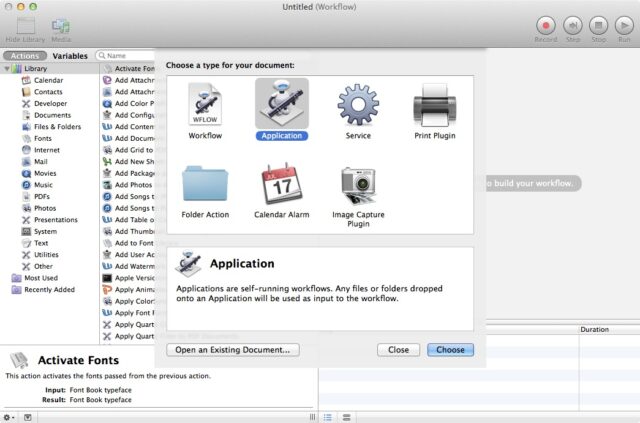 |
| Pick “Application” for the type of document |
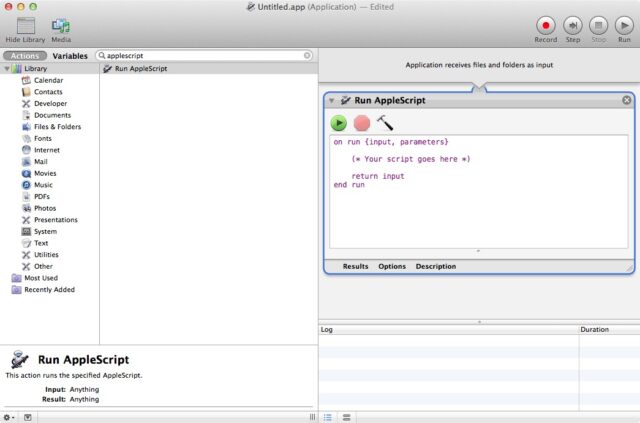
Step 3: Type “applescript” into the actions search box at the top left side of the window.
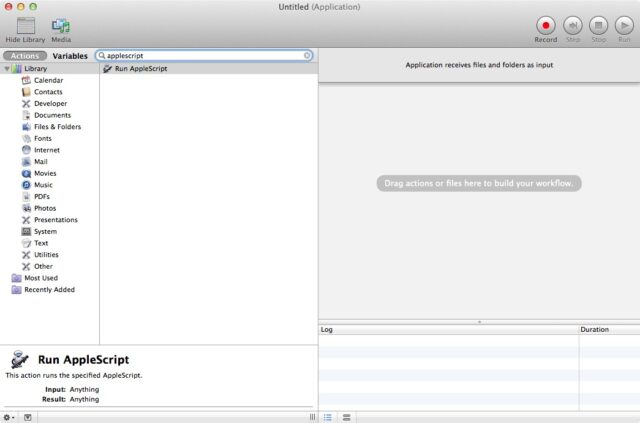 |
| Searching for “Run AppleScript” action |
Step 4: Drag and drop the “Run AppleScript” action to the right window that says “Drag actions or files here to build your workflow.”
This is what you’ll get:
 |
| Drag-and-drop “Run AppleScript” to the workflow window |
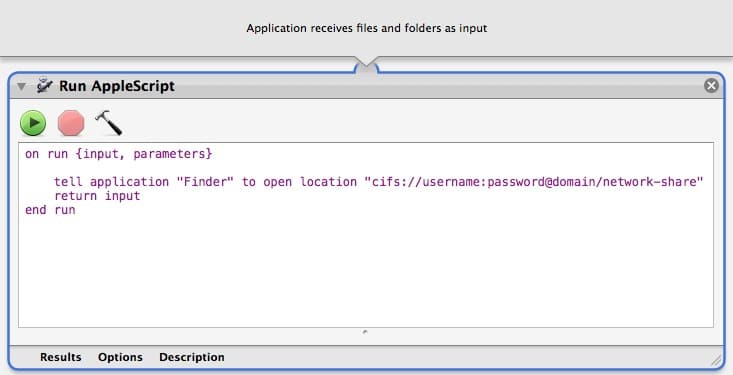
Step 5: Enter the AppleScript code.
Enter the following code and replace “username”, “password”, “server-name”, and “drive” with your information:
on run {input, parameters}
tell application “Finder” to open location “cifs://username:password@server-name/drive”
return input
end run
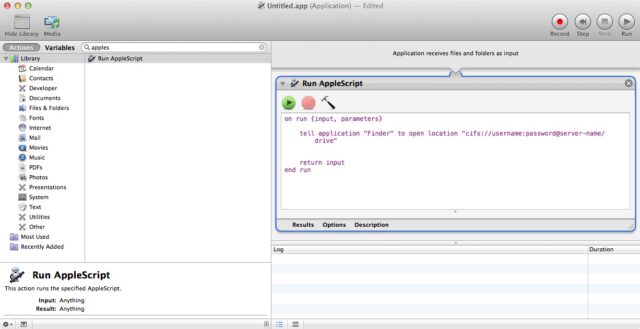 |
| AppleScript in Automator |
Step 6: Save the Application to your Hard Drive.
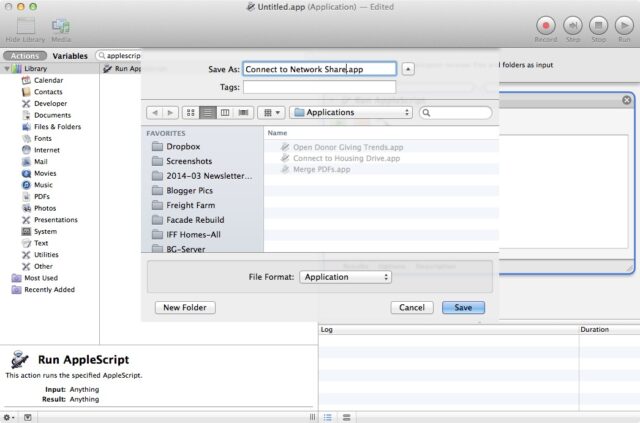 |
| Save the Workflow Application |
Step 7: Place the Application in your dock for easy access.
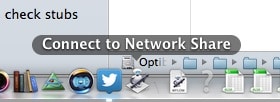 |
| Automator Application in Dock — Connect to Shared Drives with a click! |
My other Apple Automator blog posts:
- How to Use Automator and Applescript to Automate Connecting to a Specific SMB Drive (this post)
- How to Create a Custom Print Workflow to Save Printed PDFs to a Folder Automatically with Automator
- How to Create a Folder Action to Resize Your Photos Using Mac OS X Automator
- How to Open Websites on Your Mac From Your iPhone Using Dropbox, a Sendtodropbox.com Account, and Folder Actions
- How to Create a Mac Application to Merge Pdf’s in Automator
- Excel Toolbars Disappear-How to Automate Fixing Them With Automator in Excel 2008 For Mac
Amazon Associate Disclosure: As an Amazon Associate I earn from qualifying purchases. This means if you click on an affiliate link and purchase the item, I will receive an affiliate commission. The price of the item is the same whether it is an affiliate link or not. Regardless, I only recommend products or services I believe will add value to Share Your Repair readers. By using the affiliate links, you are helping support Share Your Repair, and I genuinely appreciate your support.