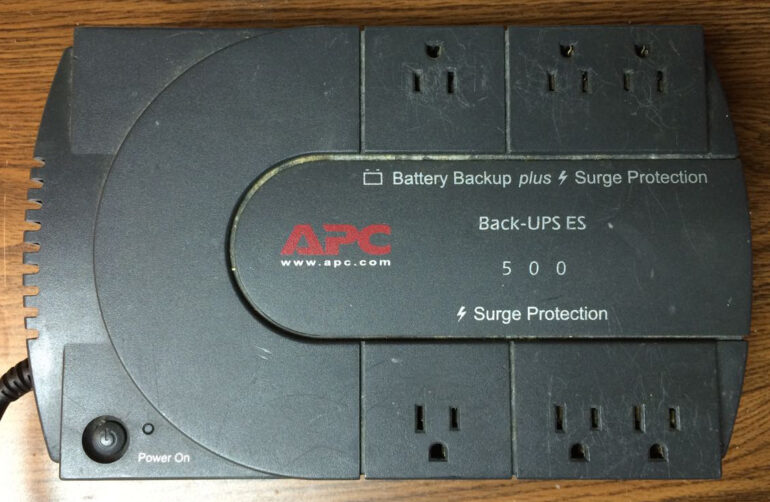
If your APC Back-UPS ES 500 is making a very obnoxious noise and the LED by the Power On button is amber then very likely you need to replace the internal battery on the APC. This is easy to do and not that expensive and here’s how you do it.
How to Replace Battery in APC Back-UPS ES 500 Battery Backup
Hardware:
- APC Back-UPS ES 8 Outlet 550VA 120V (Current Equivalent Model if you want to replace the entire APC)
Parts Needed:
Tools Needed:
Step 1: Unplug the APC Battery Backup.
You don’t want to mess with too many electronic appliances while they are plugged in. It’s a good habit to unplug them before opening them up.
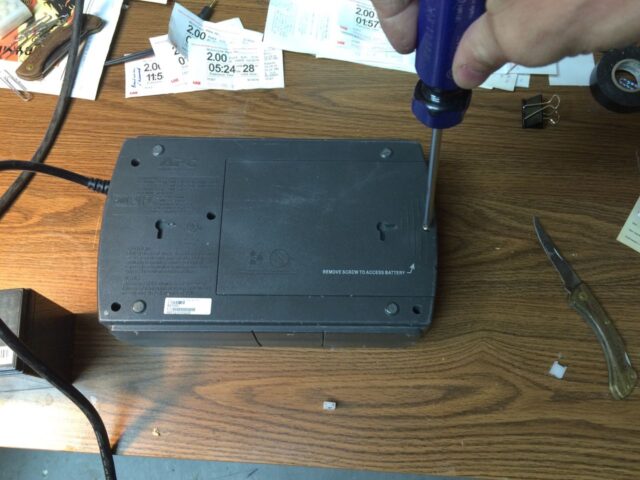
Step 2: Flip the APC over and remove the screw from the battery door.
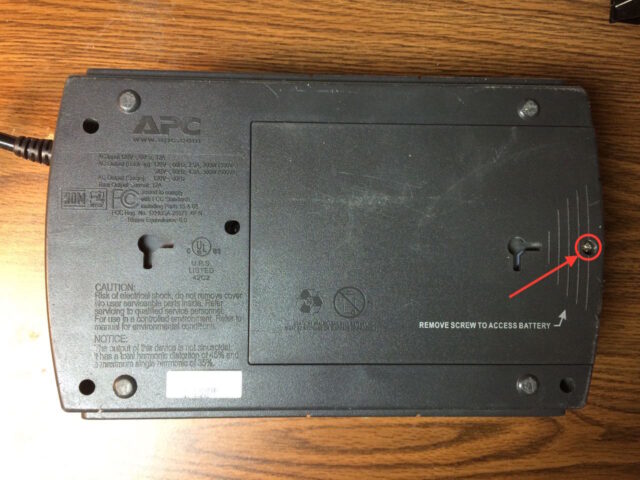 |
| Battery door screw location |
You must completely remove the screw from the battery door hole in order to open the battery door. I needed to use my pocket knife to get under the screw head and lift it out of the hole:
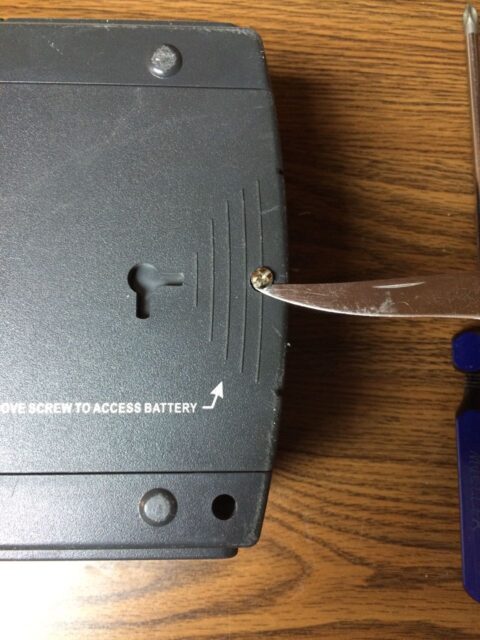 |
| Lifting the screw up and out of the hole with my pocket knife |
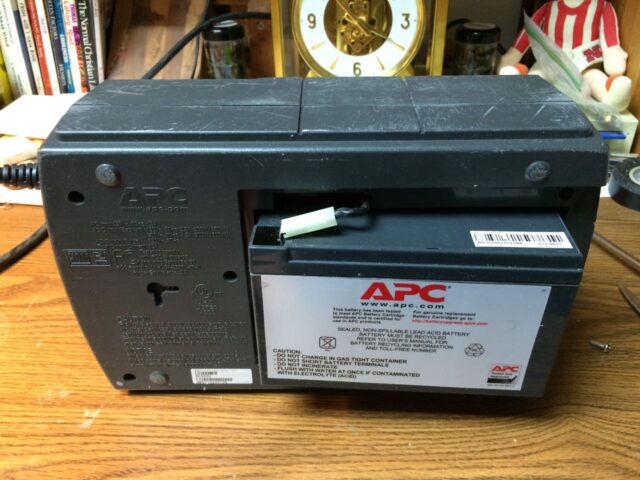
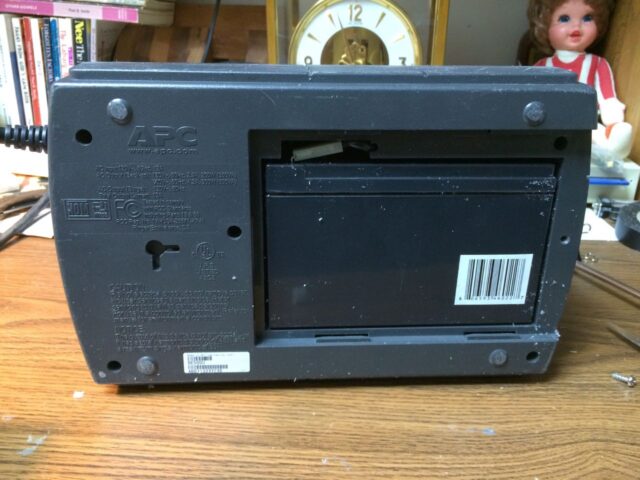
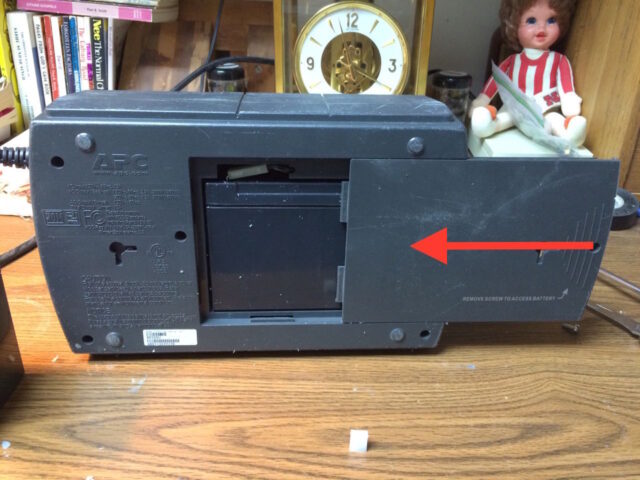
Step 3: Slide to battery door compartment out and off.
You must slide it straight out to the right and it will come off the APC.
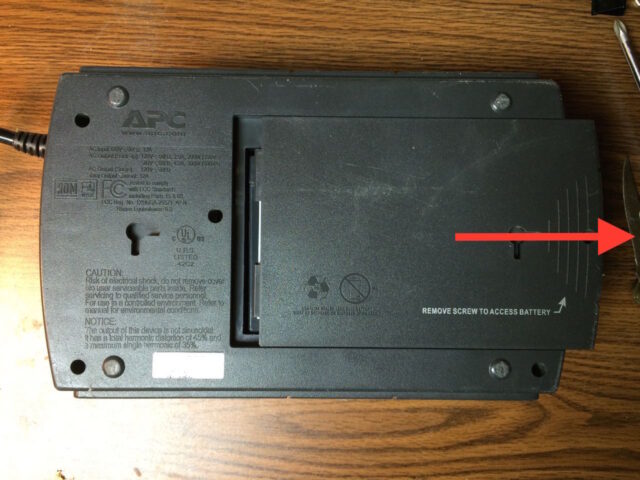 |
| Sliding the battery compartment door open |
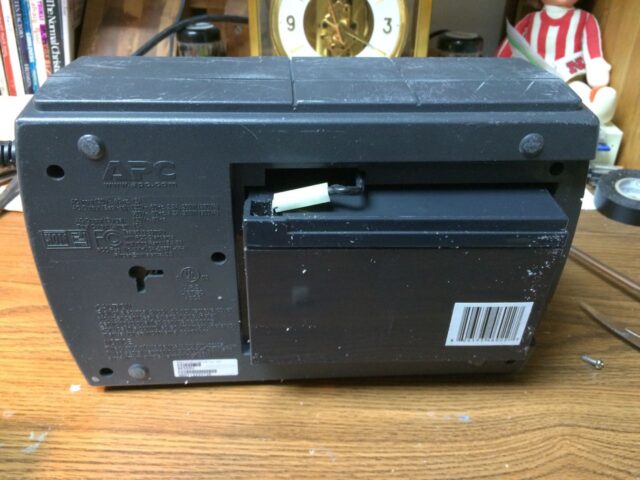
Step 4: Slide the battery out.
I found it easiest to place my hand over the battery and roll the APC so the battery wants to dump into my hand. The battery will only slide out just far enough to expose the outside (negative) battery terminal as seen below:
 |
| Battery slid out and the negative terminal exposed |
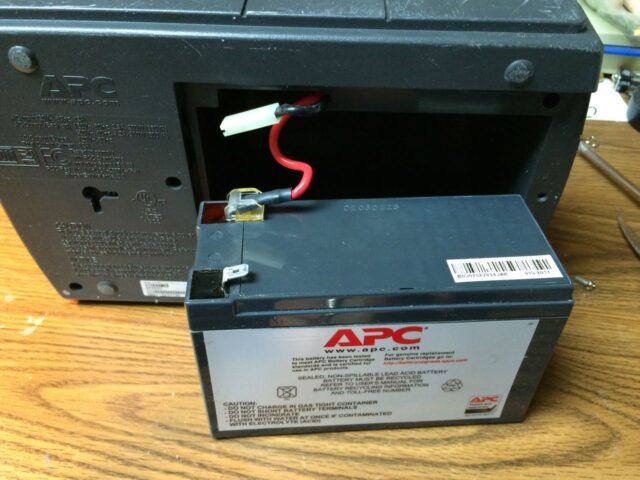
Step 5: Disconnect the negative battery terminal.
It will easily come off the battery with your fingers.
Step 6: Slide the battery out of the APC and disconnect the positive terminal.
The positive lead is long enough so the battery can come all the way out of the APC and rest on the table:
 |
| With the negative disconnected the battery will come out |
Step 7: Squeeze the connector closed a bit with the pliers as to make a good connection.
I put the positive connector on the new battery and immediately noticed that it was a loose connection. You can try squeezing both sides at once but I squeezed each side of the connector separately:
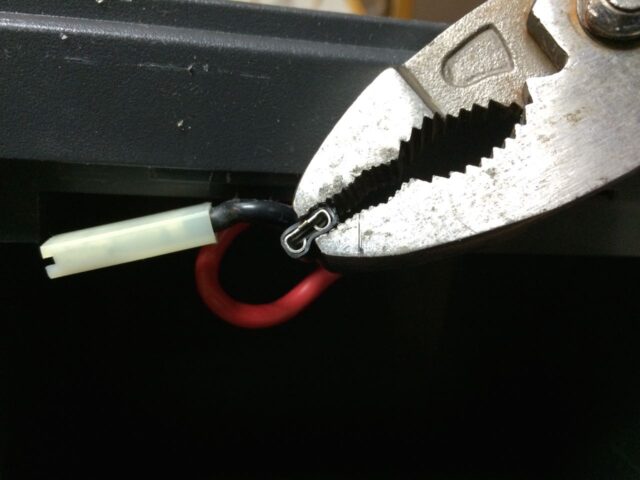 |
| Squeezing one side of the positive connector closed for a better connection |
Step 8: Slide the battery partially in and reconnect the negative cable.
You may need to guide the cables into the opening of the battery compartment to get the battery to fit in there.
 |
| Here the negative is ready to be reconnected |
 |
| The negative cable connected to the replacement battery |
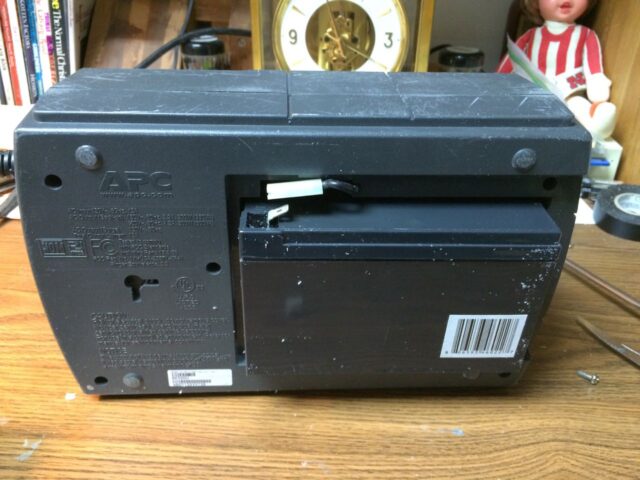
Step 9: Slide the battery all the way into the battery compartment.
 |
| The replacement battery reinstalled in the battery compartment |
Step 10: Slide the battery door closed.
 |
| Slide the battery door back in place |
Step 11: Reinstall the battery door screw.
Now you are back in business and you saved yourself probably more than $20 over the price of buying a new APC simply by replacing the battery.
 |
| Reinstalling the battery door screw |
All my APC Battery Backup Posts:
- How to Replace the Battery in a APC Back-UPS ES 500 Battery Backup
- How to Replace the Batteries in a APC Smart-UPS 1000
- How to Replace the Battery in an APC Smart-UPS 1500
- How to Permanently Disable the Beeping Alarm on an APC Back-UPS ES 500 Battery Backup
Amazon Associate Disclosure: As an Amazon Associate I earn from qualifying purchases. This means if you click on an affiliate link and purchase the item, I will receive an affiliate commission. The price of the item is the same whether it is an affiliate link or not. Regardless, I only recommend products or services I believe will add value to Share Your Repair readers. By using the affiliate links, you are helping support Share Your Repair, and I genuinely appreciate your support.

Thankyou so much
Nick, I’m glad you got the help you needed. Thanks for taking the time to leave a note.